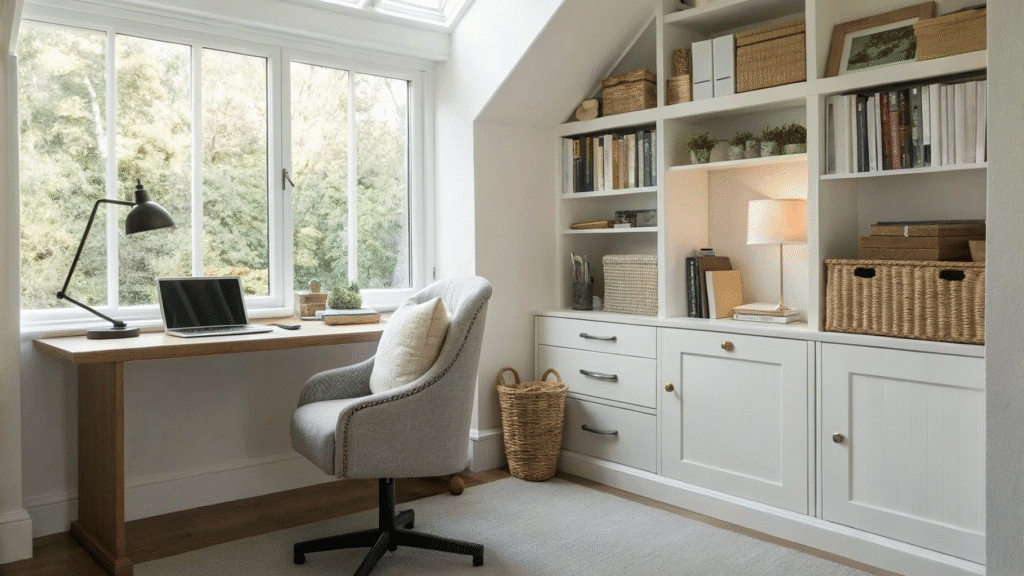
12+ DIY Floating Wall Organizer Ideas for Office
Floating wall organizers are the perfect way to add function and style to your space without cluttering your floors or desk.
Whether you want to manage office supplies, decor, or mail, these DIY ideas will help you stay organized while keeping your walls looking sleek and intentional.
1. Floating Shelf with Storage Bins
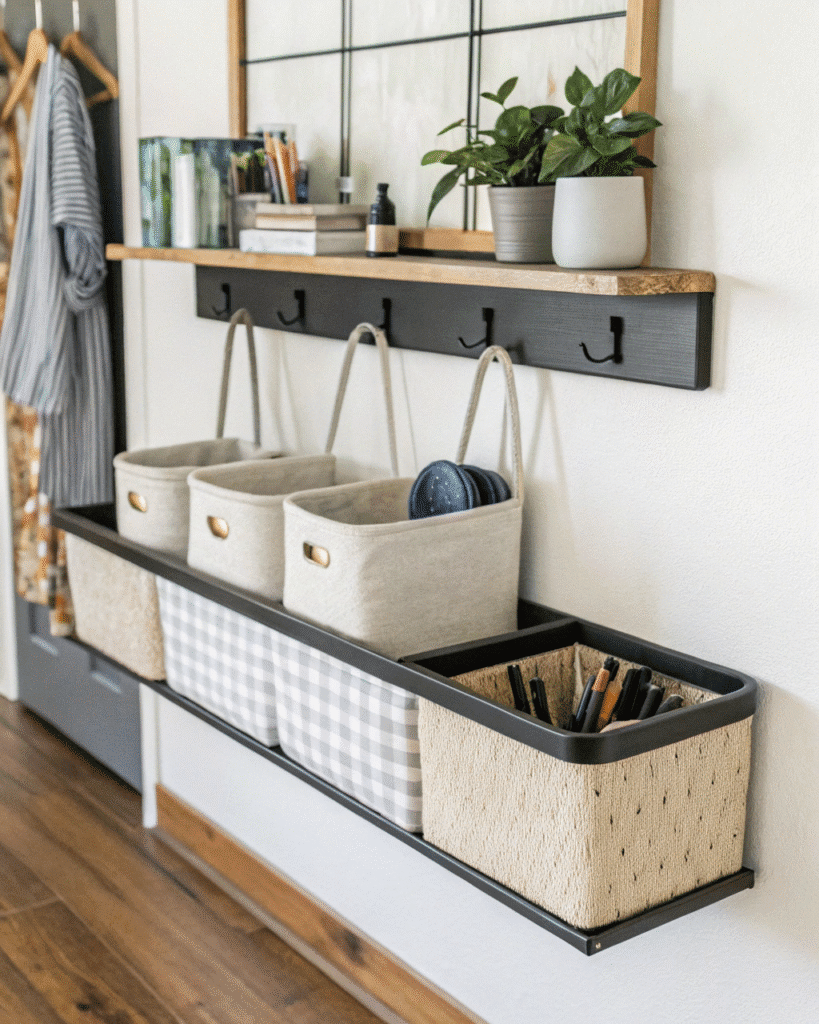
Attach small storage bins under a floating shelf to keep essentials tidy and within reach.
Pro Tip: Use matching bins or baskets for a cohesive, minimalist look.
2. Pegboard Wall Organizer
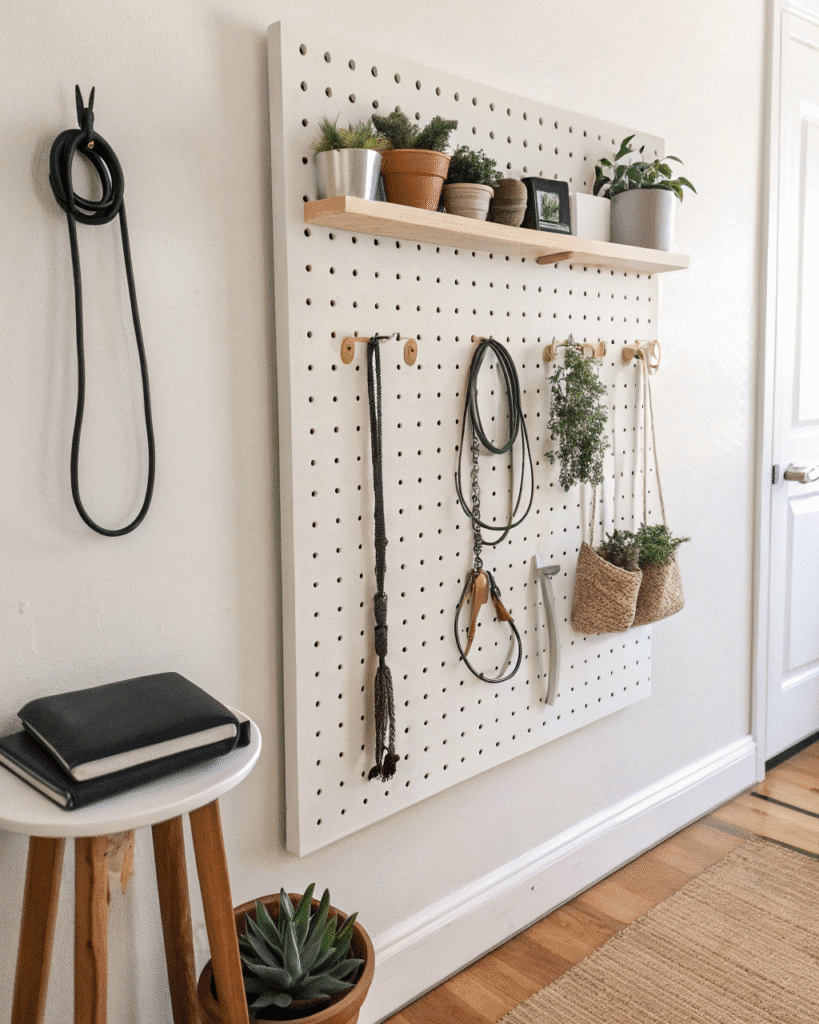
A pegboard gives you endless flexibility to hang tools, cables, or small plants.
Pro Tip: Paint it in a neutral color like white or gray for a clean, modern finish.
3. Floating Clipboard Station
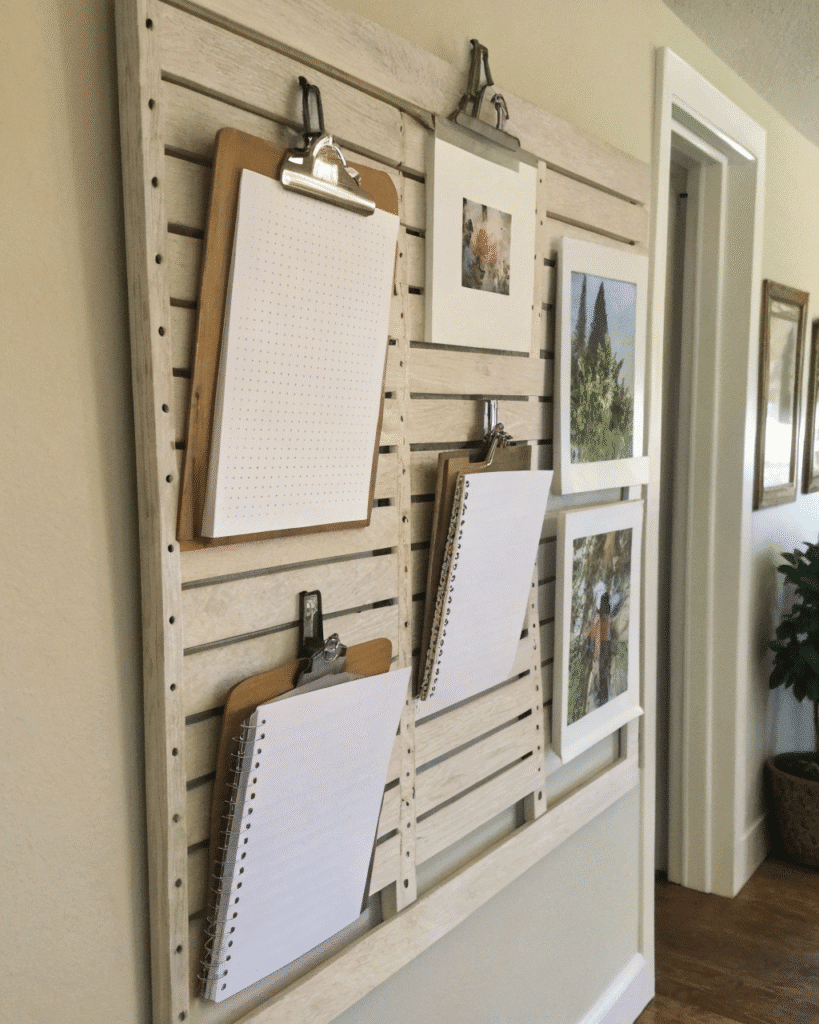
Mount a few clipboards on the wall to hold notes, reminders, or art prints.
Pro Tip: Arrange them in a grid for a balanced and visually pleasing display.
4. Wooden Wall Ledge
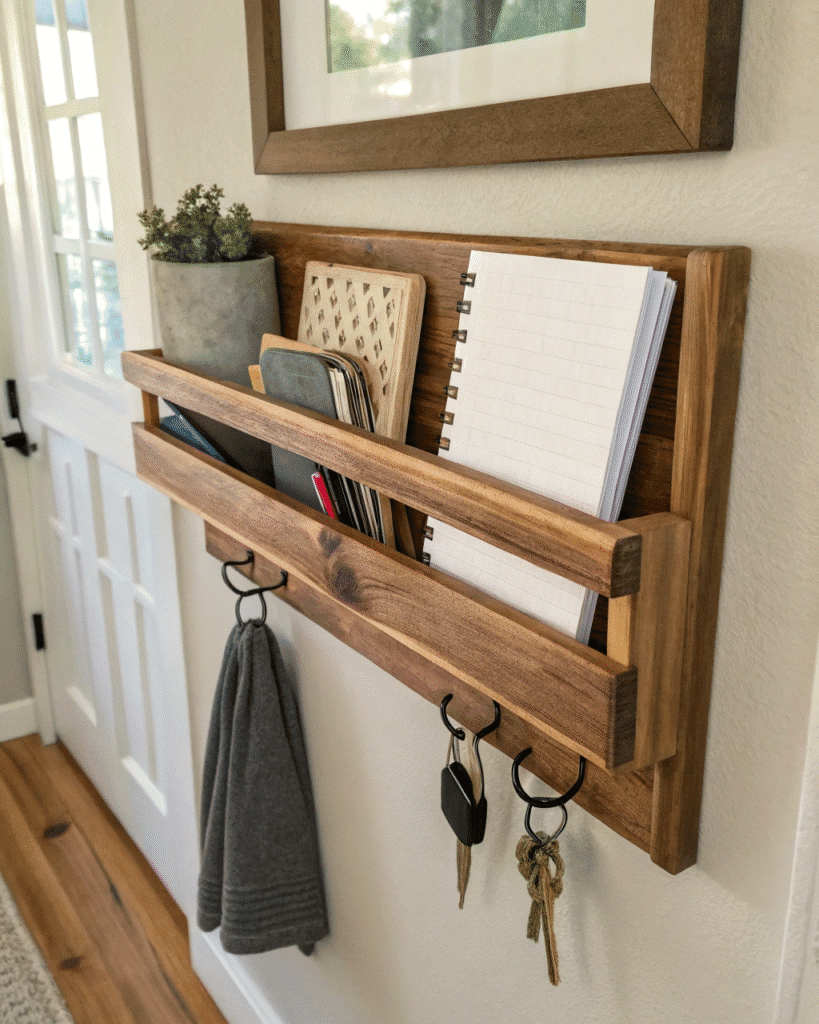
A narrow ledge shelf works perfectly for small decor pieces, notebooks, or mail.
Pro Tip: Keep it uncluttered — 3 to 4 items per ledge create the best balance.
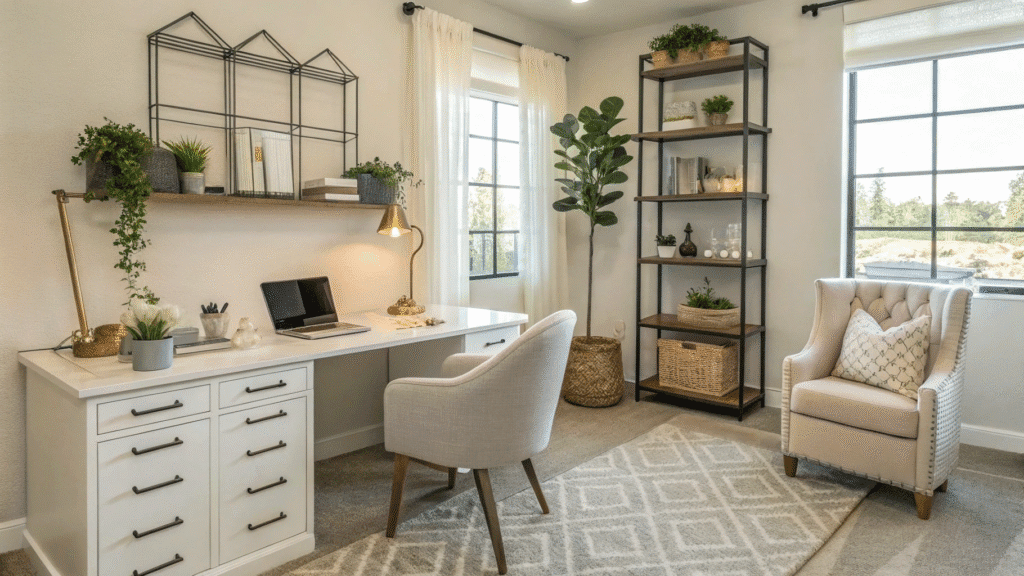
5. Wire Grid Organizer
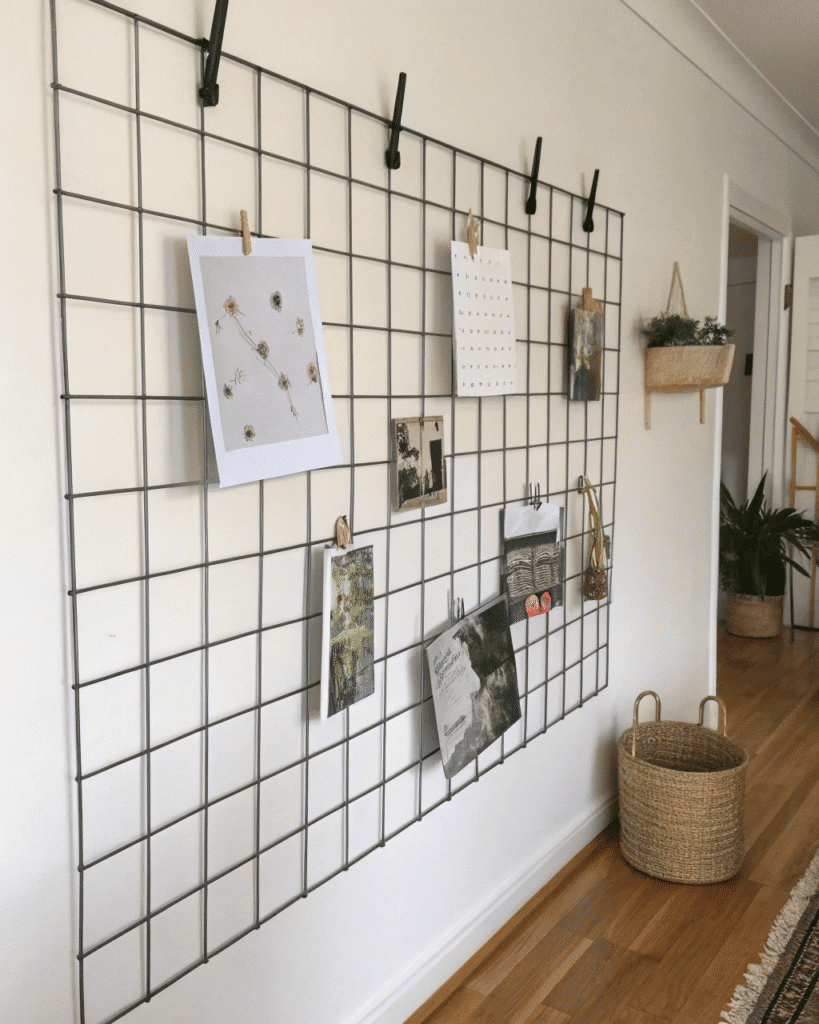
Hang a metal grid panel to clip photos, papers, or baskets for small items.
Pro Tip: Spray-paint the grid black, gold, or white to match your wall style.
6. Floating Mail Organizer
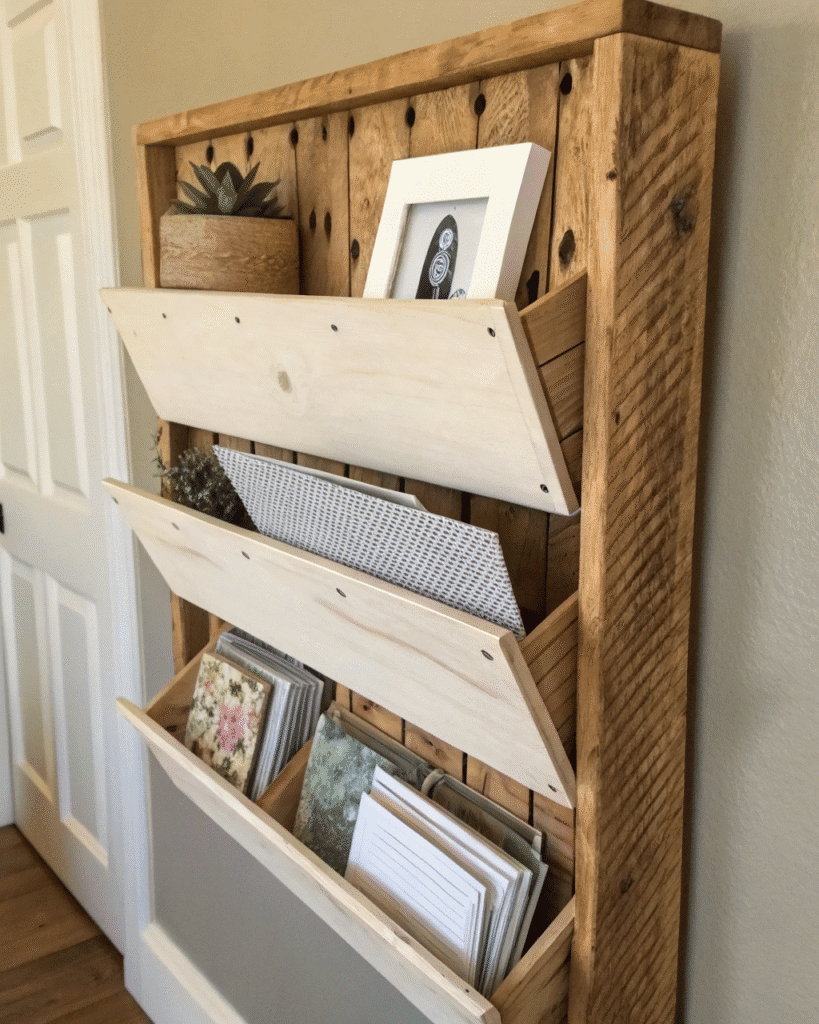
Use thin wooden boards or upcycled trays to create a layered mail sorter.
Pro Tip: Label each slot — “in,” “out,” and “to do” — for quick organization.
7. Hanging Jar Storage
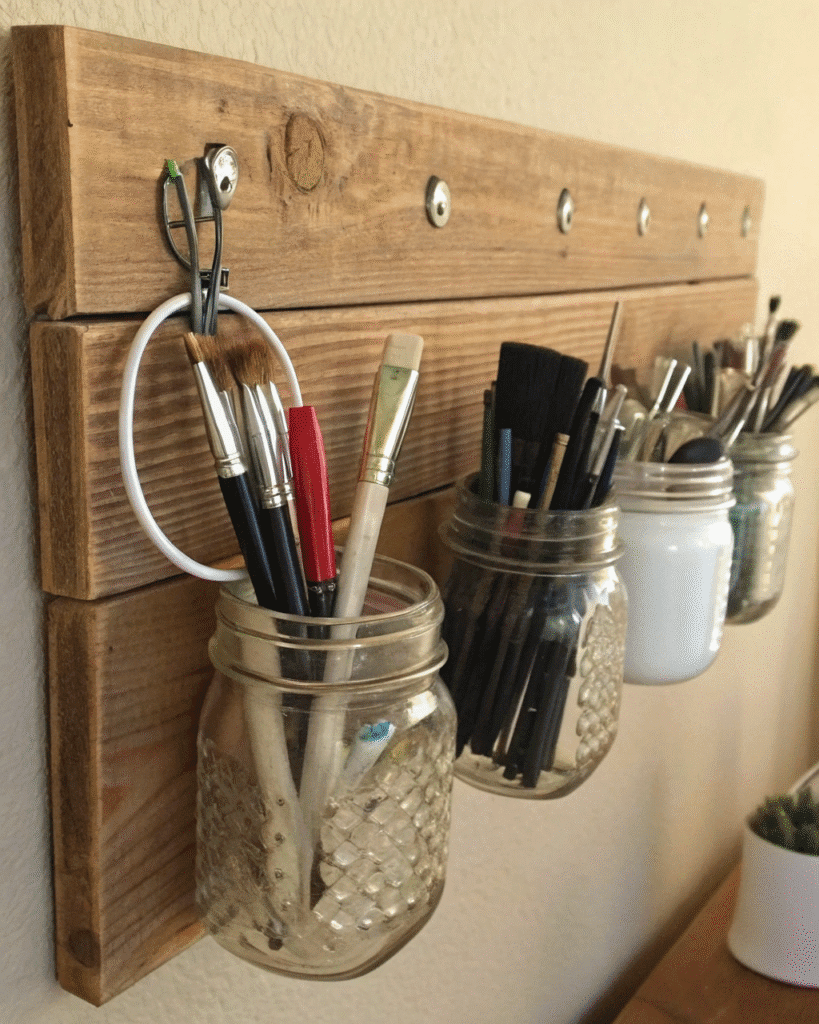
Mount mason jars on a wooden plank to hold pens, brushes, or cables.
Pro Tip: Choose jars with wide openings for easier access to supplies.
8. Floating Key and Accessory Holder
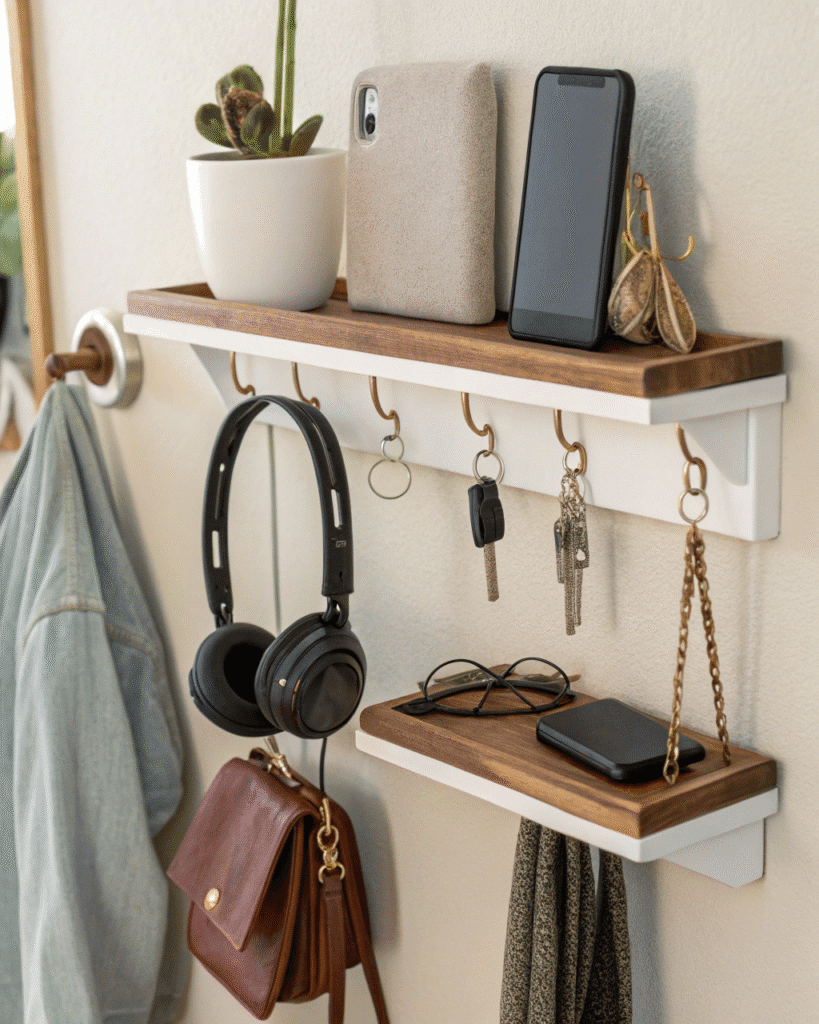
Attach small hooks to a floating shelf for keys, headphones, or jewelry.
Pro Tip: Add a mini plant or artwork above to make it both functional and decorative.
9. Fold-Out Wall Organizer
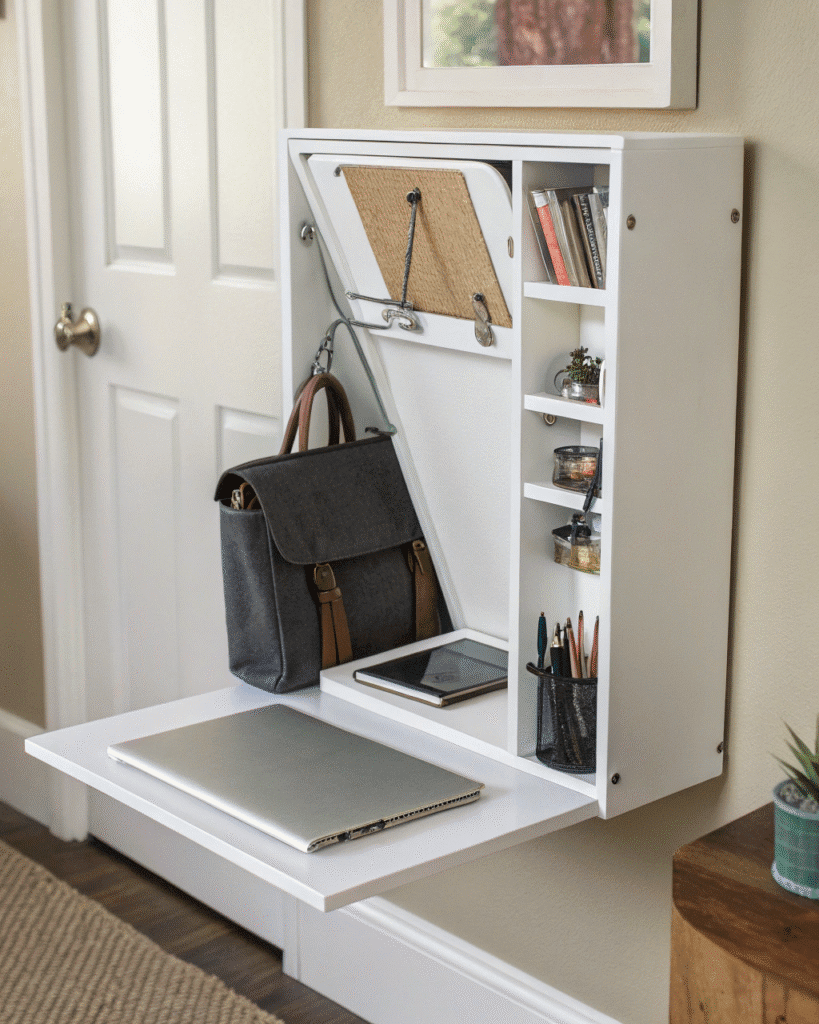
Build a hinged wall box that folds open into a mini desk or storage panel.
Pro Tip: Ideal for tight spaces — use magnetic closures to keep it sleek and secure.
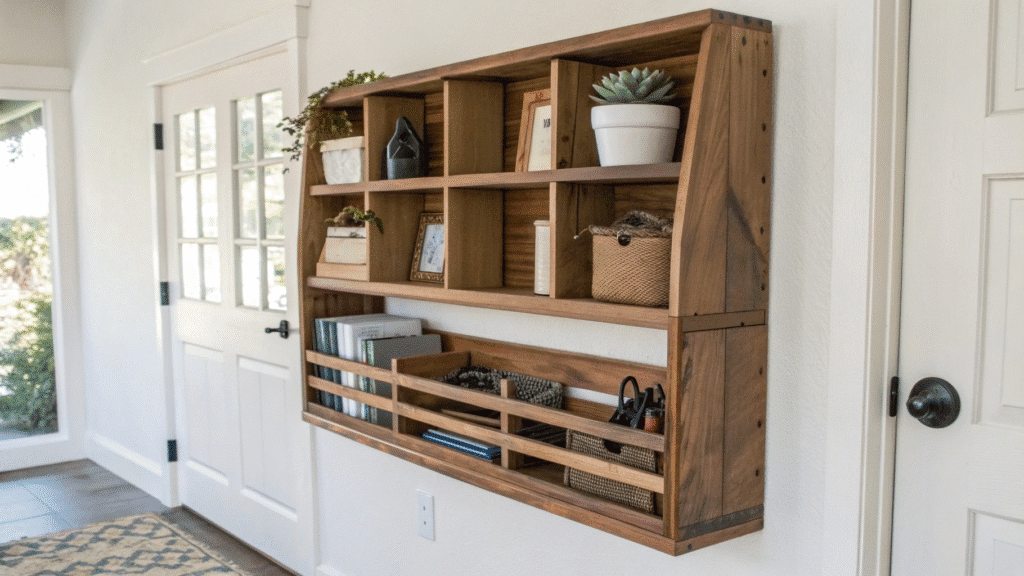
10. Floating Crate Organizer
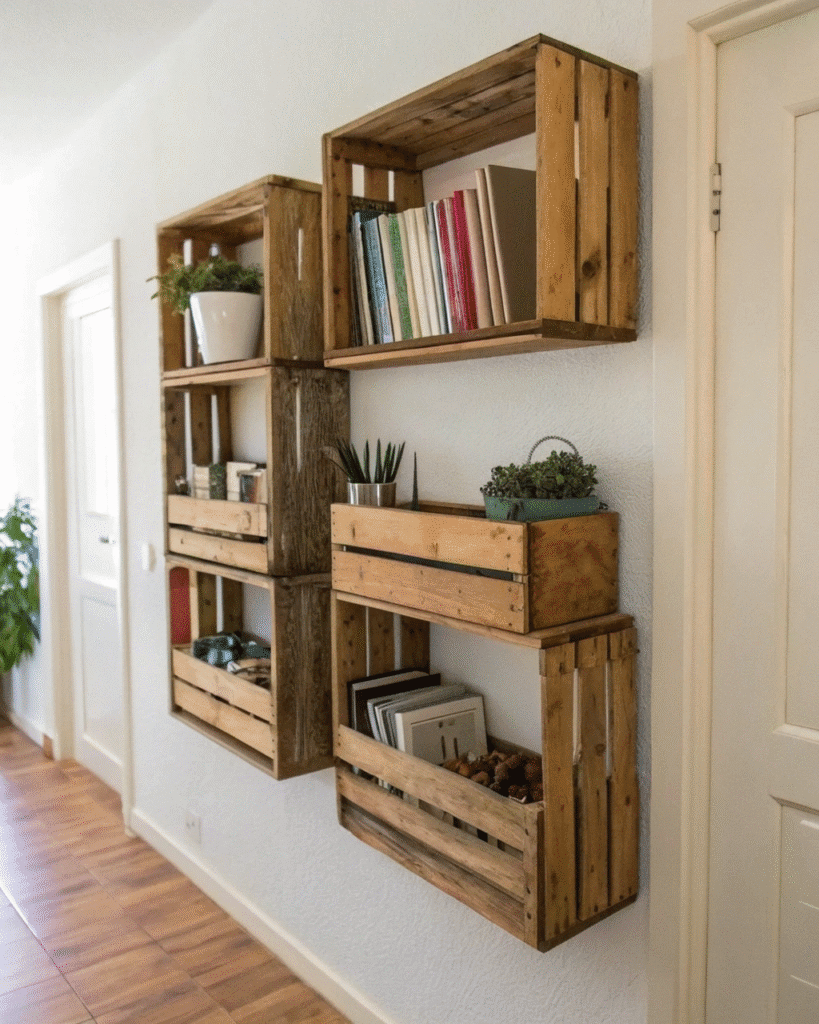
Repurpose wooden crates into mounted wall boxes for books or office tools.
Pro Tip: Stagger them at different heights to create visual interest.
11. Corkboard Floating Frame
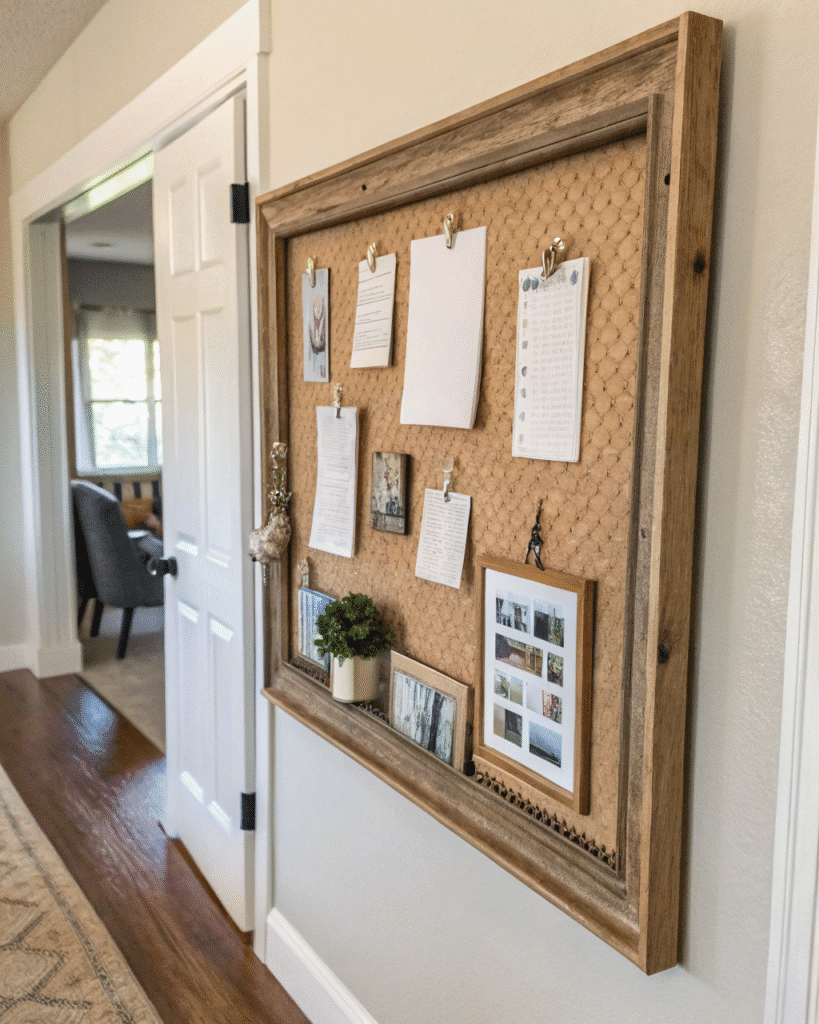
Create a framed corkboard that doubles as a floating memo center.
Pro Tip: Use a slim wooden frame to keep the design minimalist yet warm.
12. Magnetic Wall Strip Organizer
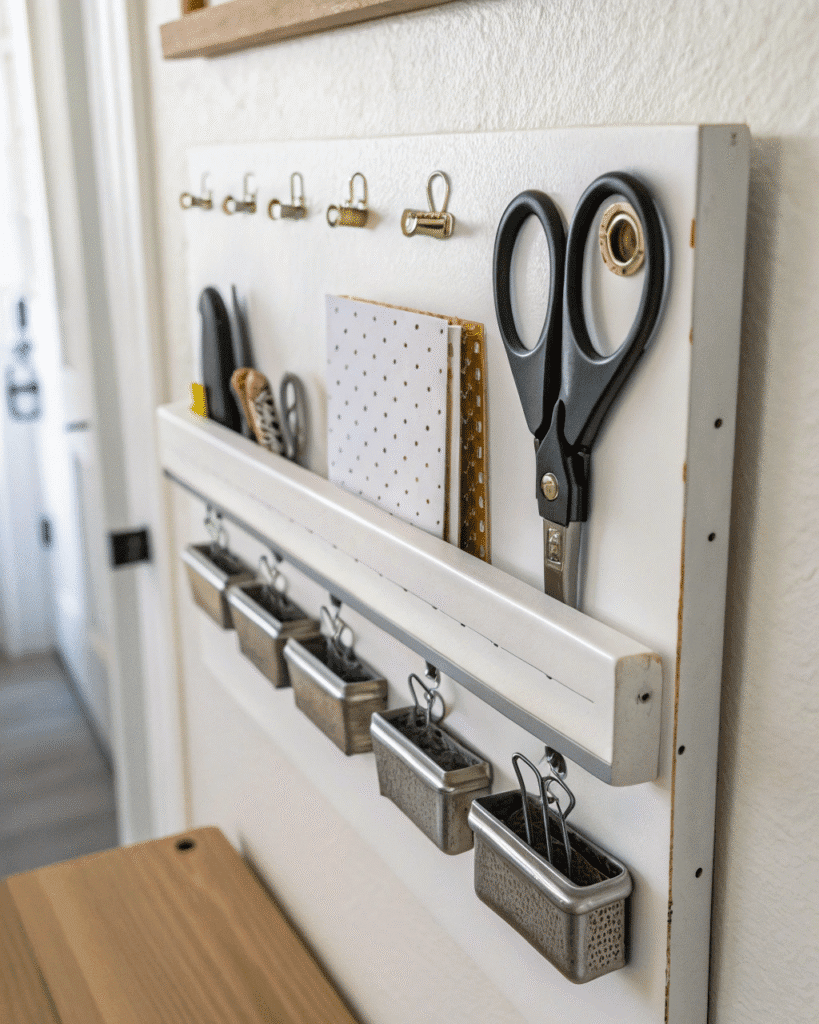
Mount a magnetic strip to hold scissors, clips, or small metal items neatly.
Pro Tip: Great for offices and craft rooms — pair with a sleek whiteboard for quick notes.
13. Floating Pocket Organizer
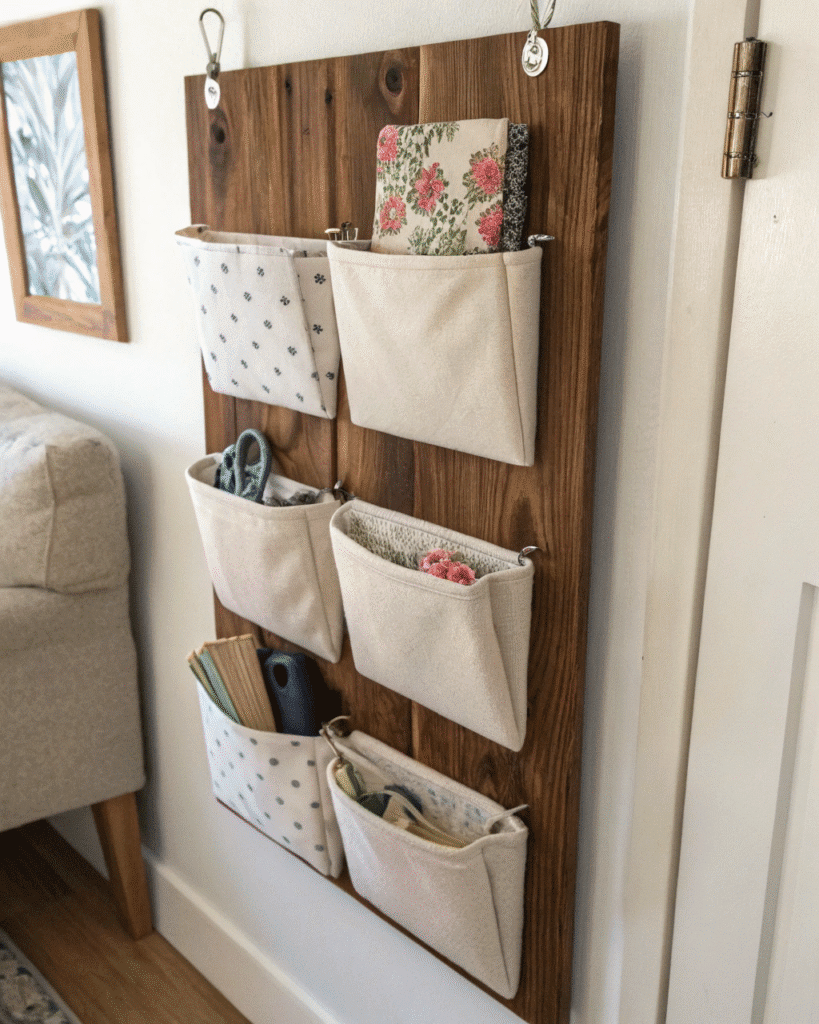
Sew or glue fabric pockets onto a mounted wooden panel for lightweight storage.
Pro Tip: Choose durable fabrics like canvas or denim to make it long-lasting.
Final Thoughts
DIY floating wall organizers help you save space, stay organized, and add personality to your walls. With a few basic materials and a little creativity, you can design storage that fits your needs and looks just as stylish as any store-bought option.
FAQs
What materials work best for DIY floating organizers?
Wood, metal grids, and strong fabrics like canvas are great choices — they’re sturdy and easy to customize.
Can I install floating organizers without drilling?
Yes! Use heavy-duty adhesive strips, command hooks, or tension-mounted systems if you can’t drill into walls.
How do I keep a floating organizer looking neat?
Group similar items together, avoid overfilling shelves, and stick to a consistent color palette.
Are floating wall organizers suitable for renters?
Absolutely. Many designs are removable and don’t require permanent fixtures, making them perfect for apartments.
How can I style my floating wall organizers?
Mix functionality with decor — add small plants, framed art, or neutral containers to balance practicality with aesthetics.