

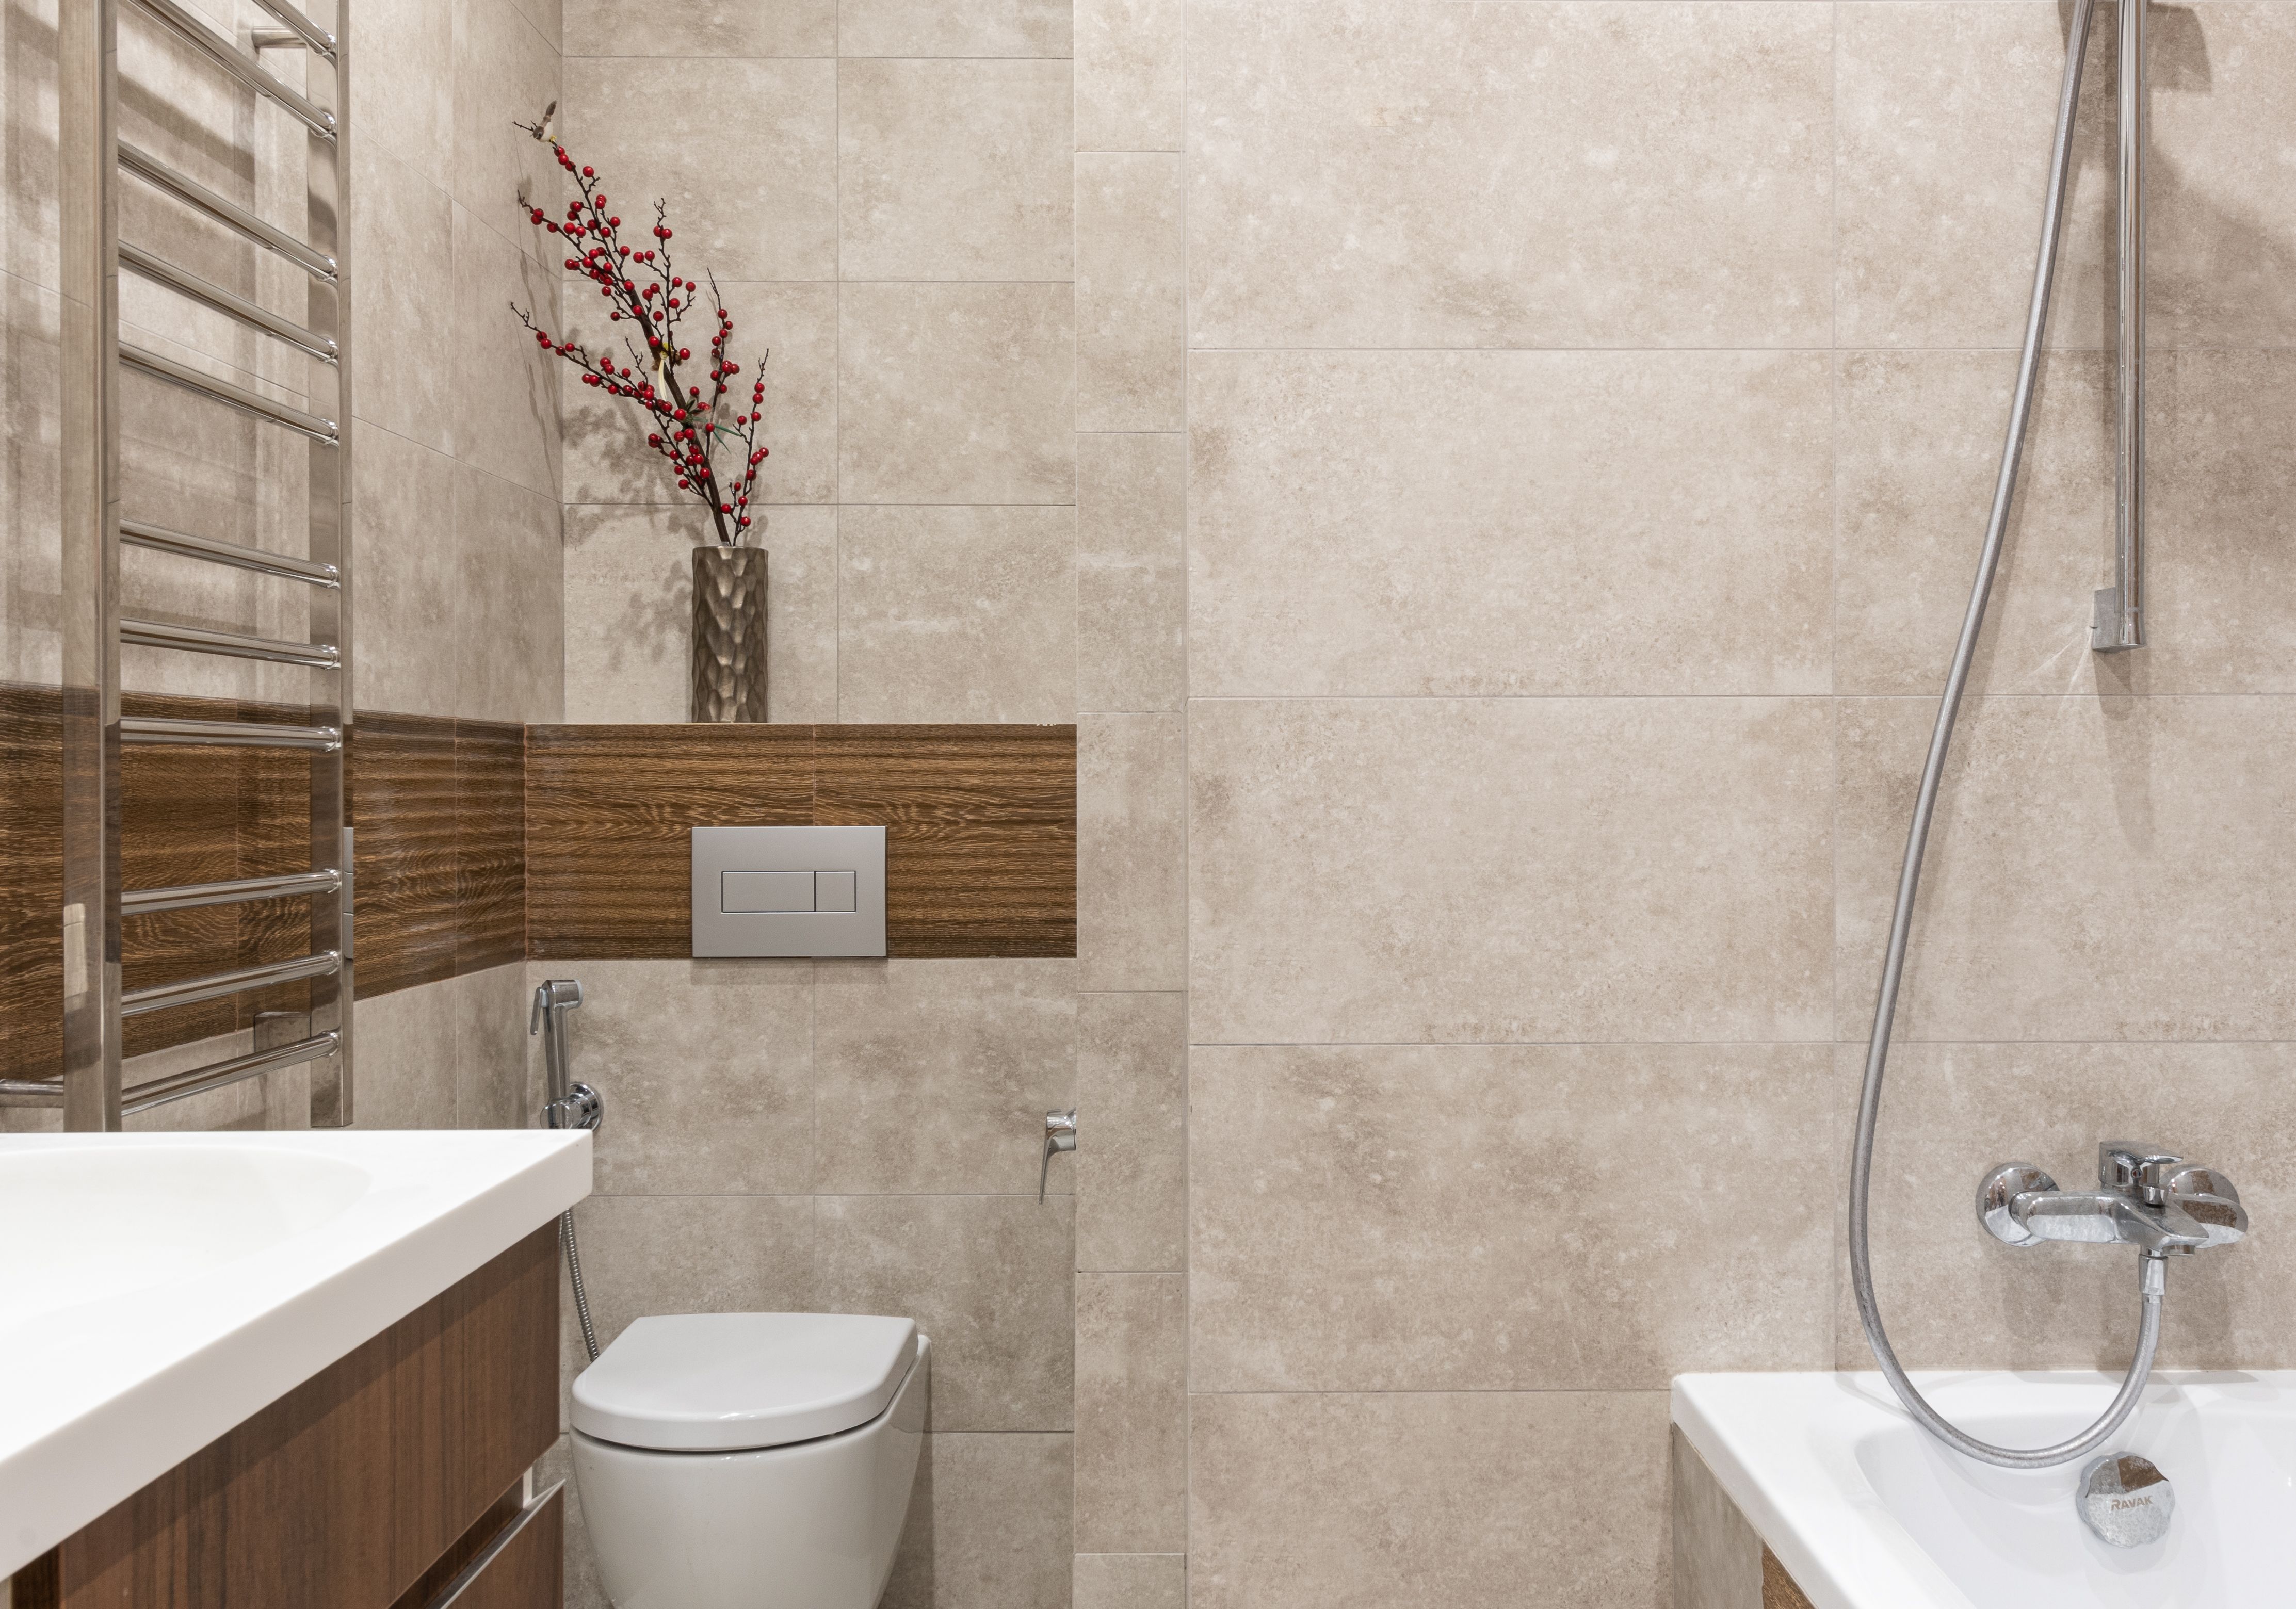
Bathroom water damage is one of the most expensive home repairs you can face. Leaks, seepage, and moisture buildup can silently destroy walls, floors, and structural foundations over time. The good news is that learning how to waterproof your bathroom on a budget is entirely possible with the right materials, techniques, and a little patience. You don’t need to hire an expensive contractor to get professional-level waterproofing results.
In this article
- Why Bathroom Waterproofing Is Non-Negotiable
- Understanding the Most Affordable Bathroom Waterproofing Methods
- Tools and Materials You Need for Budget Bathroom Waterproofing
- How to Waterproof Bathroom Walls on a Budget
- How to Waterproof a Shower on a Budget
- How to Waterproof Bathroom Floors on a Budget
- How to Use Silicone Caulk for Bathroom Waterproofing
- How to Seal Grout Lines to Prevent Bathroom Water Damage
- Budget Bathroom Waterproofing Tips to Make Your Money Go Further
- Add Smart Storage Without Cluttering Your Bathroom
- Common Bathroom Waterproofing Mistakes to Avoid on a Budget
- Conclusion
- Frequently Asked Questions About Waterproofing Your Bathroom
This complete guide covers everything from budget waterproofing materials to step-by-step application methods so you can protect your bathroom from water damage without breaking the bank.
Why Bathroom Waterproofing Is Non-Negotiable
Water is the single biggest enemy of your bathroom. Without proper waterproofing, even small amounts of moisture seeping behind tiles, under flooring, or into walls can cause mold growth, rotting wood, crumbling drywall, and structural damage that costs thousands of dollars to fix.
The most vulnerable areas in any bathroom are the shower walls and floor, the area around the bathtub, the floor near the toilet base, and the spaces around sinks and vanities. Budget bathroom waterproofing doesn’t mean cutting corners — it means being smart about where you spend and choosing the most cost-effective products that actually work.
Investing a small amount in waterproofing now can save you from spending tens of thousands on water damage repairs later.
Understanding the Most Affordable Bathroom Waterproofing Methods
Before jumping into the how-to steps, it helps to understand the main budget-friendly waterproofing options available to DIYers.
Waterproofing paint or sealant is the most affordable and beginner-friendly option. These are brush-on or roll-on liquid products that form a waterproof membrane on walls and floors. They are ideal for areas with light to moderate moisture exposure and cost a fraction of professional systems.
Waterproof tile backer boards are used behind tiles in showers and wet areas. Products like cement board or foam backer board are far more moisture-resistant than standard drywall and are surprisingly affordable at most home improvement stores.
Grout sealers and tile sealers are inexpensive products that protect the porous grout lines between tiles, which are one of the most overlooked entry points for moisture.
Silicone caulk is one of the cheapest and most effective waterproofing tools available. Applied correctly along joints, corners, and edges, it creates a flexible watertight seal that prevents water from entering gaps.
Sheet membranes and fabric membranes are slightly more advanced but still budget-friendly. These are thin flexible sheets applied with adhesive that create a fully waterproof barrier behind tiles.
Understanding which product suits which part of your bathroom helps you spend wisely and avoid over-investing in areas that don’t need heavy-duty protection.
Tools and Materials You Need for Budget Bathroom Waterproofing
Getting the right supplies before you start saves time and prevents mid-project trips to the hardware store. Here is what you’ll need for a complete DIY bathroom waterproofing project on a budget:
Waterproof membrane or waterproofing paint, silicone caulk and caulk gun, grout sealer, tile sealer if tiles are porous, paintbrush and roller, utility knife, measuring tape, sandpaper or sanding block, cleaning supplies including a mildew remover and sponge, cement board screws if installing backer board, and painter’s tape for clean edges.
Most of these materials are available at any hardware store and are relatively inexpensive. Buying in the correct quantities for your bathroom size prevents waste and keeps costs down.
How to Waterproof Bathroom Walls on a Budget
Clean and Prepare the Surface Thoroughly
The most critical step in any budget bathroom waterproofing project is surface preparation. No waterproofing product — no matter how expensive — will adhere properly or last long on a dirty, greasy, or crumbling surface.
Start by removing all soap scum, mold, mildew, and residue from the walls. Use a dedicated bathroom cleaner or a diluted bleach solution for any areas showing mold or mildew. Scrub thoroughly and rinse well. Allow the walls to dry completely — at least 24 to 48 hours — before applying any waterproofing product.
If the existing paint is peeling or flaking, sand it back to a smooth surface. Fill any cracks or holes with a waterproof filler or patching compound and allow it to cure fully before proceeding.
You May Also Love



Apply a Waterproof Membrane or Waterproofing Paint
For budget bathroom wall waterproofing, a brush-on liquid waterproof membrane is your best friend. These products are available at most hardware stores and are significantly cheaper than hiring a professional to install a sheet membrane system.
Apply the first coat using a paintbrush for corners and edges and a roller for larger flat sections. Work in smooth, even strokes and ensure complete coverage with no gaps or thin spots. Pay extra attention to corners where walls meet and the junction where walls meet the floor — these are the most vulnerable points for water infiltration.
Allow the first coat to dry according to the manufacturer’s instructions, then apply a second coat in the opposite direction to ensure full coverage. Most liquid membranes require two coats minimum for reliable waterproofing performance.
In shower areas specifically, extend the membrane at least 200mm beyond the wet zone so any splash water is fully contained.
Don't miss: 13+ Charming Small Gingerbread House Ideas →
Don’t Overlook Wall Joints and Corners
Wall corners and the joints between walls and the floor or bathtub are the most common failure points in bathroom waterproofing. Applying a waterproof reinforcing tape or fabric membrane strip over these joints before applying your liquid membrane significantly strengthens these weak areas.
Press the tape into the corner while the first coat of liquid membrane is still wet, then apply a second coat over the top to fully embed it. This technique is used by professional waterproofers and makes a significant difference to the longevity of your waterproofing on a budget.
Keep Exploring


How to Waterproof a Shower on a Budget
The shower is the highest risk area in any bathroom and deserves the most attention when it comes to budget waterproofing. Water in a shower is constant, pressurised, and directed — meaning any gaps in your waterproofing will be found and exploited quickly.
If you are retiling or renovating your shower, installing a cement board or foam backer board before tiling is one of the most affordable upgrades you can make. Unlike standard drywall, these materials do not absorb water and will not deteriorate behind your tiles. A full sheet of cement board costs very little compared to the damage a wet wall can cause.
Once your backer board or existing wall surface is prepared, apply a liquid waterproof membrane across the entire shower area including the floor, walls, and the lip of the shower. Apply two to three coats and use reinforcing tape at all corners and joints as described above.
After tiling, seal all grout lines with a quality grout sealer. Grout is porous and, left unsealed, it absorbs moisture every time you shower. Reapplying grout sealer once a year is one of the cheapest and most effective ongoing waterproofing maintenance steps you can take.
How to Waterproof Bathroom Floors on a Budget
Bathroom floor waterproofing is just as important as walls, particularly around the shower base, toilet, and any floor drains. Water that seeps through the floor can damage the subfloor below and, in multi-story homes, leak through to the ceiling of the room beneath.
For tiled bathroom floors, the process is similar to walls. Apply a liquid waterproof membrane to the entire floor surface before tiling, paying special attention to the area around the floor drain. Make sure the membrane extends up the wall by at least 100mm to prevent water from creeping under the wall base.
Ensure the membrane is fully cured before installing tiles. Once tiled, seal the grout and use silicone caulk along the junction between the floor tiles and the wall tiles rather than grout, which can crack over time in this high-movement area.
For non-tiled bathroom floors, waterproof vinyl flooring is an excellent budget option. Modern luxury vinyl plank flooring is 100% waterproof, affordable, easy to install as a DIY project, and comes in a huge range of styles that can genuinely transform a bathroom’s appearance.
How to Use Silicone Caulk for Bathroom Waterproofing
Silicone caulk is arguably the most underrated and most cost-effective waterproofing product available. It should be applied anywhere two surfaces meet in a bathroom, including where the bathtub or shower tray meets the wall, where the floor meets the wall, around the base of the toilet, around sink and vanity edges, and around the perimeter of any fixtures penetrating the wall such as taps and showerheads.
To apply silicone caulk correctly, first remove any old, cracked, or mouldy caulk using a caulk remover tool or utility knife. Clean the surface thoroughly and dry completely. Apply painter’s tape on both sides of the joint for a neat finish. Cut the tip of the caulk tube at a 45-degree angle, apply a smooth continuous bead, then smooth it with a wet finger or a caulk tool. Remove the tape before the silicone skins over.
Using 100% silicone rather than acrylic caulk is important in wet areas. Silicone remains flexible as the building moves and expands with temperature changes, while acrylic caulk can crack and allow water in. A good tube of silicone caulk is inexpensive and one of the best investments in budget bathroom waterproofing.
How to Seal Grout Lines to Prevent Bathroom Water Damage
Grout sealing is a simple, affordable, and highly effective step that most homeowners skip entirely. Unsealed grout absorbs moisture with every shower or bath, gradually allowing water to penetrate behind tiles and into the substrate below.
To seal grout on a budget, purchase a penetrating grout sealer from any hardware store. Clean the grout lines thoroughly and allow them to dry completely. Apply the sealer using a small foam brush or the applicator tip of the bottle, working it into each grout line. Wipe away any excess sealer from the tile surface with a clean cloth before it dries.
The entire process for an average bathroom takes less than an hour and costs very little. Repeat the application once every 12 months in shower areas and once every 18 to 24 months in lower-moisture zones for ongoing protection.
Budget Bathroom Waterproofing Tips to Make Your Money Go Further
These practical tips will help you get the maximum waterproofing performance from a minimal budget.
Always buy slightly more waterproofing membrane than you think you need. Running out mid-application and having to wait for a new delivery or shop trip creates weak spots where partially applied coats join.
Spend more on silicone caulk and less on other areas if you have to prioritise. Good quality silicone caulk at the joints and seams does more protective work than a mid-range membrane applied carelessly.
Fix any ventilation issues at the same time. A bathroom exhaust fan reduces overall moisture levels in the room, which takes pressure off your waterproofing system. A cheap and effective fan is a small investment that dramatically extends the life of your waterproofing.
Never waterproof over mould. Kill and remove all mould first, identify and fix the source of the moisture causing it, then apply your waterproofing. Sealing mould in with a membrane just continues the damage underneath.
Allow every coat and every product to cure fully before applying the next layer or tiling over it. Rushing this step is the most common reason DIY bathroom waterproofing fails prematurely.
Add Smart Storage Without Cluttering Your Bathroom
Once your bathroom is properly waterproofed, think about how to keep the space organized without overcrowding the counters or exposing unnecessary items to moisture. One budget-friendly way to do this is by making better use of vertical wall space. Bathroom floating shelves are a practical addition because they provide extra storage without taking up valuable floor space.
You can use them to organize folded towels, toiletries, skincare products, and small decorative accessories. However, since bathrooms are naturally humid environments, choose moisture-resistant materials such as sealed wood, metal, or glass. Make sure shelves are installed securely, avoid placing them directly where shower water constantly splashes, and seal any drilled holes or wall penetrations properly to prevent moisture from getting behind the surface.
For more inspiration, explore these creative bathroom floating shelf ideas to discover stylish ways to combine practical storage with a clean, clutter-free bathroom design.
Common Bathroom Waterproofing Mistakes to Avoid on a Budget
Skipping surface preparation is the biggest and most costly mistake. No budget product will compensate for a poorly prepared surface.
Using regular paint instead of a dedicated waterproofing membrane in wet zones is another common error. Standard paint, even bathroom-specific paint, is moisture resistant at best — not waterproof. In a shower or around a bathtub, only a proper waterproof membrane will hold up long term.
Forgetting to waterproof the floor-to-wall junction is a very common oversight. This is where most bathroom leaks originate, and it needs reinforcing tape plus membrane for reliable protection.
Using grout in movement joints where walls meet floors or where the bath meets the wall is a mistake that will lead to cracks and water infiltration. These joints need flexible silicone, not rigid grout.
Conclusion
Waterproofing your bathroom on a budget is absolutely achievable with the right products, careful preparation, and methodical application. The key is understanding that budget bathroom waterproofing is not about buying the cheapest products and hoping for the best — it’s about prioritising the most vulnerable areas, using cost-effective materials correctly, and not cutting corners on preparation and drying times.
By following the steps in this guide — from applying liquid waterproof membranes and reinforcing corners to sealing grout lines and using quality silicone caulk — you can protect your bathroom from costly water damage for years to come. A small investment of time and a modest spend on the right materials today is the smartest financial decision you can make for your home.
Frequently Asked Questions About Waterproofing Your Bathroom
What is the cheapest way to waterproof a bathroom?
The most affordable approach is a combination of brush-on liquid waterproof membrane for walls and floors, 100% silicone caulk for all joints and seams, and a grout sealer for tiled surfaces. Together, these three products cover all the main moisture entry points at a very low cost.
Can I waterproof a bathroom myself without professional help?
Yes, absolutely. DIY bathroom waterproofing is well within the skill set of most homeowners. The products available today are designed for easy application with basic tools. The key to success is following product instructions carefully, preparing surfaces thoroughly, and not rushing drying times between coats.
How long does DIY bathroom waterproofing last?
A properly applied liquid membrane with sealed grout and quality silicone caulk can last 10 or more years. The weakest link is typically the silicone caulk at joints, which should be inspected annually and replaced every 5 to 7 years or whenever you notice cracking, peeling, or discolouration.
Do I need to waterproof behind bathroom tiles?
Yes. Tiles and grout alone are not waterproof. Water penetrates grout lines and tile edges regularly, especially in shower areas. A waterproof membrane applied behind tiles before installation is essential for long-term protection of the wall substrate and structure beneath.
How do I know if my bathroom has a waterproofing problem?
Common signs of a bathroom waterproofing failure include peeling paint or wallpaper on adjacent walls, soft or spongy flooring, mould or mildew that keeps returning after cleaning, visible water stains on ceilings below the bathroom, and a persistent musty smell even after the bathroom is cleaned and ventilated.
Is waterproof paint enough for a shower?
Waterproof paint or moisture-resistant paint is not sufficient on its own for a shower area. Showers require a dedicated waterproof membrane that creates a continuous, fully sealed barrier. Waterproof paint can be useful as an added layer of protection in lower-risk areas like general bathroom walls but should not be relied upon as the primary waterproofing in wet zones.
How often should I reseal bathroom grout?
In shower areas and around the bathtub, reseal grout every 12 months. In lower-moisture areas like the bathroom floor away from the shower, every 18 to 24 months is generally sufficient. If water no longer beads on the grout surface, it’s time to reseal.