14+ Patio Kitchen DIY Ideas You Can Try at Home
An outdoor kitchen does not have to cost tens of thousands of dollars or require a professional contractor to build. Some of the most functional, most beautiful, and most personally satisfying outdoor kitchen setups are built by homeowners themselves over a weekend or two with basic tools, accessible materials, and a clear plan. The DIY approach to an outdoor kitchen gives you something that a professionally installed version rarely delivers: a setup that is exactly what you wanted, built exactly the way you wanted it, for a fraction of the cost.
The barrier to entry for a DIY patio kitchen is lower than most people assume. You do not need advanced carpentry skills or masonry experience to build a functional outdoor cooking and entertaining setup. You need a clear idea of what you want the space to do, the right materials for outdoor conditions, and the patience to build it properly rather than quickly. The projects on this list range from genuinely beginner-level afternoon builds to more ambitious weekend projects that require some basic construction skills.
Why DIY Is Such a Good Approach to an Outdoor Kitchen
Beyond the obvious cost savings, there are several compelling reasons why building your own outdoor kitchen produces better results than buying a prefabricated setup or hiring everything out.
Custom fit is the most significant advantage. A DIY outdoor kitchen can be built to the exact dimensions of your specific patio space, designed around your specific grill model, and configured to match your specific cooking and entertaining habits in a way that no off-the-shelf modular system can achieve. The result fits your space like it was made for it, because it was.
Material choice is entirely in your hands. When you build it yourself, you choose every material, every finish, and every hardware component. You can invest more in the countertop material and less in the cabinet base. You can use reclaimed timber that has character and history. You can match the stone or tile exactly to your existing patio materials. These choices create a cohesive, intentional result that prefabricated kits rarely deliver.
The satisfaction factor is also genuinely real. Cooking in an outdoor kitchen that you built yourself adds a layer of personal pride to every meal you prepare in it that a purchased setup simply does not provide. Every guest who compliments the space and learns you built it yourself is a meaningful payoff for the effort involved.
What to Plan Before You Build Anything
Jumping into a DIY patio kitchen project without adequate planning is the fastest route to wasted money, frustration, and a half-finished structure that sits on your patio causing regret. Here is what to think through before you buy a single board or bag of cement.
Define the Scope Clearly
Decide before you start exactly what your DIY outdoor kitchen will include and what it will not. A clearly defined scope prevents the project from expanding mid-build as enthusiasm outpaces budget and time. Write down every component you plan to build or install: the counter structure, the grill cutout, any sink plumbing, the countertop material, storage, and any finishing touches. Budget and timeline for every item on that list before you begin.
Check Local Codes and HOA Rules
Any outdoor structure that includes a gas connection, electrical wiring, or plumbing typically requires a permit in most US jurisdictions regardless of whether you build it yourself or hire a contractor. Gas connections in particular must be installed by a licensed professional in most areas. Check your local building department requirements and your HOA rules if applicable before beginning any permanent outdoor kitchen construction.
Choose Materials That Handle Outdoor Conditions
The single most common DIY outdoor kitchen mistake is using indoor-rated materials in an outdoor environment. Standard plywood, indoor lumber, interior-grade tile adhesive, and standard paint all fail quickly when exposed to rain, UV, temperature swings, and cooking grease in an outdoor setting. Every material in your DIY outdoor kitchen should be specifically rated for outdoor use. Pressure-treated lumber or cedar for structural framing, exterior-grade cement board for substrate, outdoor-rated tile adhesive and grout, and marine-grade or powder-coated hardware throughout.
Plan Utility Routes Before Building the Structure
If your outdoor kitchen will include any gas, water, or electrical utilities, plan the routing of those utilities through the structure before you begin building anything. Retrofitting a gas line or drain pipe through a completed masonry or timber structure is significantly more difficult and expensive than running utilities through the structure as it is being built. Sketch the utility routes on your plans and confirm they are feasible before you begin construction.
Essential Tools for a DIY Patio Kitchen Build
The tools you need vary depending on which projects from this list you are tackling, but here is the core toolkit that covers the majority of DIY outdoor kitchen builds.
A circular saw or miter saw handles all lumber and sheet material cutting. A drill and impact driver handles fastener installation and is probably the single most-used tool in any outdoor kitchen build. A level is non-negotiable for any countertop, cabinet, or structural installation where level matters to both function and appearance. A grinder with a diamond blade handles any masonry cutting for brick, block, or tile work. A trowel set is essential for any concrete or mortar work. Safety glasses, hearing protection, and work gloves should be considered essential equipment for every project on this list.
These 14 ideas cover every budget, every skill level, and every patio situation so you can find the right DIY kitchen project for your specific setup and start cooking outside properly.
1. Pallet Bar Counter
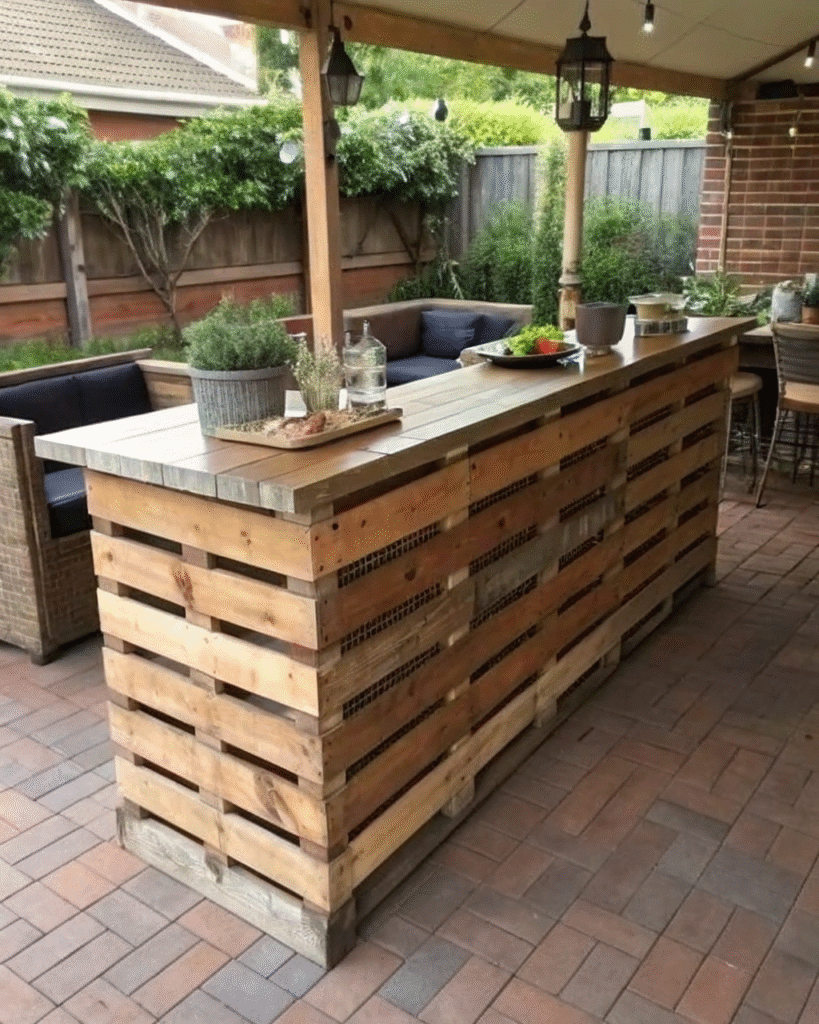
Repurpose wooden pallets to create a rustic and budget-friendly kitchen counter.
Pro Tip: Sand the wood well and apply a waterproof sealant for outdoor durability.
2. Concrete Countertop

A concrete countertop adds a sleek, modern look and is easy to maintain.
Pro Tip: Use molds to pour the concrete and polish the surface for a smooth finish.
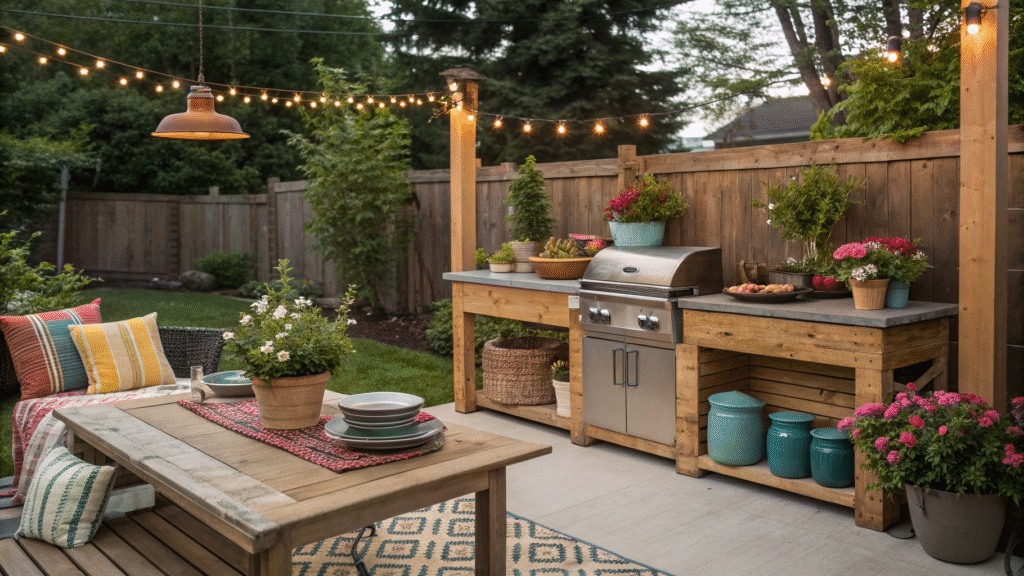
3. Built-In Grill Station

Build a compact grill station using stone or brick for a custom touch.
Pro Tip: Leave counter space on both sides for prepping and plating food.
4. Wooden Serving Table
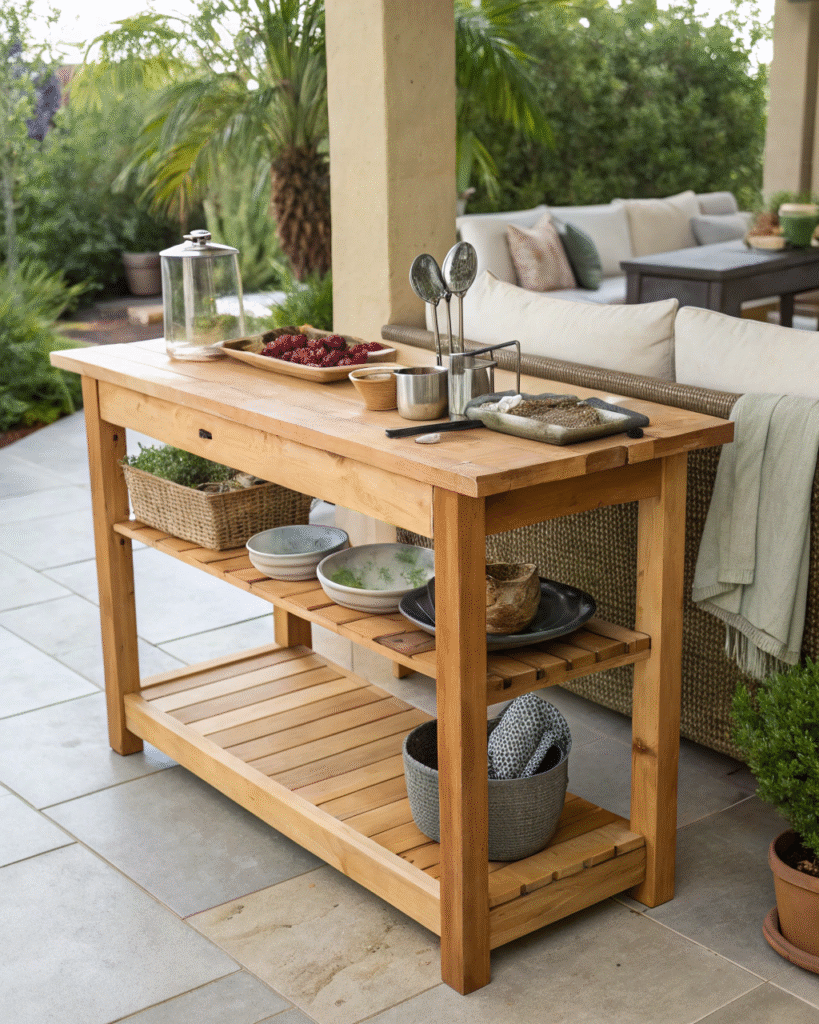
A simple wooden table doubles as both a prep area and serving zone.
Pro Tip: Add wheels for mobility so you can move it around during gatherings.
5. DIY Sink Setup
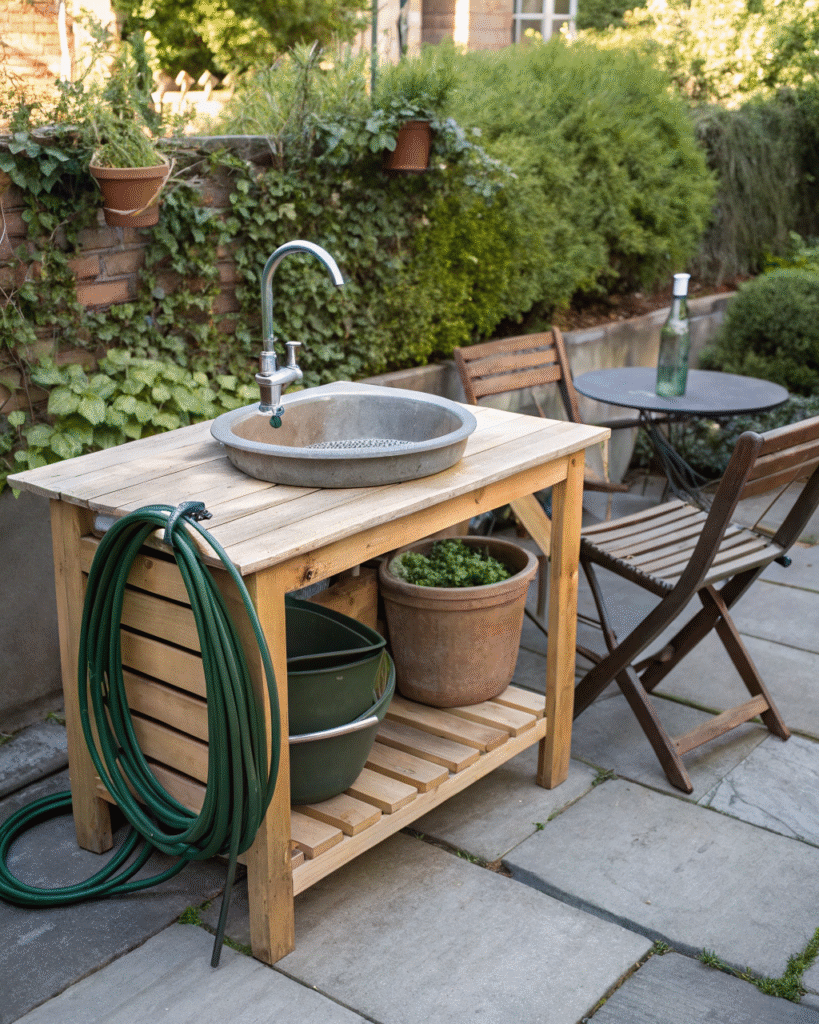
Install a small sink using a garden hose and basin for easy outdoor cleanup.
Pro Tip: Use a bucket drainage system if plumbing isn’t available nearby.
6. Tile Backsplash
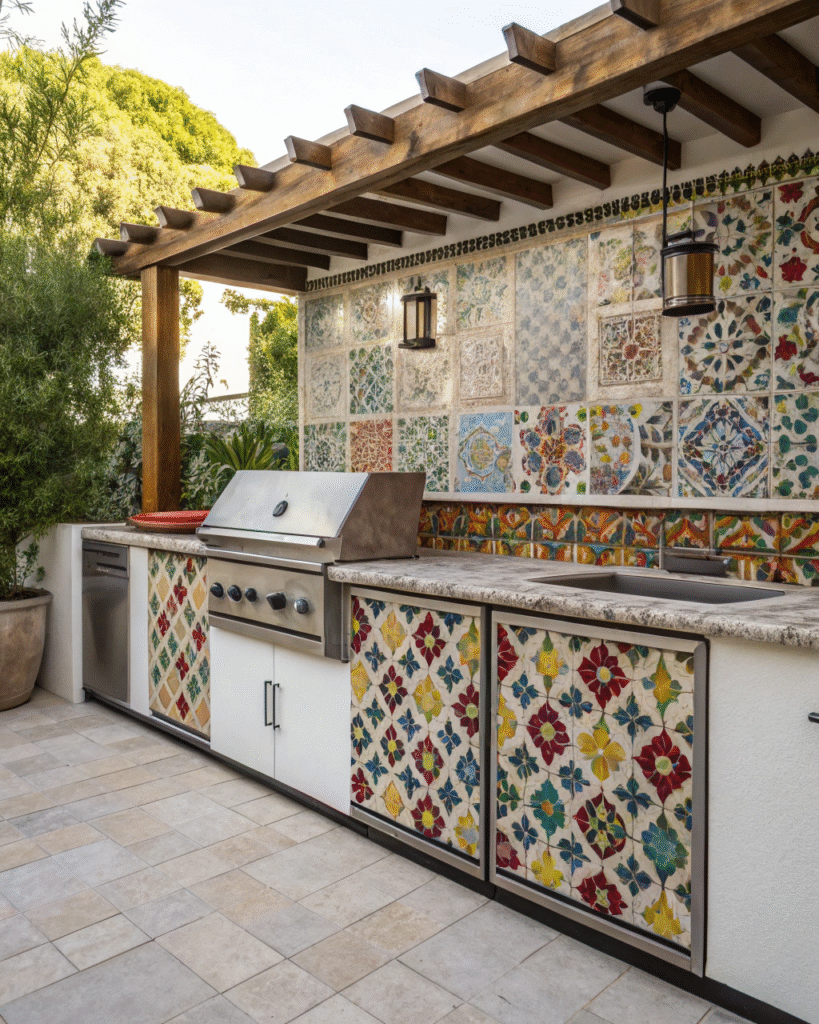
Add a colorful or patterned tile backsplash to brighten your patio kitchen.
Pro Tip: Use outdoor-grade adhesive and grout for weather resistance.
7. Portable Kitchen Cart
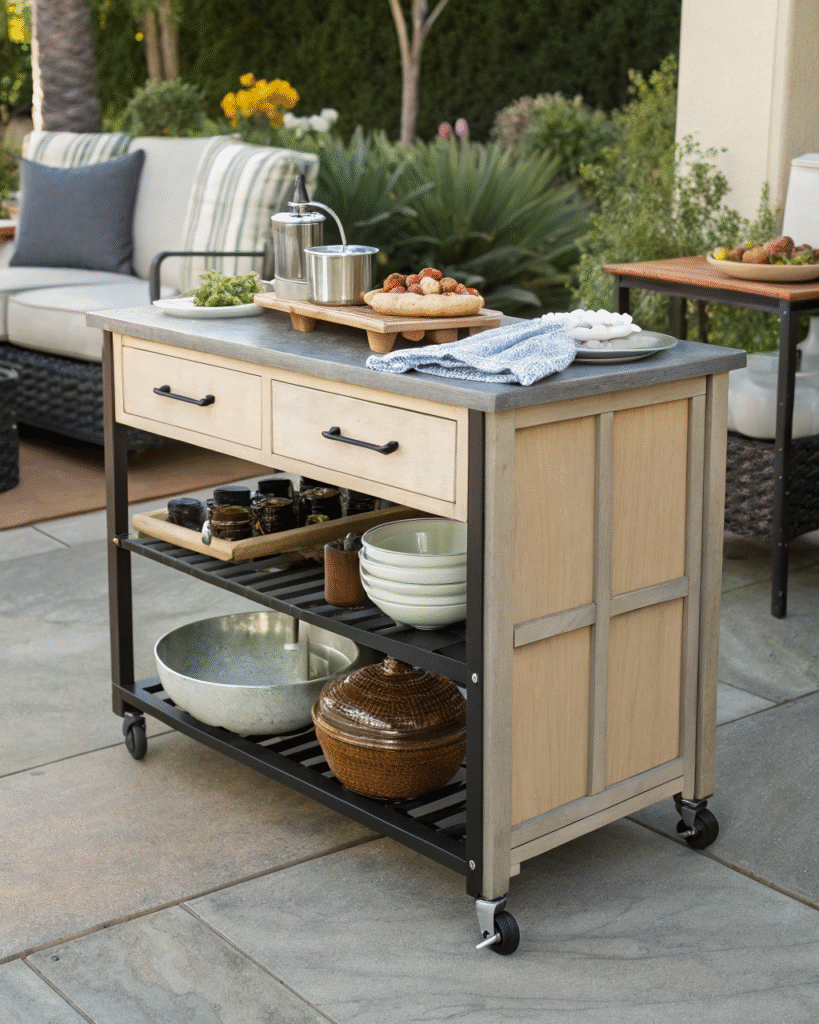
A movable kitchen cart keeps everything within reach and saves space.
Pro Tip: Store utensils, spices, and condiments in baskets or small bins underneath.
8. Herb Garden Shelf
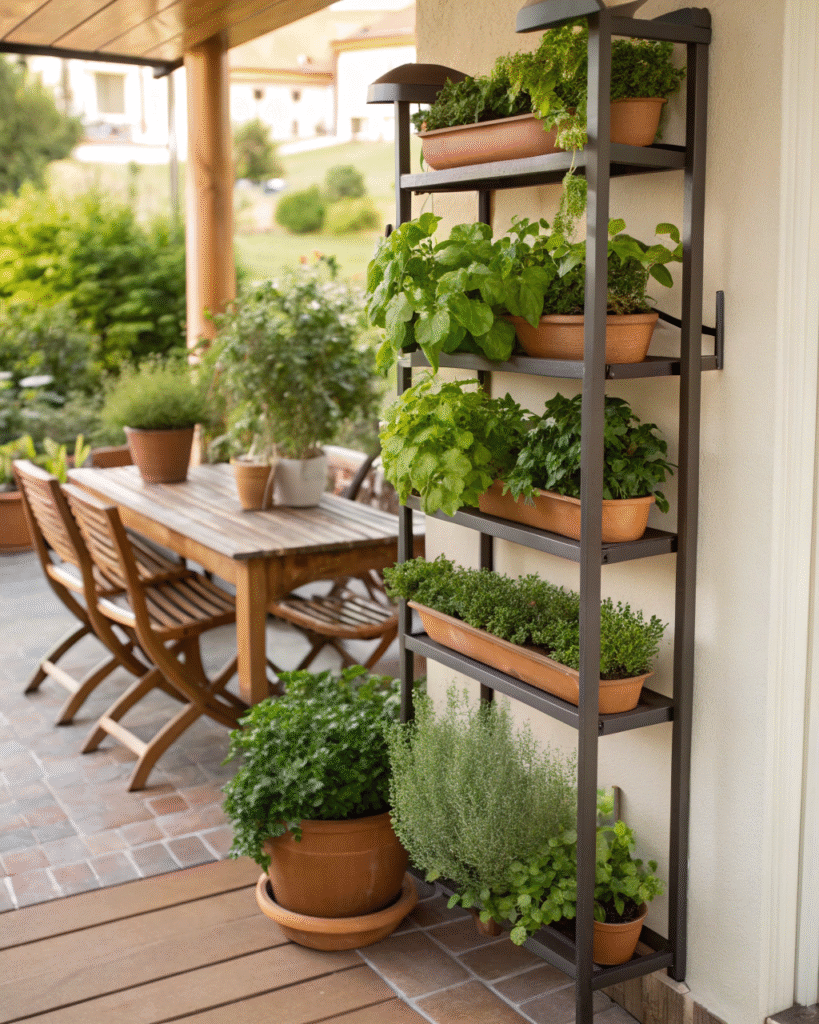
Install a vertical shelf for herbs that adds greenery and fresh flavor to your meals.
Pro Tip: Choose sun-loving herbs like rosemary, basil, and oregano for easy upkeep.
9. Recycled Brick Base
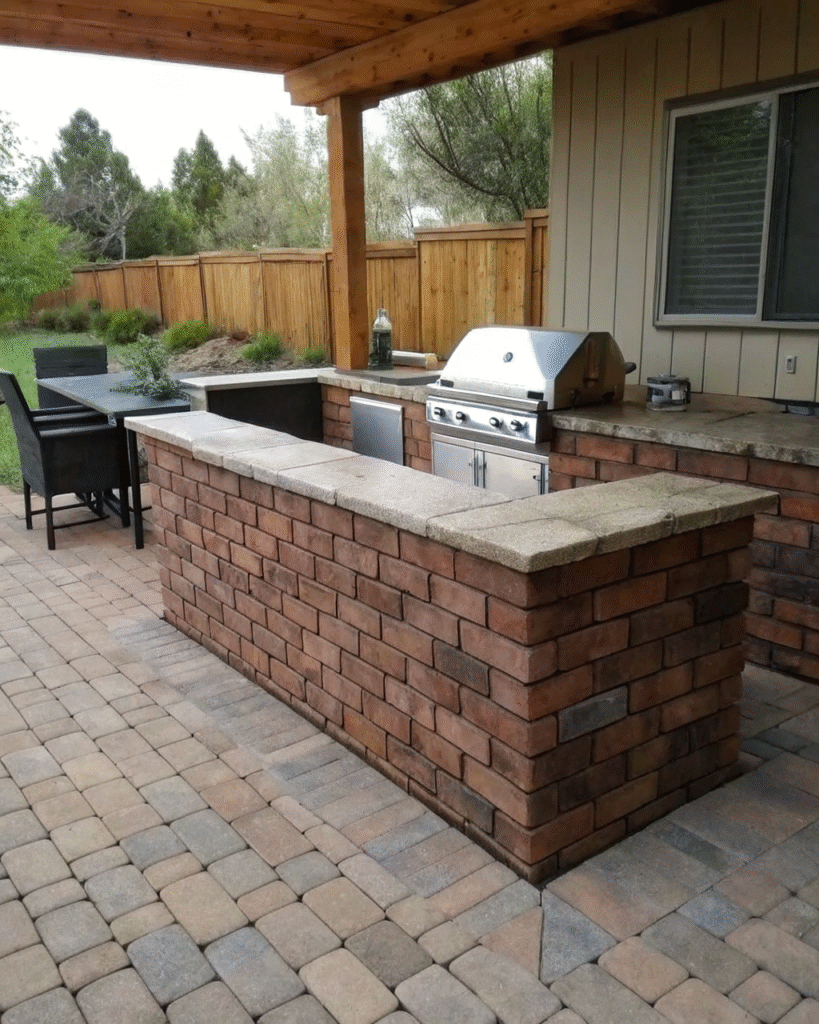
Use old bricks to build a sturdy base for your outdoor cooking area.
Pro Tip: Keep the layout simple and even for a clean, classic look.
10. DIY Outdoor Cabinets
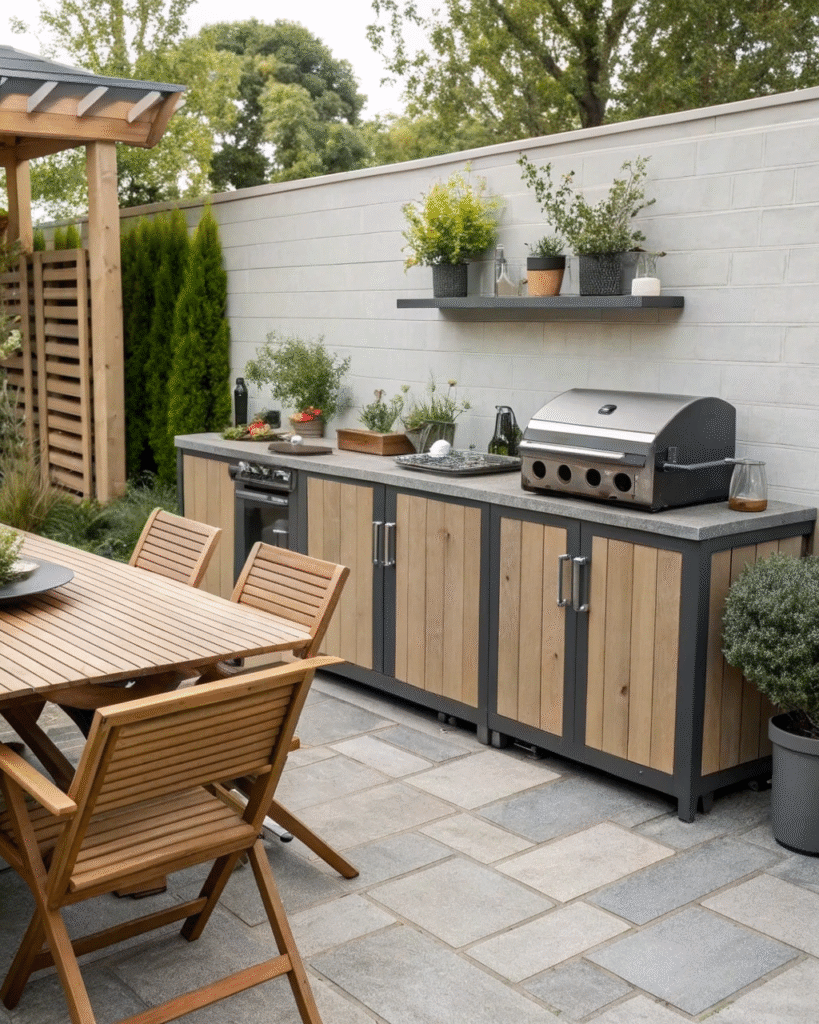
Add weatherproof cabinets to store tools and cooking essentials neatly.
Pro Tip: Use stainless steel or sealed plywood for long-lasting storage.
11. Mini Pizza Oven
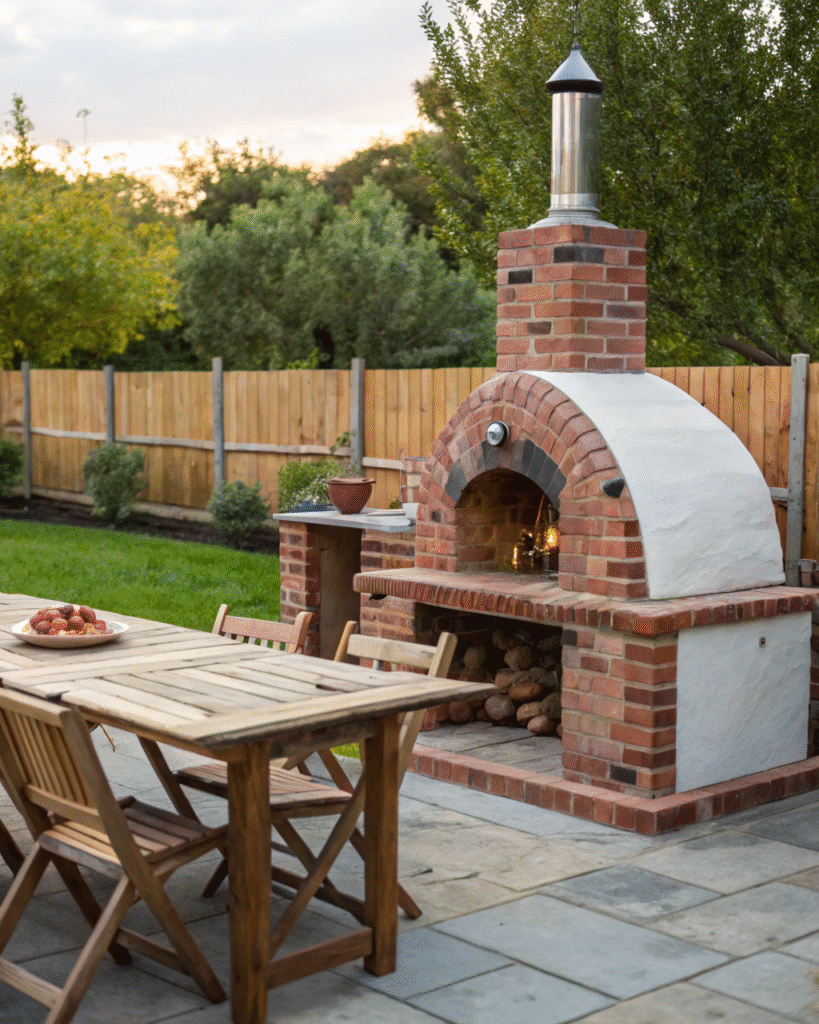
Build a small brick or clay pizza oven for family-friendly outdoor meals.
Pro Tip: Keep it compact and portable if you have limited patio space.
12. Hanging Utensil Rack
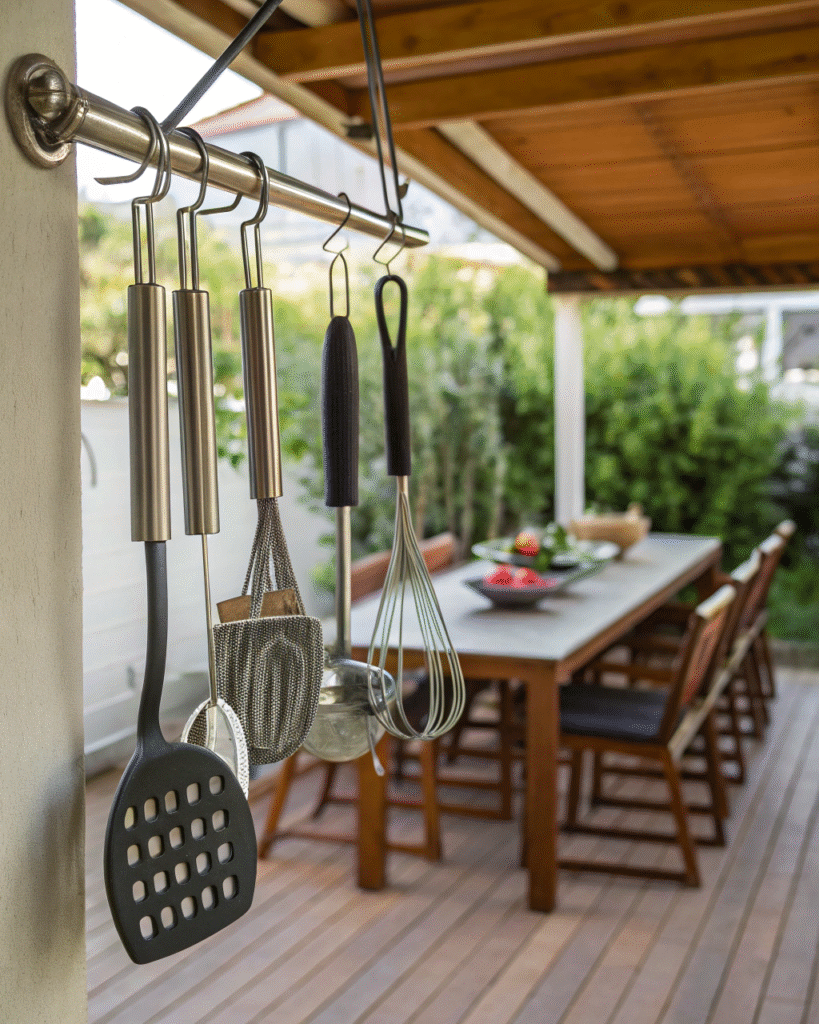
Mount a metal rod or hooks to hang spatulas, tongs, and other cooking tools.
Pro Tip: Arrange by size for a tidy, organized look that’s easy to use.
13. Stone Island Base
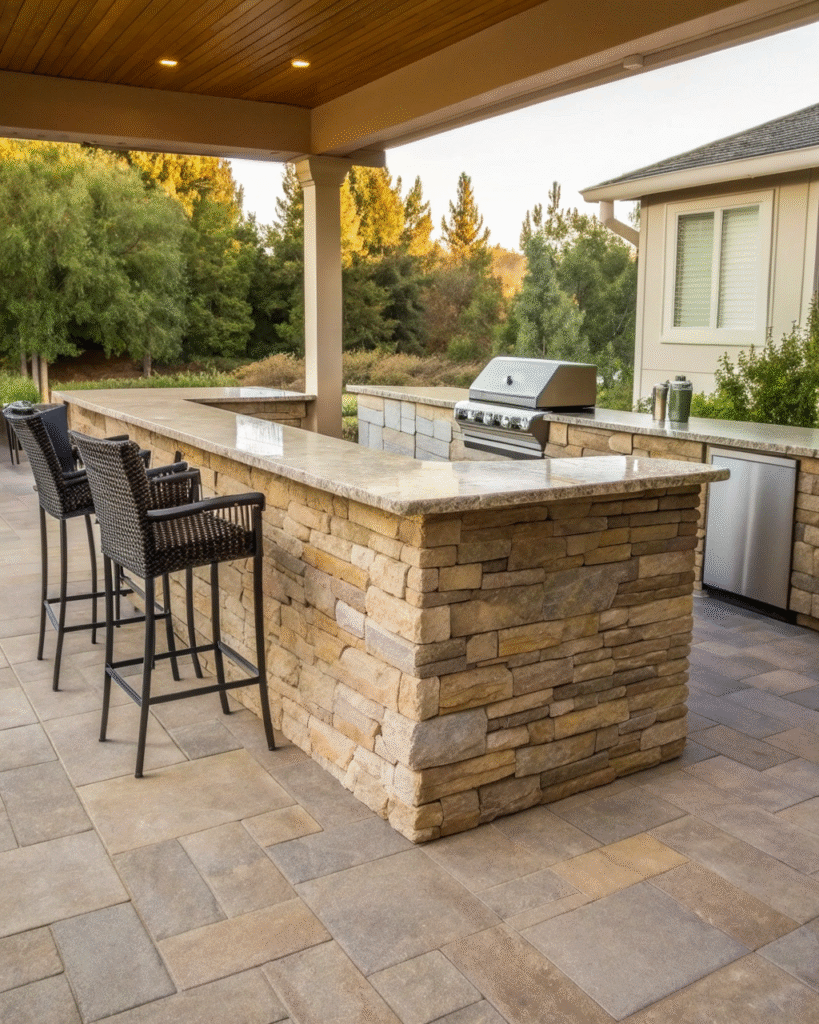
Create a simple island counter using stacked stone for a polished, natural finish.
Pro Tip: Combine it with a wooden top for warmth and contrast.
14. Beverage Prep Station

Set up a DIY drink corner with a countertop and cooler underneath.
Pro Tip: Decorate with bar tools and glass jars for an effortless outdoor bar vibe.
Final Thoughts
A DIY patio kitchen is one of the most rewarding outdoor home improvement projects you can take on. It gives you a custom, personal, genuinely functional outdoor cooking and entertaining space built exactly to your specifications for a fraction of what a professionally installed version would cost and with a level of satisfaction that no purchased product can fully replicate.
Start with the project that fits your current skill level and budget, build it properly with the right outdoor-rated materials, and let it serve as the foundation for a patio kitchen that grows with your ambition and your outdoor living habits over time. The first project is always the hardest. Everything after it gets easier and more enjoyable, and every meal you cook in the space you built yourself will remind you exactly why you decided to build it.
Frequently Asked Questions
What is the easiest DIY outdoor kitchen project for a beginner?
A wooden serving table, a pallet bar counter, and a hanging utensil rack are the three most beginner-accessible projects on this list. All three require only basic cutting and fastening skills, use widely available materials, and can be completed in a single day without any specialized knowledge or equipment. Any of these three makes an excellent first outdoor kitchen project that builds confidence and skills for more ambitious builds later.
What wood is best for DIY outdoor kitchen builds?
Cedar and pressure-treated pine are the most widely available and most practical choices for DIY outdoor kitchen structural elements. Cedar is naturally rot-resistant, weathers beautifully to a silver-grey patina, and does not require chemical treatment. Pressure-treated pine is less expensive, extremely rot-resistant due to its preservative treatment, and is the standard choice for any structural element that will be in contact with the ground or concrete. For countertop surfaces, teak is the most durable and beautiful natural wood option though it is significantly more expensive than cedar or pine.
How do I waterproof a DIY outdoor kitchen countertop?
For concrete countertops, apply a penetrating concrete sealer after the concrete has cured fully for at least 28 days, then reapply annually. For timber countertops, apply multiple coats of a quality exterior hardwax oil or marine-grade varnish and reapply every one to two seasons depending on weather exposure. For tiled countertops, use exterior-grade grout sealer on all grout lines after the installation has cured and reapply annually. Always allow any sealer to cure completely before exposing the surface to water or food.
Do I need a permit to build a DIY outdoor kitchen?
You may well need one depending on where you live and what your outdoor kitchen includes. Structures that include a gas connection, electrical wiring, or plumbing almost always require permits and licensed trade professionals for the utility connections regardless of who builds the structure itself. Permanent masonry or concrete block structures above a certain size often require a building permit. Check with your local building authority before beginning any permanent outdoor kitchen construction.
How do I protect DIY outdoor kitchen cabinets from weather?
Use marine-grade plywood for the cabinet construction, seal all cut edges with exterior primer before assembly, and apply two to three coats of a quality exterior paint or marine-grade varnish to all exterior surfaces. Install stainless steel or powder-coated hardware throughout as standard zinc-plated hardware rusts quickly in outdoor conditions. In climates with harsh winters, store removable elements inside during the off-season and cover permanent cabinets with fitted outdoor covers to extend their lifespan significantly.