11+ Patio Knee Wall Ideas for a Stylish Touch
A patio knee wall adds both structure and style to your outdoor space.
Whether you want to define seating areas, add privacy, or bring texture with stone or brick, these ideas will help you design a knee wall that feels both functional and beautiful.
What is a Patio Knee Wall and Why Should You Build One?
If you haven’t come across the term before, a patio knee wall is a low wall, typically between 18 and 36 inches tall, built along the edge or perimeter of a patio. It sits at roughly knee height, which is where the name comes from, and it does an enormous amount of work for a relatively modest structure.

At its most basic, a knee wall defines the boundary of your patio and separates it from the rest of the garden. But done well, it does so much more than that. It creates a sense of enclosure and intimacy that an open, edgeless patio simply can’t achieve. It gives you built-in seating without needing a single piece of furniture. It can retain a slope, hide a level change, support a pergola or overhead structure, and become one of the most beautiful architectural features in your entire outdoor space.
Think of a patio knee wall as the difference between a garden that has a patio in it and an outdoor room. That sense of having somewhere defined and intentional to arrive at, somewhere with walls and edges and a feeling of belonging, is exactly what a knee wall creates. It’s one of the most underrated upgrades in outdoor design and one of the most impactful for the money spent.
Patio Knee Wall Materials: A Full Guide to Every Option
The material you choose for your knee wall sets the tone for the entire patio. Here’s a thorough breakdown of every option, what it looks like, what it costs, and what it works best with:
Natural Stone Knee Wall
Natural stone is the most timeless and beautiful option available. Limestone, sandstone, slate, and granite all make stunning knee walls with a quality and depth that no manufactured product can match. Dry-stacked natural stone (laid without mortar, relying on careful placement for stability) creates a beautifully rustic, organic look. Mortared natural stone gives a more polished, permanent finish.
Natural stone works with almost every garden style from a classic English cottage garden to a sleek modern terrace. It weathers beautifully over time, developing moss and patina that only adds to its character. It’s also the most expensive option, with natural stone knee walls typically costing two to three times more than brick or concrete block.
Brick Knee Wall
Brick is one of the most popular choices for patio knee walls because it’s durable, affordable, widely available, and matches the exterior of most homes. Red brick has a classic, traditional appeal that suits cottage, farmhouse, and period homes beautifully. Stock brick in buff or grey tones works well with contemporary and modern homes. Whitewashed or lime-rendered brick sits somewhere in between and has a clean, relaxed charm.
For a knee wall that looks properly considered and professional, always try to match or complement the brickwork of your house. A knee wall built in the same brick as your home looks like it was planned from the beginning rather than added as an afterthought.
Concrete Block Knee Wall
Concrete block is the most cost-effective structural option and the backbone of many knee walls that are then faced with a more decorative material. On its own, plain concrete block looks purely functional and benefits from being rendered, clad in stone veneer, or tiled to improve its appearance. Rendered and painted concrete block walls have a clean, contemporary look that works well in modern garden schemes.
Concrete block is an excellent choice if you want a strong, stable retaining wall that you intend to finish with something else on the surface.
Rendered and Painted Knee Wall
A rendered knee wall, where the blockwork or brickwork is covered in a smooth sand and cement render and then painted, is enormously versatile because the colour is entirely in your hands. White rendered knee walls look crisp and Mediterranean. Soft grey or taupe looks contemporary and understated. A bold charcoal or deep green can make the wall itself a real design feature.
Rendered walls need to be properly sealed and maintained to prevent cracking and water ingress over time, but done well they look incredibly clean and modern.
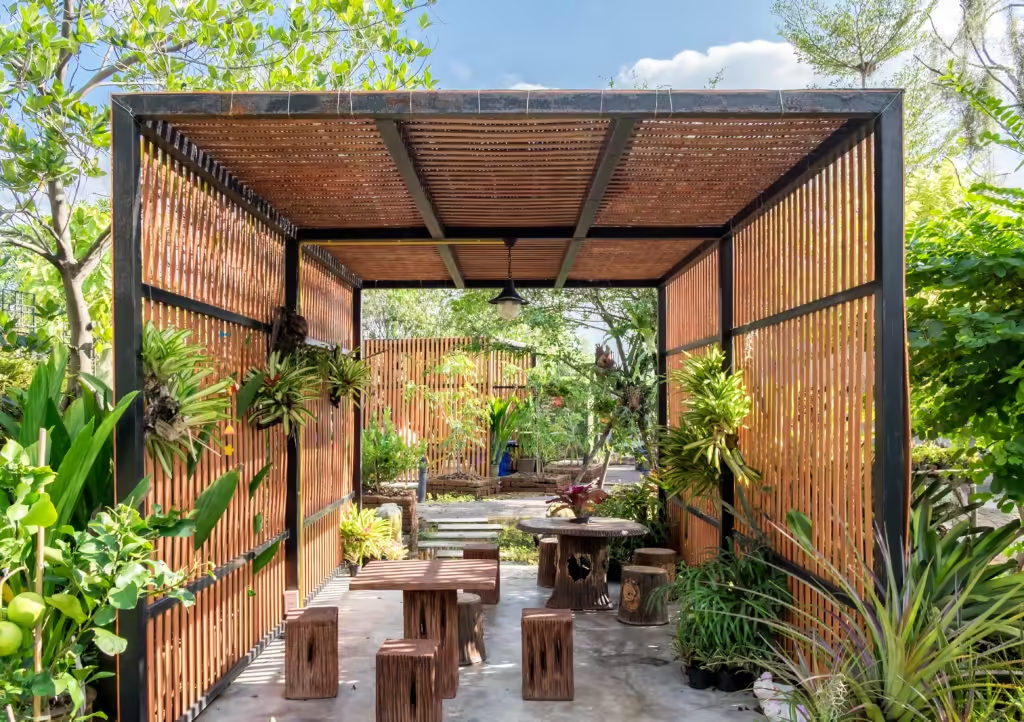
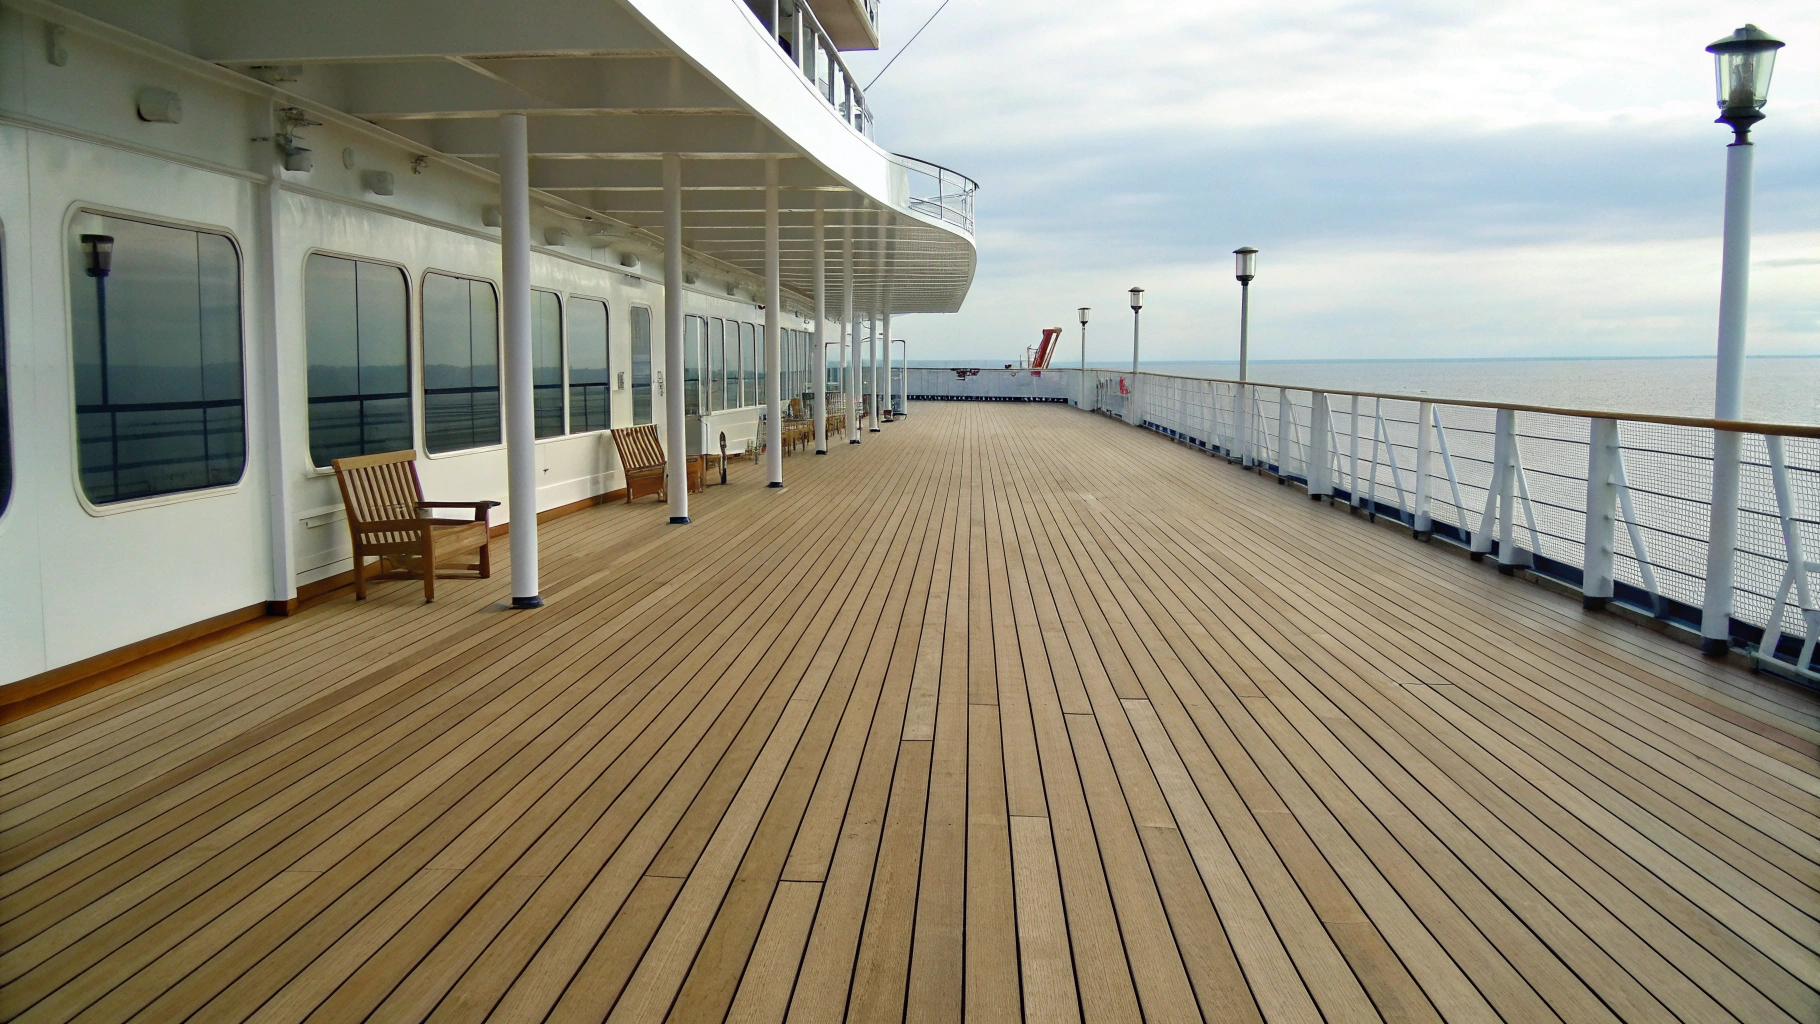
Timber and Sleeper Knee Walls
Railway sleepers and hardwood timbers make beautiful, informal knee walls that suit cottage gardens, rustic patios, and naturalistic planting schemes particularly well. They’re quick to install, relatively inexpensive, and create a warm, organic boundary. Stacked horizontally, two or three sleepers high, they make an excellent low retaining wall on a gently sloping site.
The limitation of timber knee walls is longevity. Even treated hardwood will eventually degrade outdoors, particularly at ground level where moisture is highest. Oak sleepers are the most durable option. Softwood should always be avoided for ground contact.
Gabion Knee Walls
Gabion walls, wire mesh cages filled with stones, rocks, or even recycled glass or wood, are one of the most contemporary and architecturally interesting knee wall options available. They look striking, they’re excellent for drainage, and they can be filled with whatever material suits your aesthetic. River cobbles, local stone, crushed slate, and even recycled concrete all work well as fill material.
Gabions suit modern, industrial, and naturalistic garden styles particularly well. They’re also a relatively affordable way to achieve a stone-look wall without the cost of solid natural stone construction.
Corten Steel Knee Wall
For the most contemporary and architecturally bold patio edge, Corten steel panels make a genuinely stunning knee wall. The warm rusty orange patina of weathered Corten is incredibly beautiful against planting, pale stone paving, or dark composite decking. It’s low maintenance once fully weathered, extremely durable, and looks like nothing else. Corten suits modern, minimalist, and industrial outdoor spaces and is worth serious consideration if your aesthetic leans in that direction.
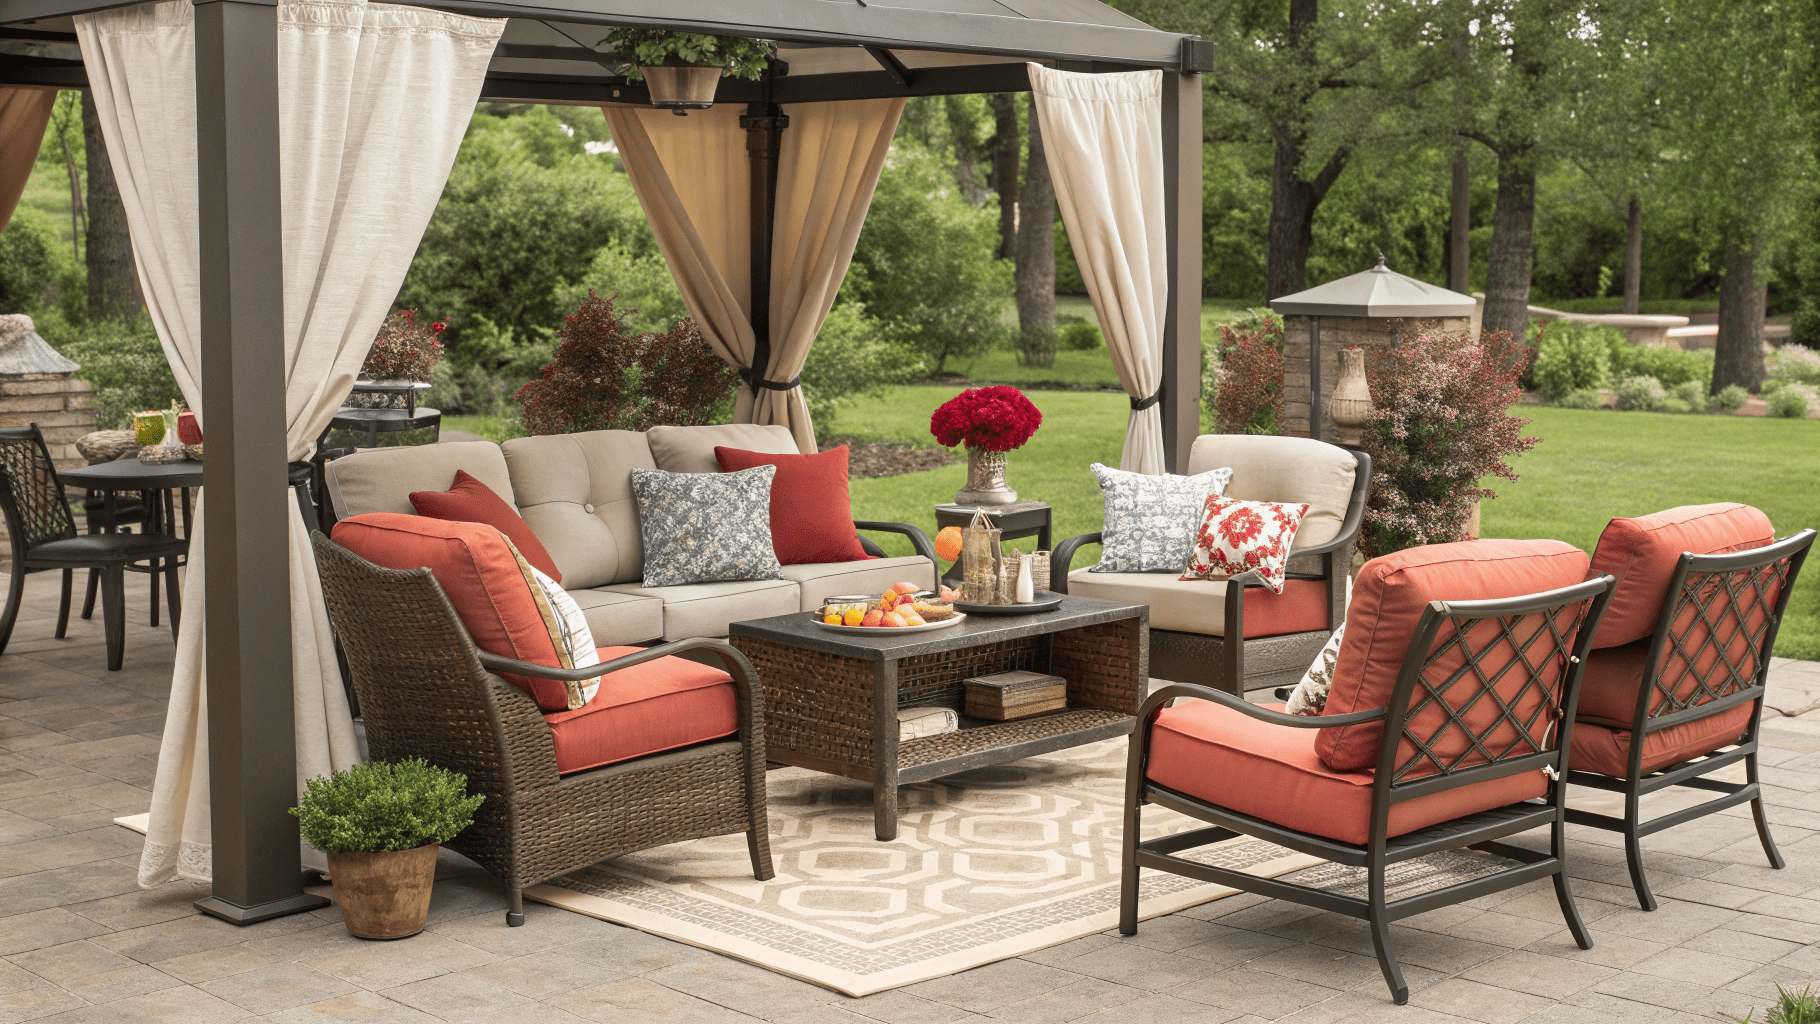
Patio Knee Wall with Seating Cap: The Most Practical Upgrade
Adding a seating cap to the top of your patio knee wall is one of the smartest outdoor design decisions you can make. It turns a structural element into a functional one and adds seating capacity to your patio without a single piece of furniture.
What Makes a Good Seating Cap
A seating cap needs to be wide enough to sit on comfortably. The minimum is around 12 inches but 16 to 18 inches is much more comfortable for adults. It needs to be at the right height, between 17 and 20 inches from finished patio level, which is the same as a standard chair seat height. And it needs to be made from a material that’s comfortable to sit on and weather-resistant.
Best Materials for a Seating Cap
Natural stone caps, particularly in smooth-sawn limestone, sandstone, or granite, are the most popular choice. They look beautiful, feel smooth and comfortable to sit on, and age gracefully. Large format porcelain caps are an increasingly popular alternative, offering the look of natural stone with better stain and frost resistance. Hardwood timber caps bring warmth and a natural feel, particularly on rendered or stone walls. Smooth concrete caps have a clean, contemporary look that works brilliantly on modern patios.
Adding Cushions
If you want to use your knee wall as proper seating rather than just occasional perching, outdoor seat cushions cut to the width of your cap transform the comfort level entirely. Many outdoor cushion suppliers will cut to custom sizes. Choose a weatherproof outdoor fabric and store cushions inside when not in use, or invest in a storage bench nearby for easy access.
Patio Knee Wall with Lighting: How to Do It Beautifully
Lighting transforms a patio knee wall from a daytime feature to something magical in the evening. The right lighting approach depends on your wall material, your style, and how you use your outdoor space after dark.
Recessed Cap Lights
Small LED lights recessed into the top of the wall cap, or into the face of the wall just below the cap, cast a gentle downward glow that illuminates the patio surface without being harsh or glaring. This is the cleanest and most sophisticated lighting option and works beautifully on rendered, stone, and capped walls.
Uplighting at the Base
Uplights positioned at the base of the wall shining upward create a dramatic, warm effect that works particularly well on natural stone or textured block walls where the light catches all the variation in the surface. Solar spike uplights are an easy, cost-effective option. Hardwired low-voltage LED uplights look cleaner and more professional.
Strip Lighting Under the Cap
LED strip lighting installed in a channel under the cap creates a beautiful floating glow along the length of the wall. It’s subtle, atmospheric, and one of the most popular lighting choices for contemporary outdoor spaces. Use a warm white (2700K) LED strip for the most inviting, comfortable glow.
Lanterns and Candles on the Cap
The simplest and most immediate option. A row of lanterns along the top of the cap with candles or LED candles inside looks incredibly inviting and takes zero installation. It’s also the most flexible option since you can move and change them with the seasons. Hurricane lanterns, ceramic lanterns, and simple glass cylinders with pillar candles all look beautiful on a wide stone or timber cap.
Patio Knee Wall as a Retaining Wall: What You Need to Know
If your patio sits on a slope or at a different level to the surrounding garden, your knee wall will also be doing a job as a retaining wall, holding back soil and managing the level change. This introduces structural requirements that a purely decorative wall doesn’t need to consider.
How Much Can a Knee Wall Retain?
A properly built knee wall can retain up to around 3 feet of soil height, which covers most residential patio situations. Beyond that, you’re moving into territory that requires engineering input and potentially planning permission in some jurisdictions.
Drainage is Critical
Any retaining wall must allow water to drain through or around it. Water that builds up behind a retaining wall creates enormous hydrostatic pressure that will eventually push the wall over, no matter how well built it is. The solution is to either incorporate drainage holes (weep holes) at regular intervals along the base of the wall, install a French drain or perforated pipe behind the wall, or use a free-draining backfill material like gravel or crushed stone rather than packing clay soil directly behind the wall face.
Foundations for a Retaining Knee Wall
A retaining wall needs a proper foundation, typically a concrete footing poured below the frost line. The rule of thumb is that your footing should be buried at least as deep as the wall is tall, so a 24-inch knee wall needs at least a 24-inch deep footing. Skipping this step is the most common reason DIY retaining walls fail within a few years.
When to Call a Professional
If your wall needs to retain more than 2 feet of soil, if your site has significant water drainage issues, if the ground is unstable or on a steep slope, or if any structure sits behind the wall you’re planning to retain, it’s worth getting a structural engineer or experienced landscaper to advise before you build.
How to Build a Patio Knee Wall: A Step-by-Step Overview
For those planning a DIY knee wall on a flat or gently sloped site, here’s what the process looks like from start to finish:
Step 1: Plan and Mark Out
Decide on the exact position, height, and length of your wall. Mark the footprint with spray paint, string lines, or pegs. Check that your proposed wall position doesn’t cross any buried services, drainage pipes, or cables. A cable and pipe locator tool, available to hire from most tool hire companies, is worth using before you dig anything.
Step 2: Dig the Foundation Trench
Dig a trench along your marked line to a depth of at least 6 to 8 inches for a purely decorative wall, or deeper for a retaining wall (see above). The trench should be slightly wider than your wall on each side.
Step 3: Pour the Concrete Footing
Mix and pour a concrete footing into the trench. For a simple garden knee wall, a footing of roughly 6 inches deep and the width of your wall plus 4 inches on each side is sufficient. Allow the footing to cure for at least 48 hours before building on top of it.
Step 4: Lay the First Course
Begin laying your first course of blocks or bricks on the cured footing, using mortar to bed them in. Use a spirit level constantly to check that the first course is perfectly level. This is the most important course. Everything above it follows from here, so any errors compound as you build upward.
Step 5: Build Up the Courses
Continue building up course by course, staggering the joints between courses (this is called running bond and is what gives a wall its structural strength). Check for level and plumb (vertical straightness) constantly as you build. Clean off any excess mortar before it sets.
Step 6: Install Drainage (For Retaining Walls)
If your wall is retaining soil, install a perforated drainage pipe or weep holes at the base before you backfill behind the wall.
Step 7: Add the Cap
Once the wall is built and the mortar has fully cured (allow at least 5 to 7 days in warm weather), bed your coping or cap stones in mortar on the top course. Use a full bed of mortar and check for level carefully as cap stones are the most visible element of the finished wall.
Step 8: Point and Finish
Once everything is set, go back and point the joints (fill any gaps in the mortar lines with fresh mortar and tool to a neat finish). Clean the wall face with a stiff brush. Allow everything to cure fully before putting any load on the wall.
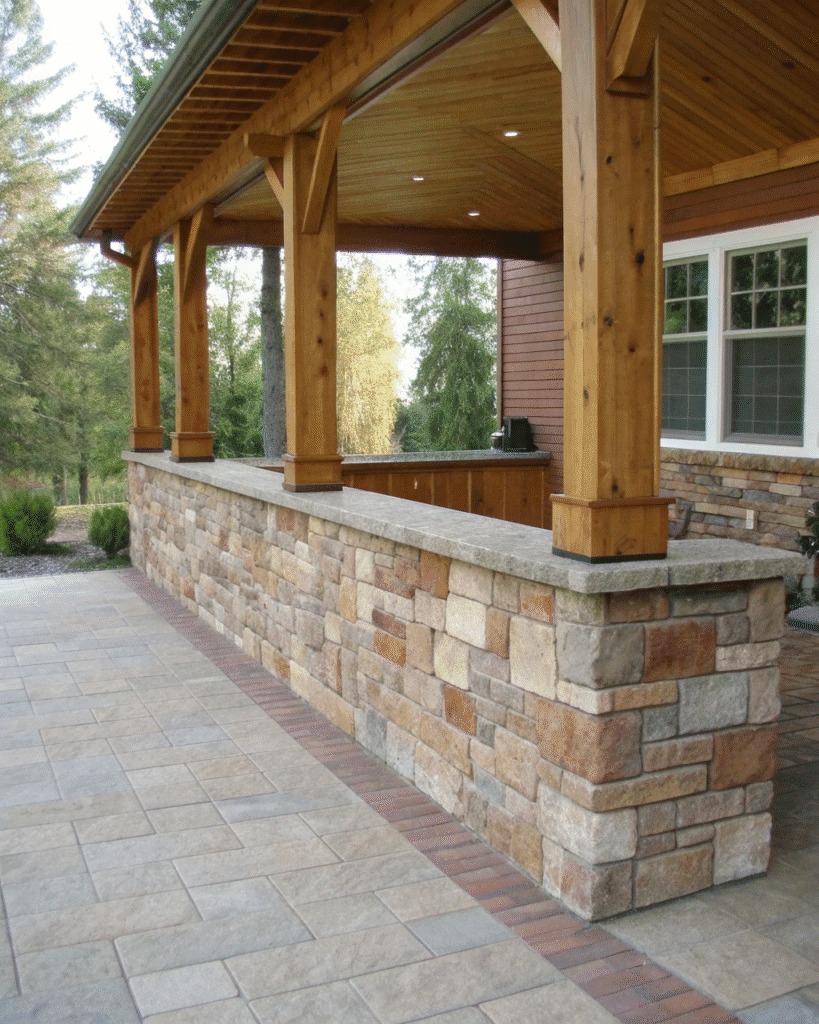
1. Stone Knee Wall
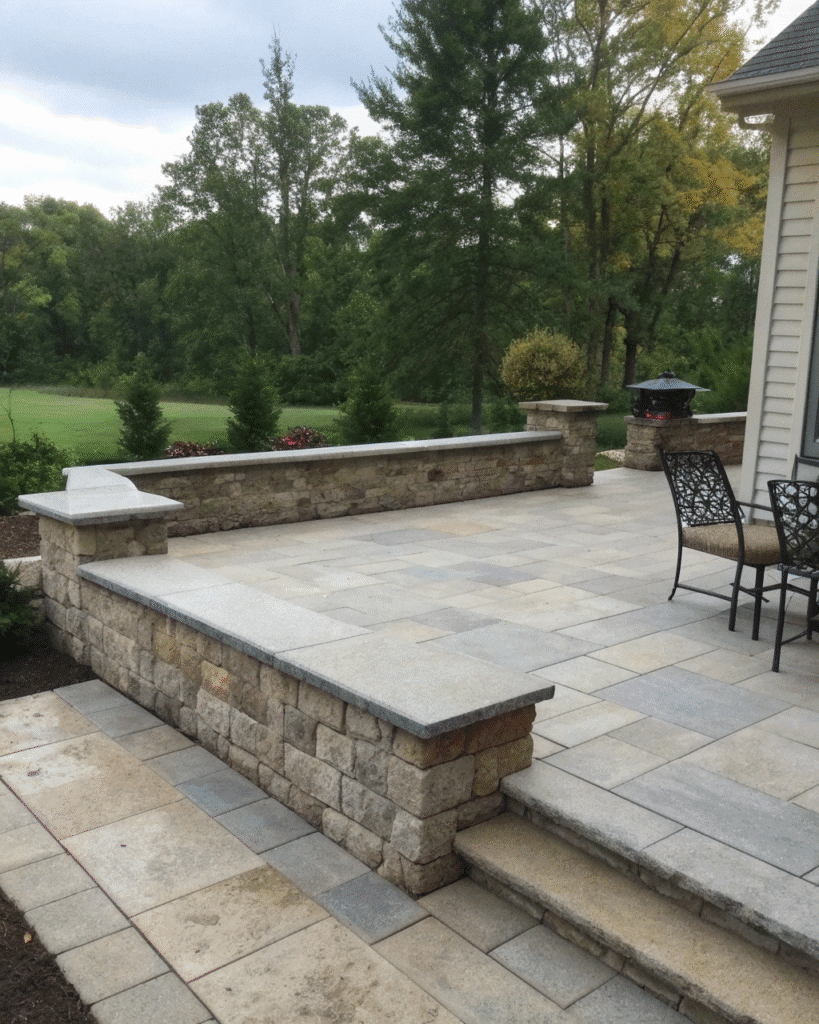
Natural stone brings a timeless, elegant feel to your patio.
Pro Tip: Choose local or neutral-colored stone to blend naturally with your landscape.
2. Brick Accent Wall
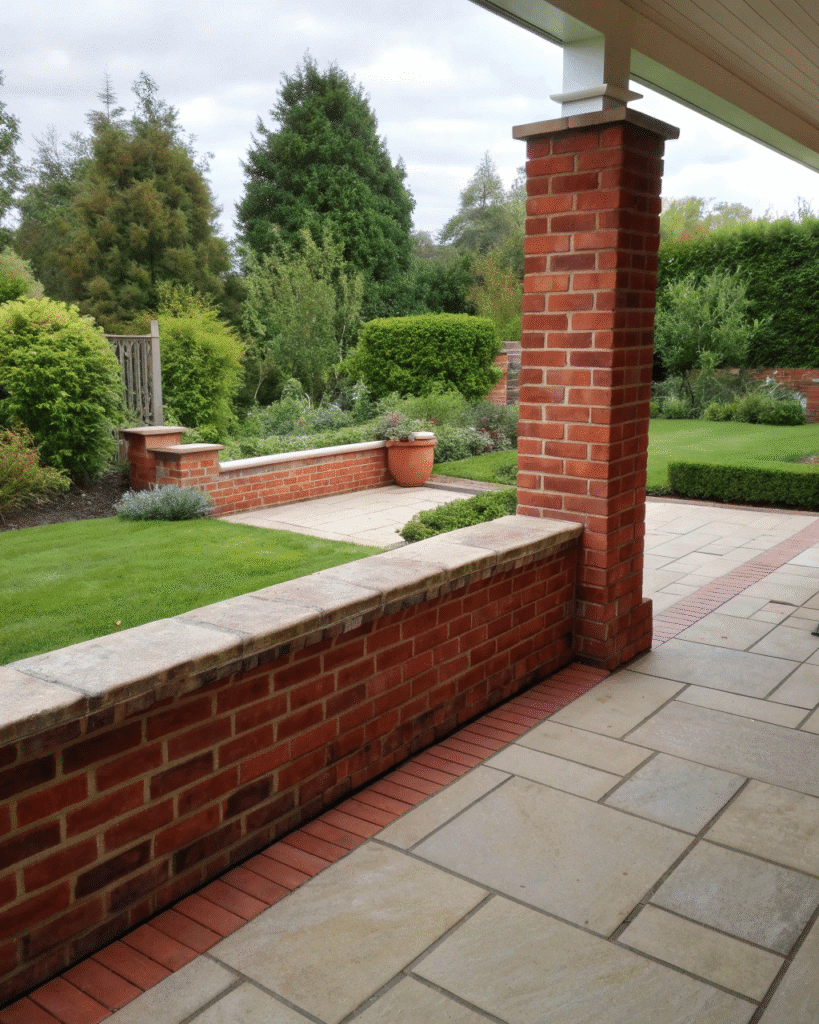
Classic red or whitewashed brick adds charm and rustic appeal.
Pro Tip: Match the brick color with your home’s exterior for a cohesive look.
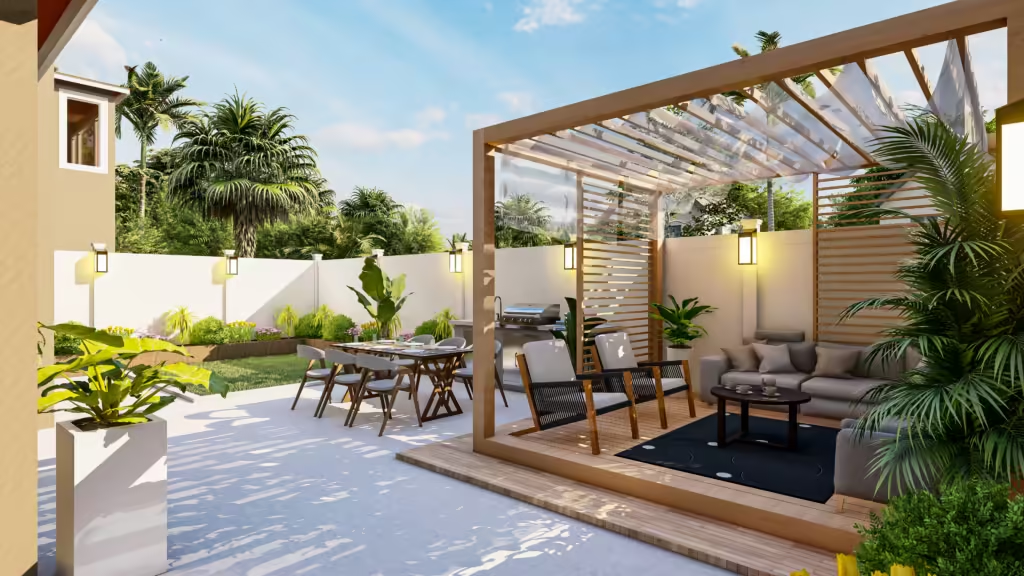
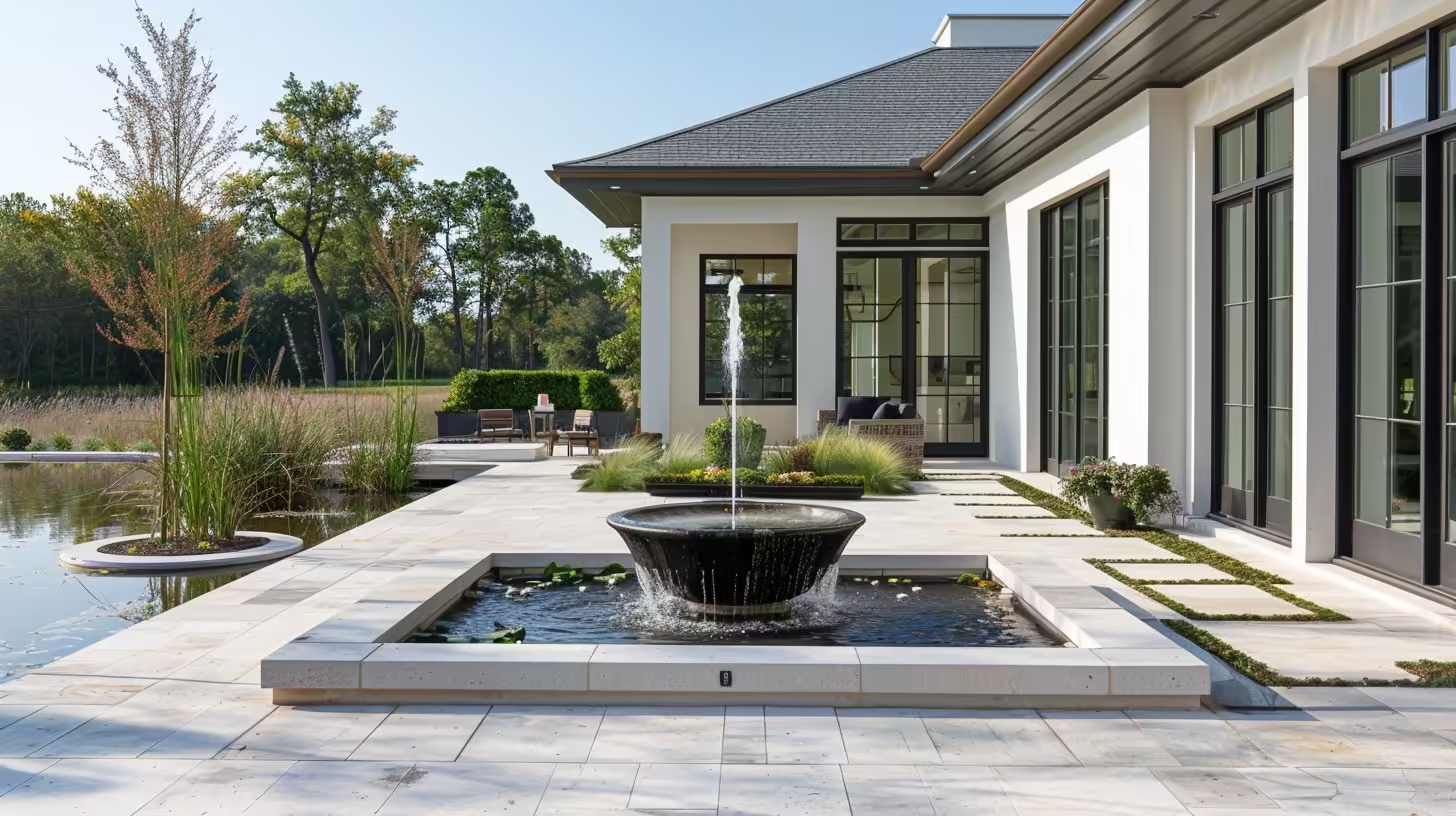
3. Concrete Finish Wall
A smooth concrete wall adds a sleek, modern touch to any patio.

Pro Tip: Soften the look with greenery or decorative lighting along the edges.
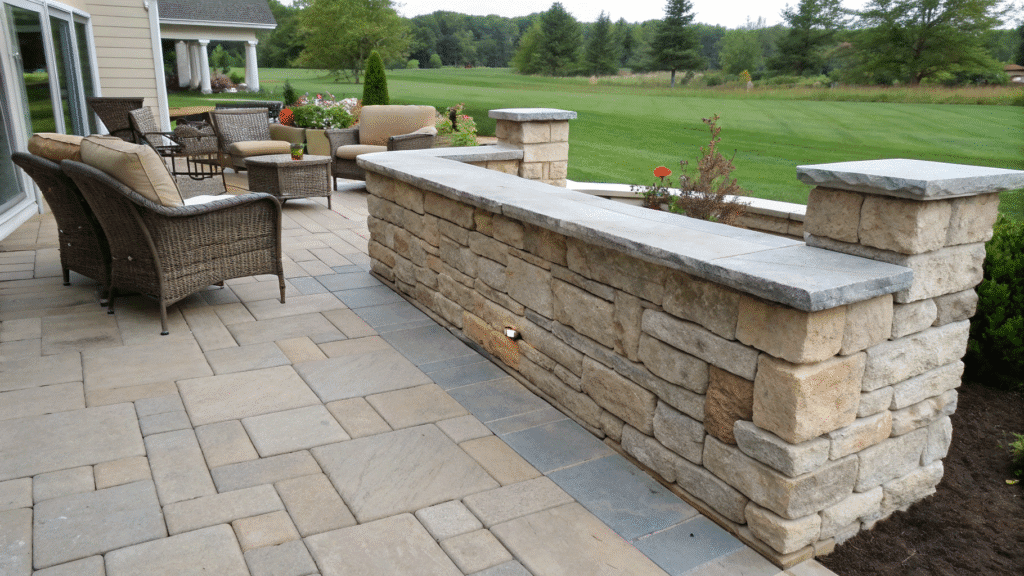
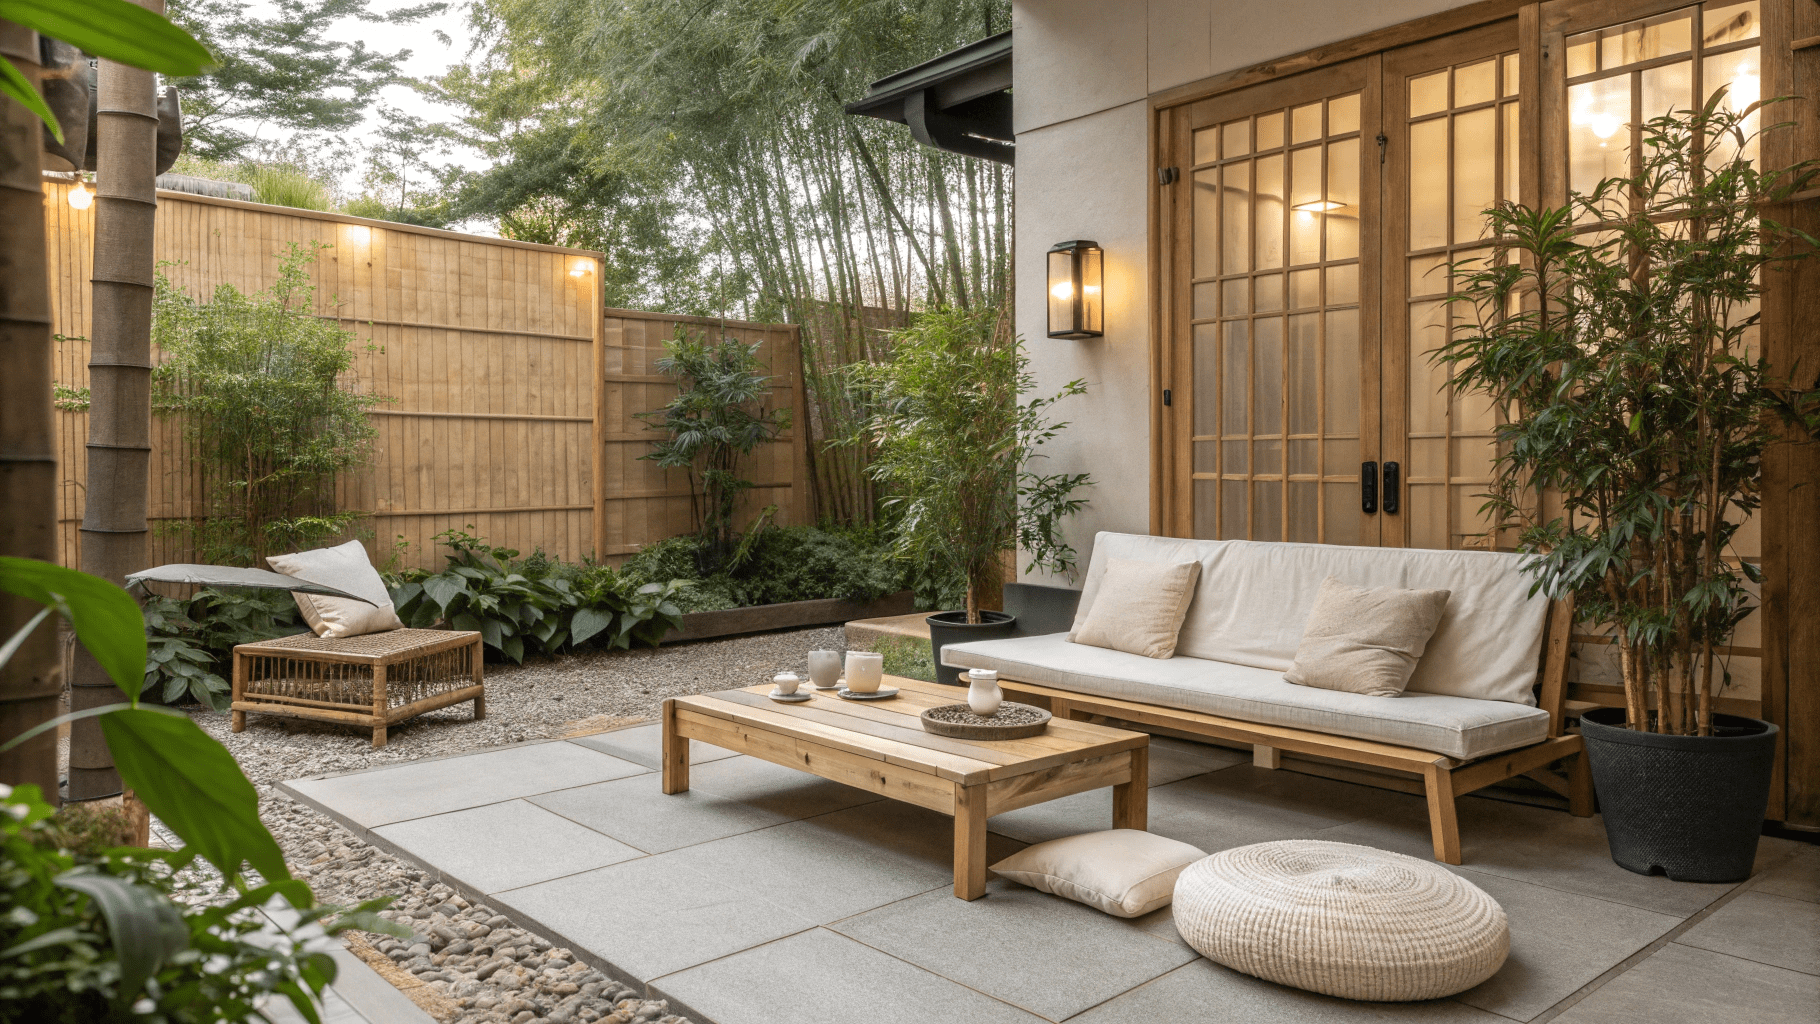
4. Stacked Stone with Cap
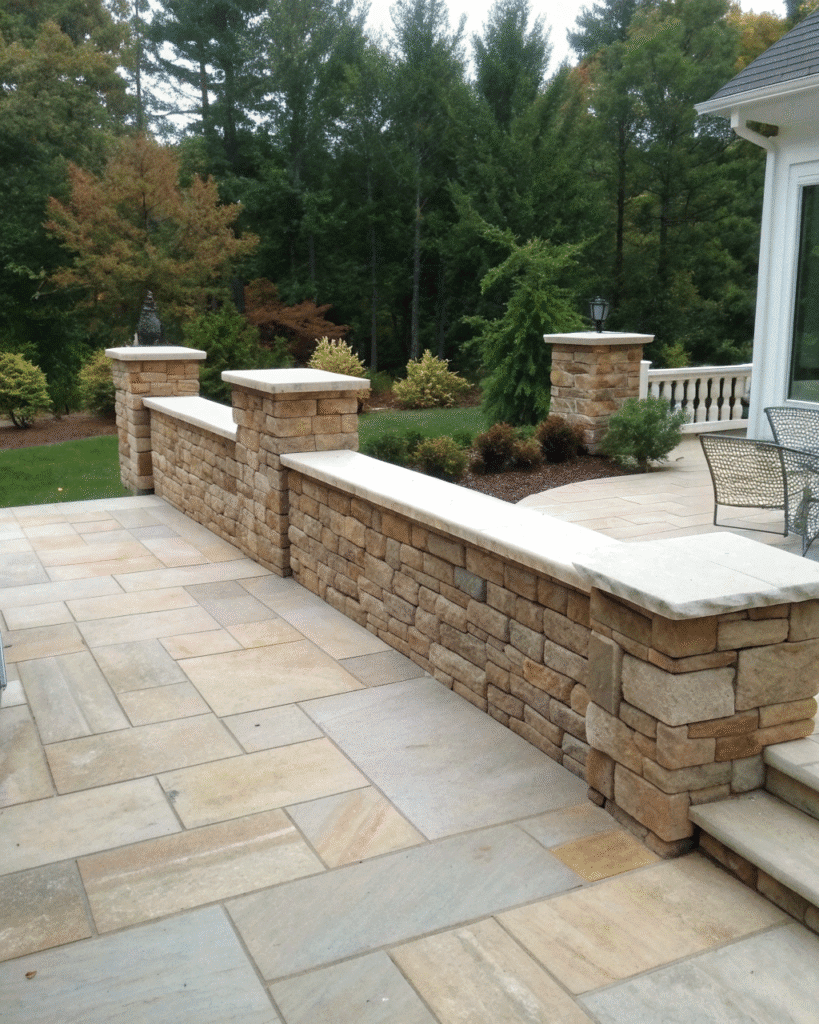
A stone wall topped with a smooth cap creates a polished, refined look.
Pro Tip: Use wide caps to double as casual seating or display space for decor.
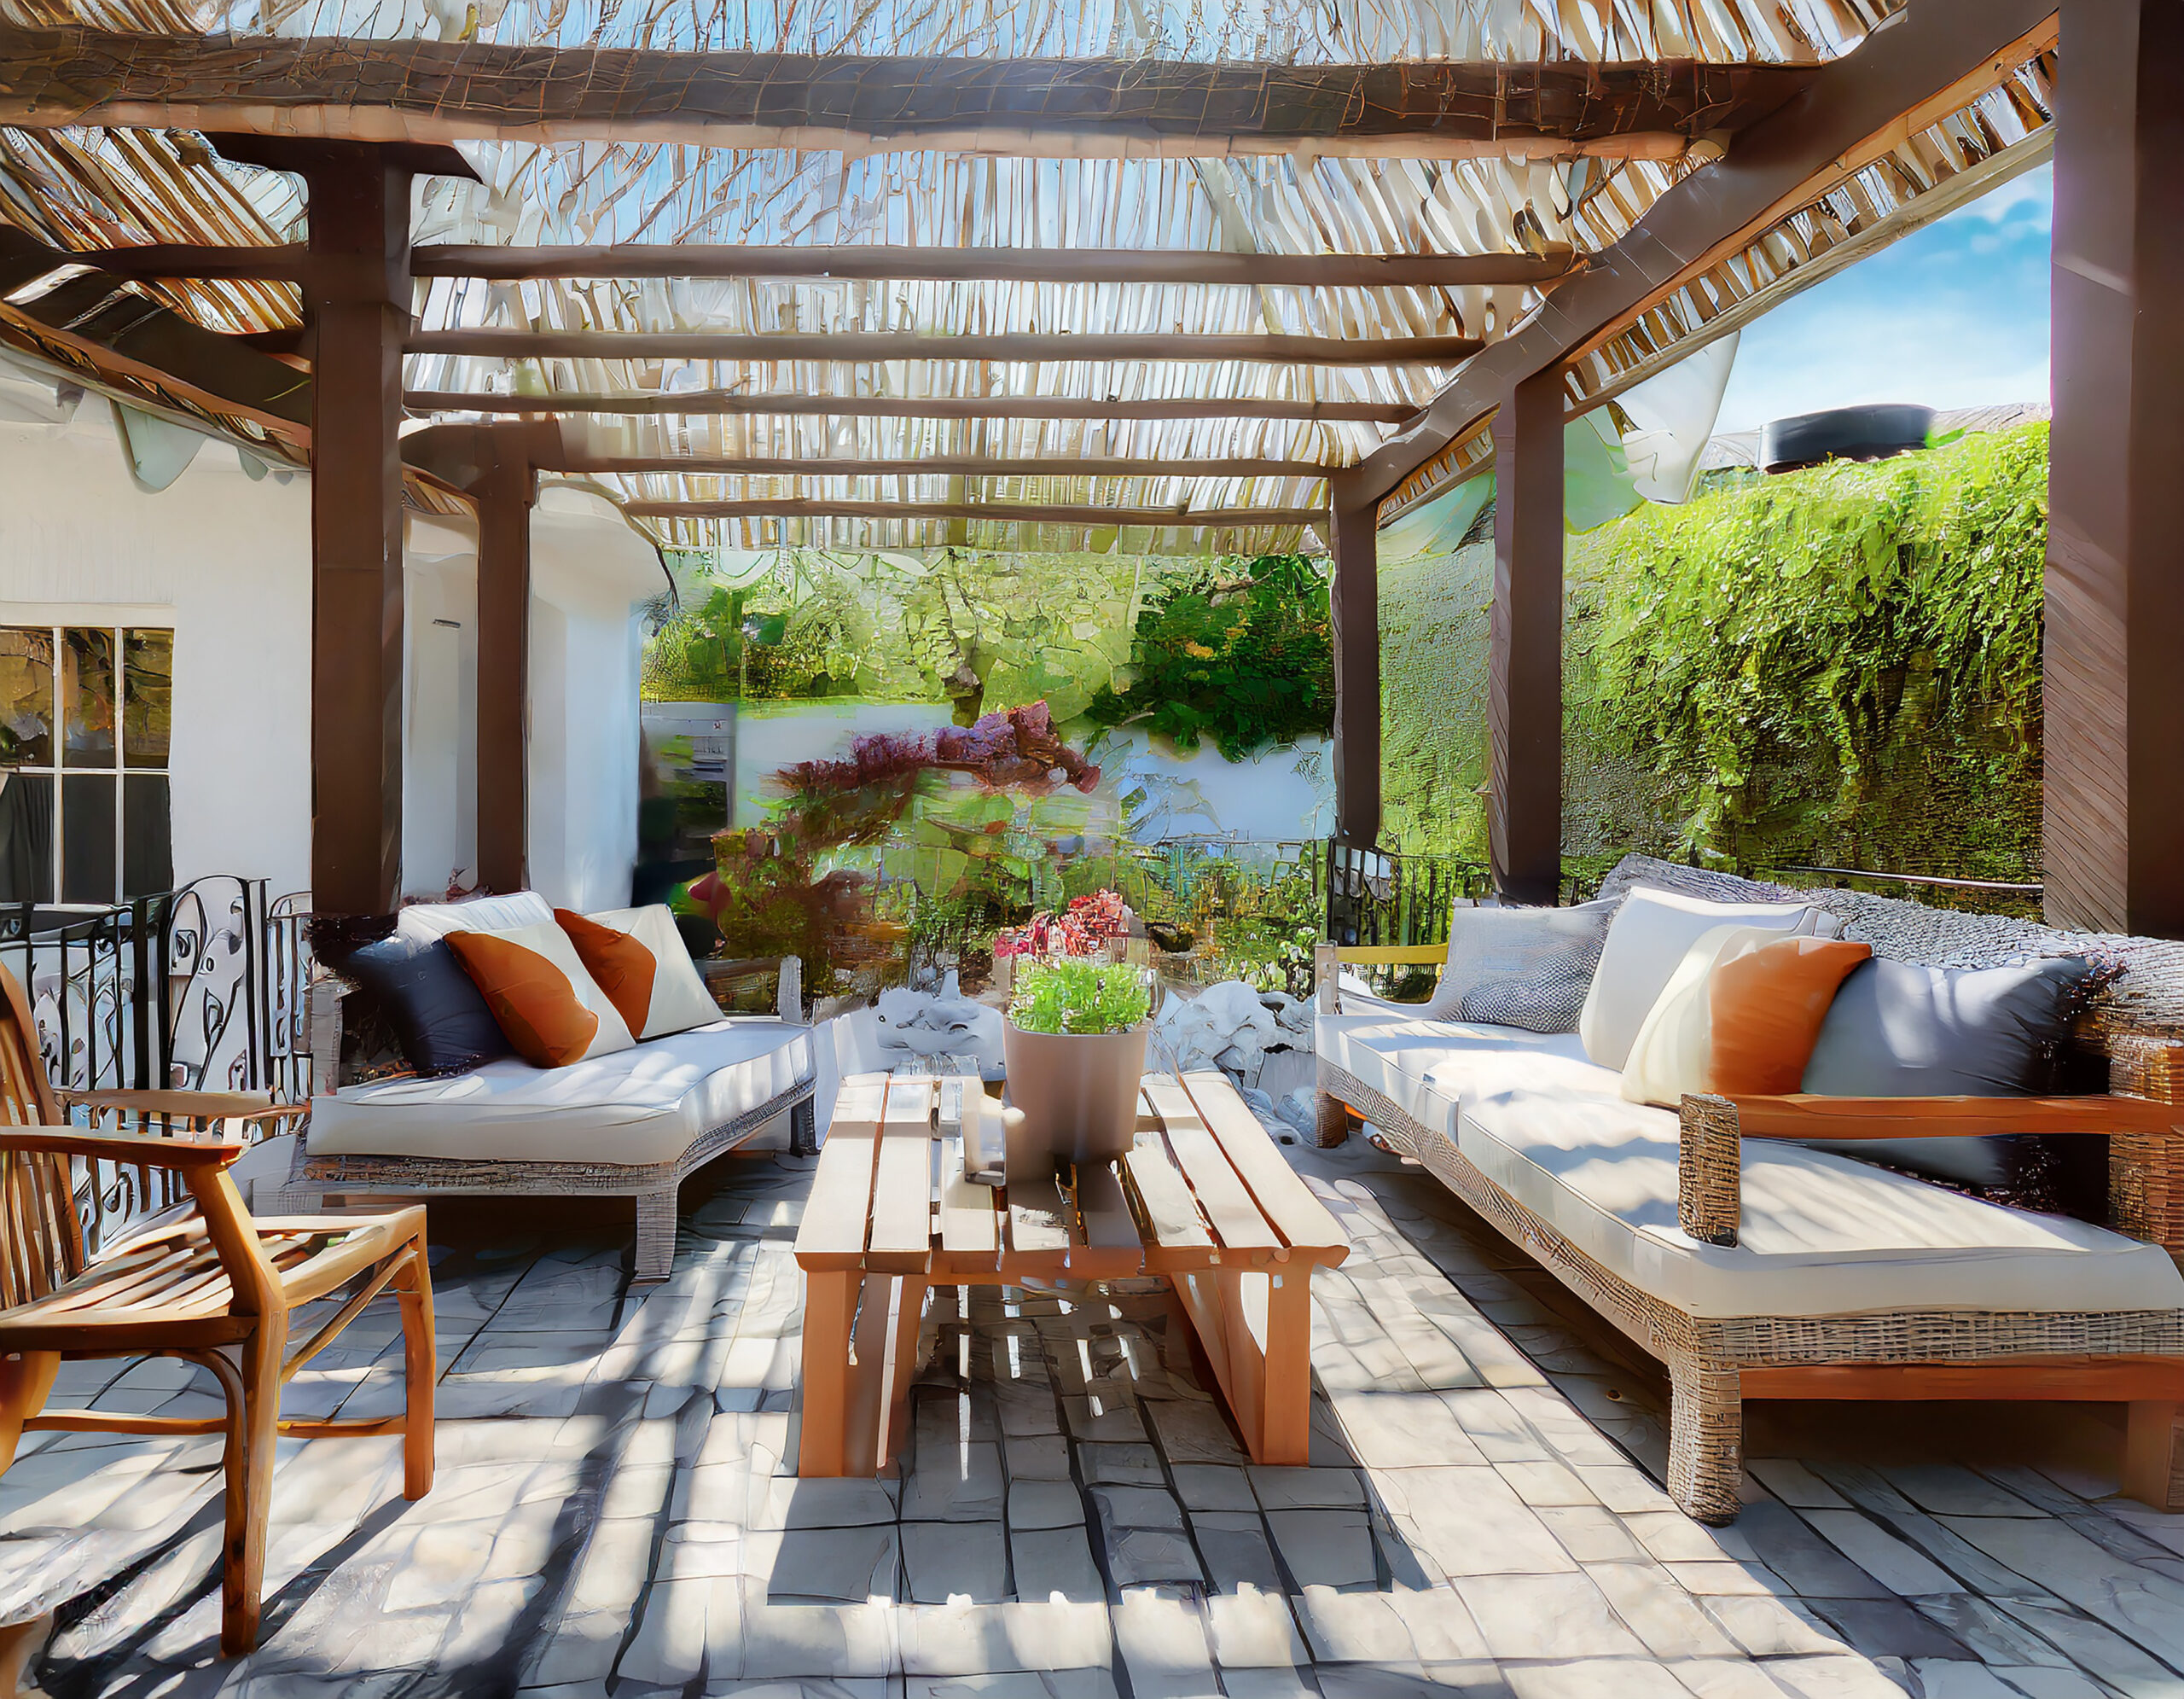
5. Mixed Material Wall
Combine brick, wood, or stone for texture and visual interest.
Pro Tip: Keep the colors neutral to maintain balance and sophistication.
6. Planter-Top Knee Wall
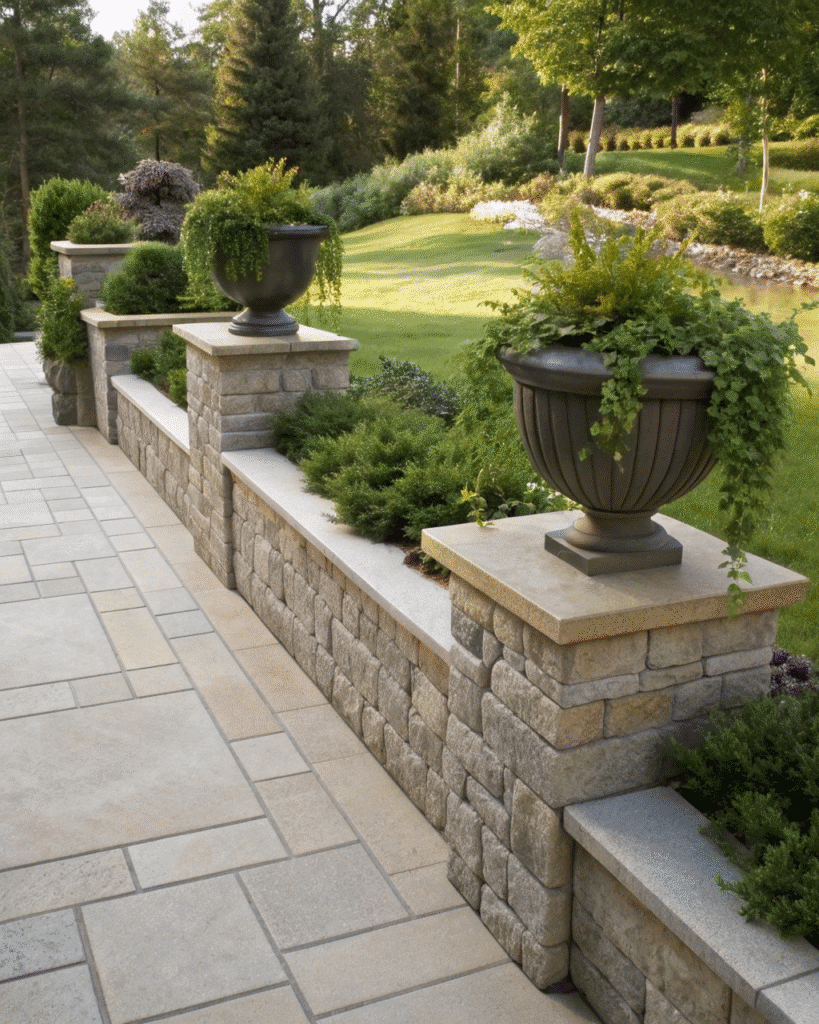
Integrate planters into your wall design for greenery and freshness.
Pro Tip: Choose low-maintenance plants like succulents or ornamental grasses.
7. Tiled Knee Wall
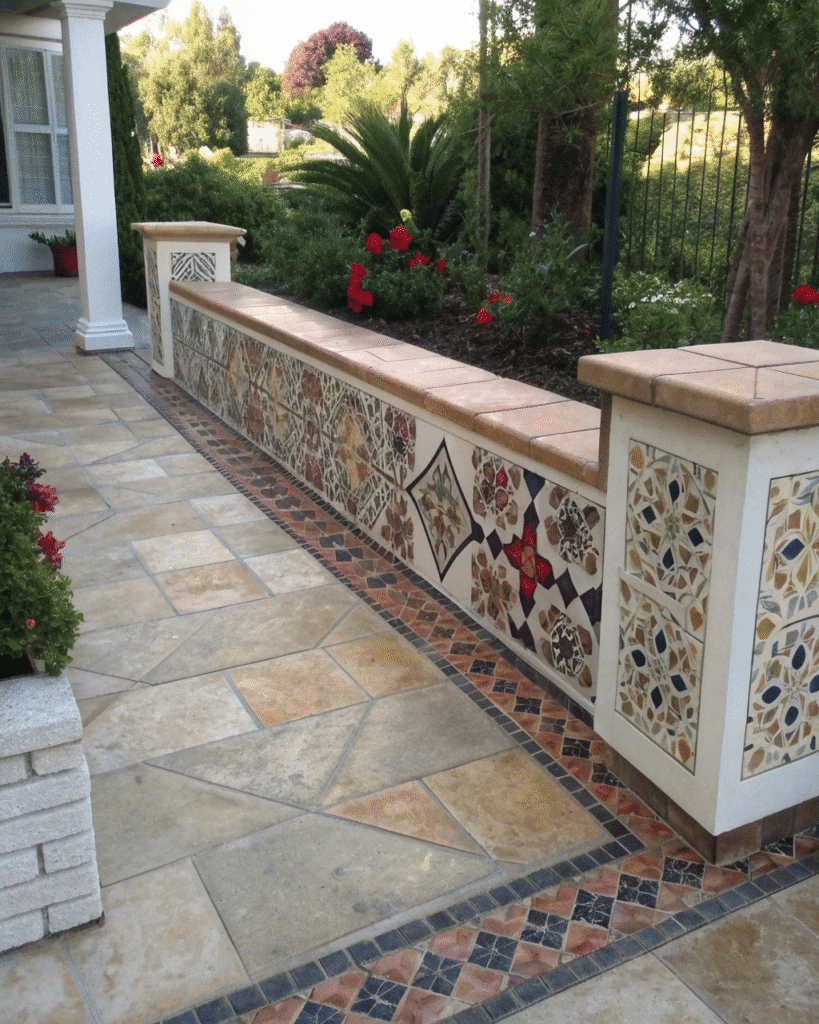
Add a splash of color with patterned outdoor tiles.
Pro Tip: Use subtle patterns that complement the flooring or nearby furniture.
8. Rustic Wood Trim
Add wood detailing along the top for a natural, warm accent.
Pro Tip: Seal the wood properly to protect it from weather damage.
9. Curved Wall Design
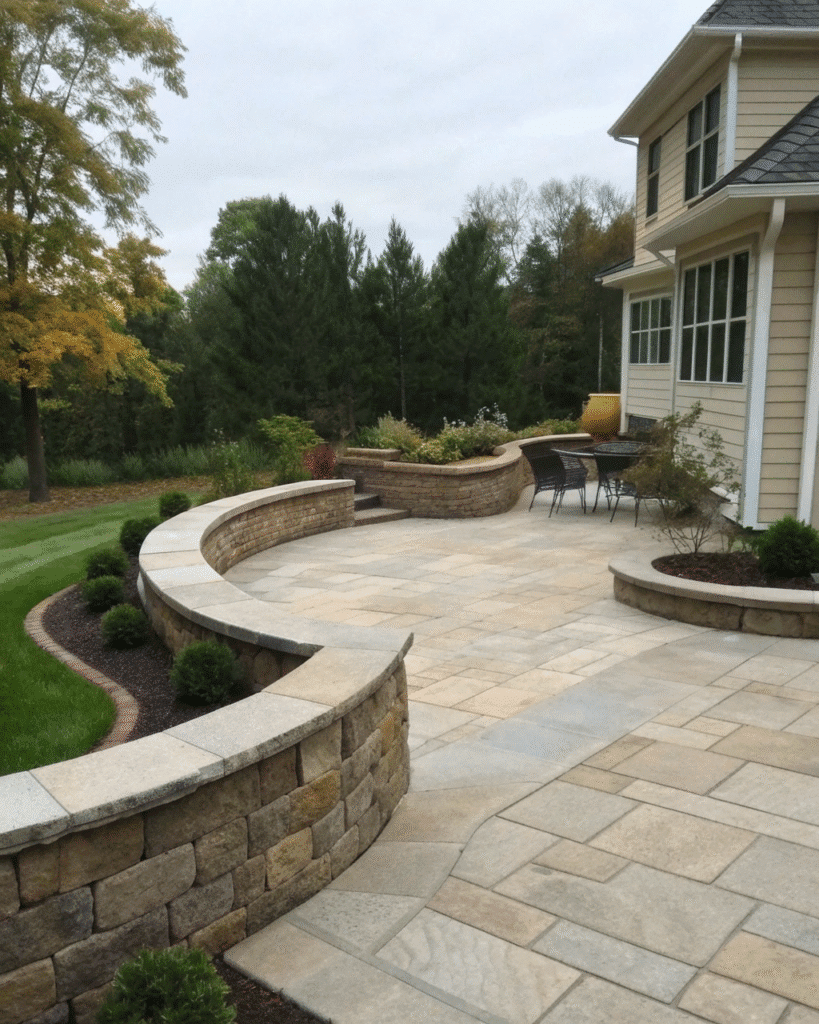
A curved knee wall softens sharp corners and creates a welcoming layout.
Pro Tip: Use matching stone or concrete to keep the design fluid and elegant.
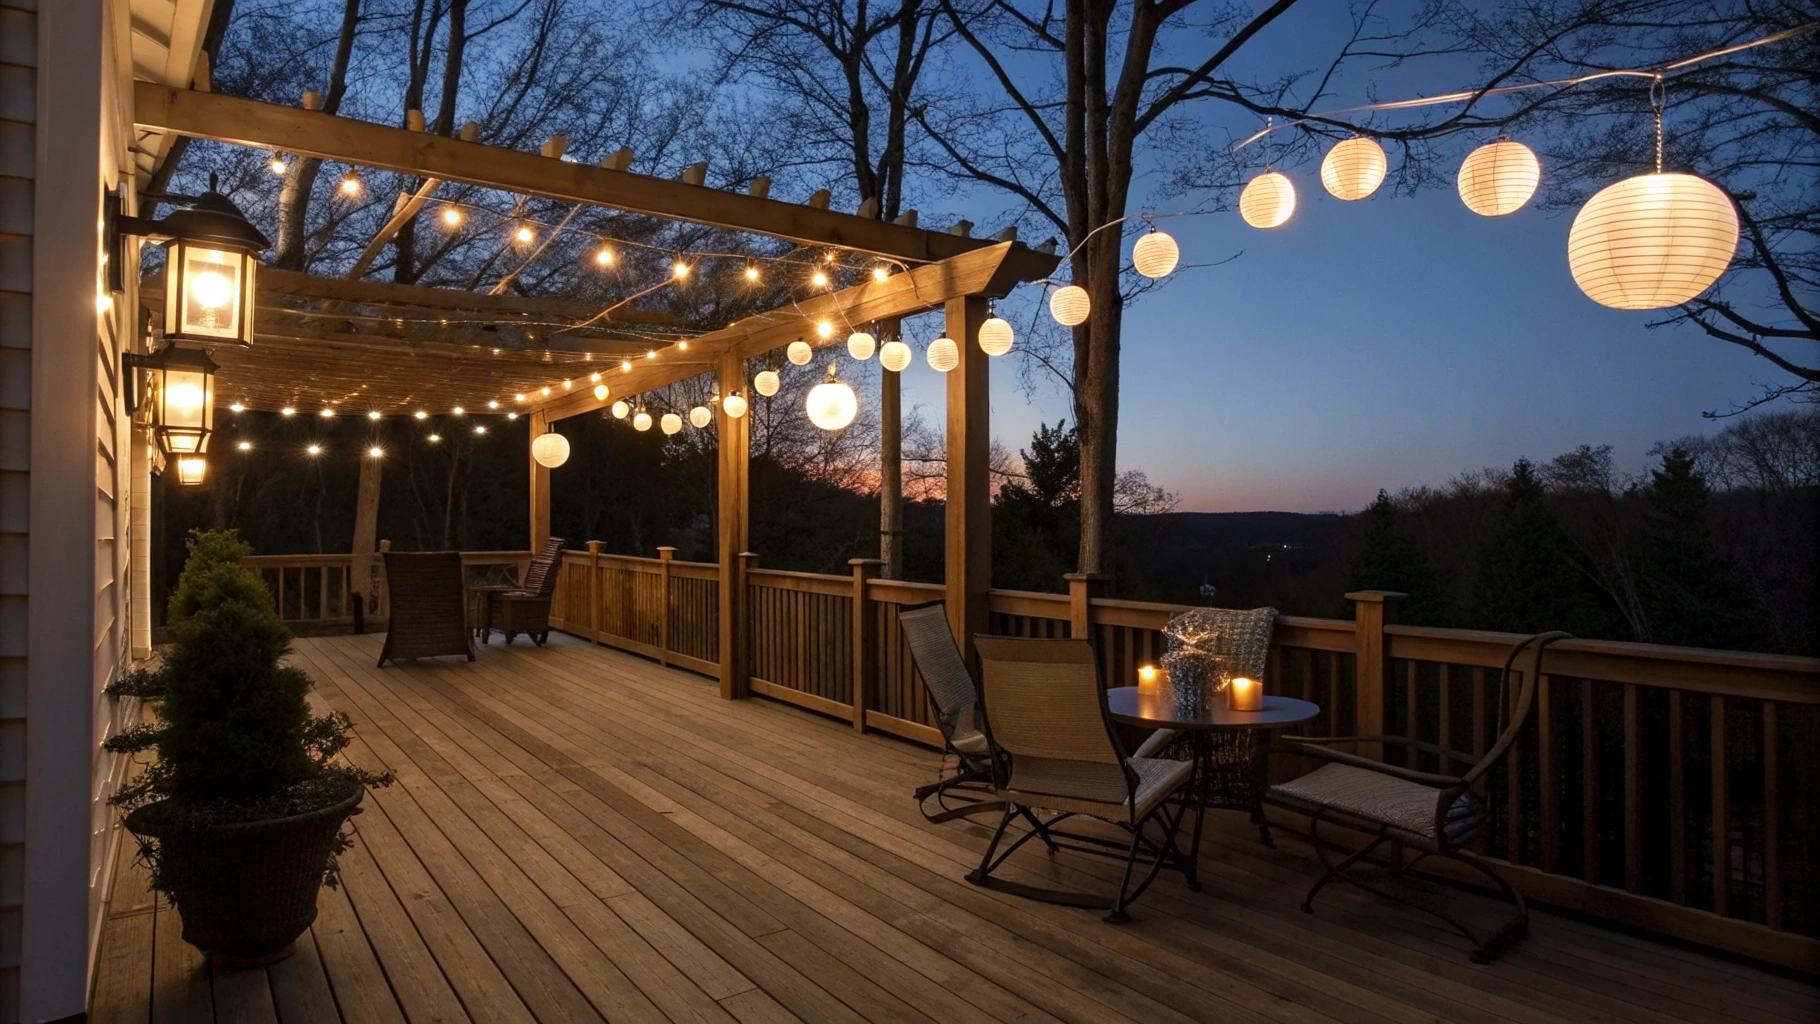
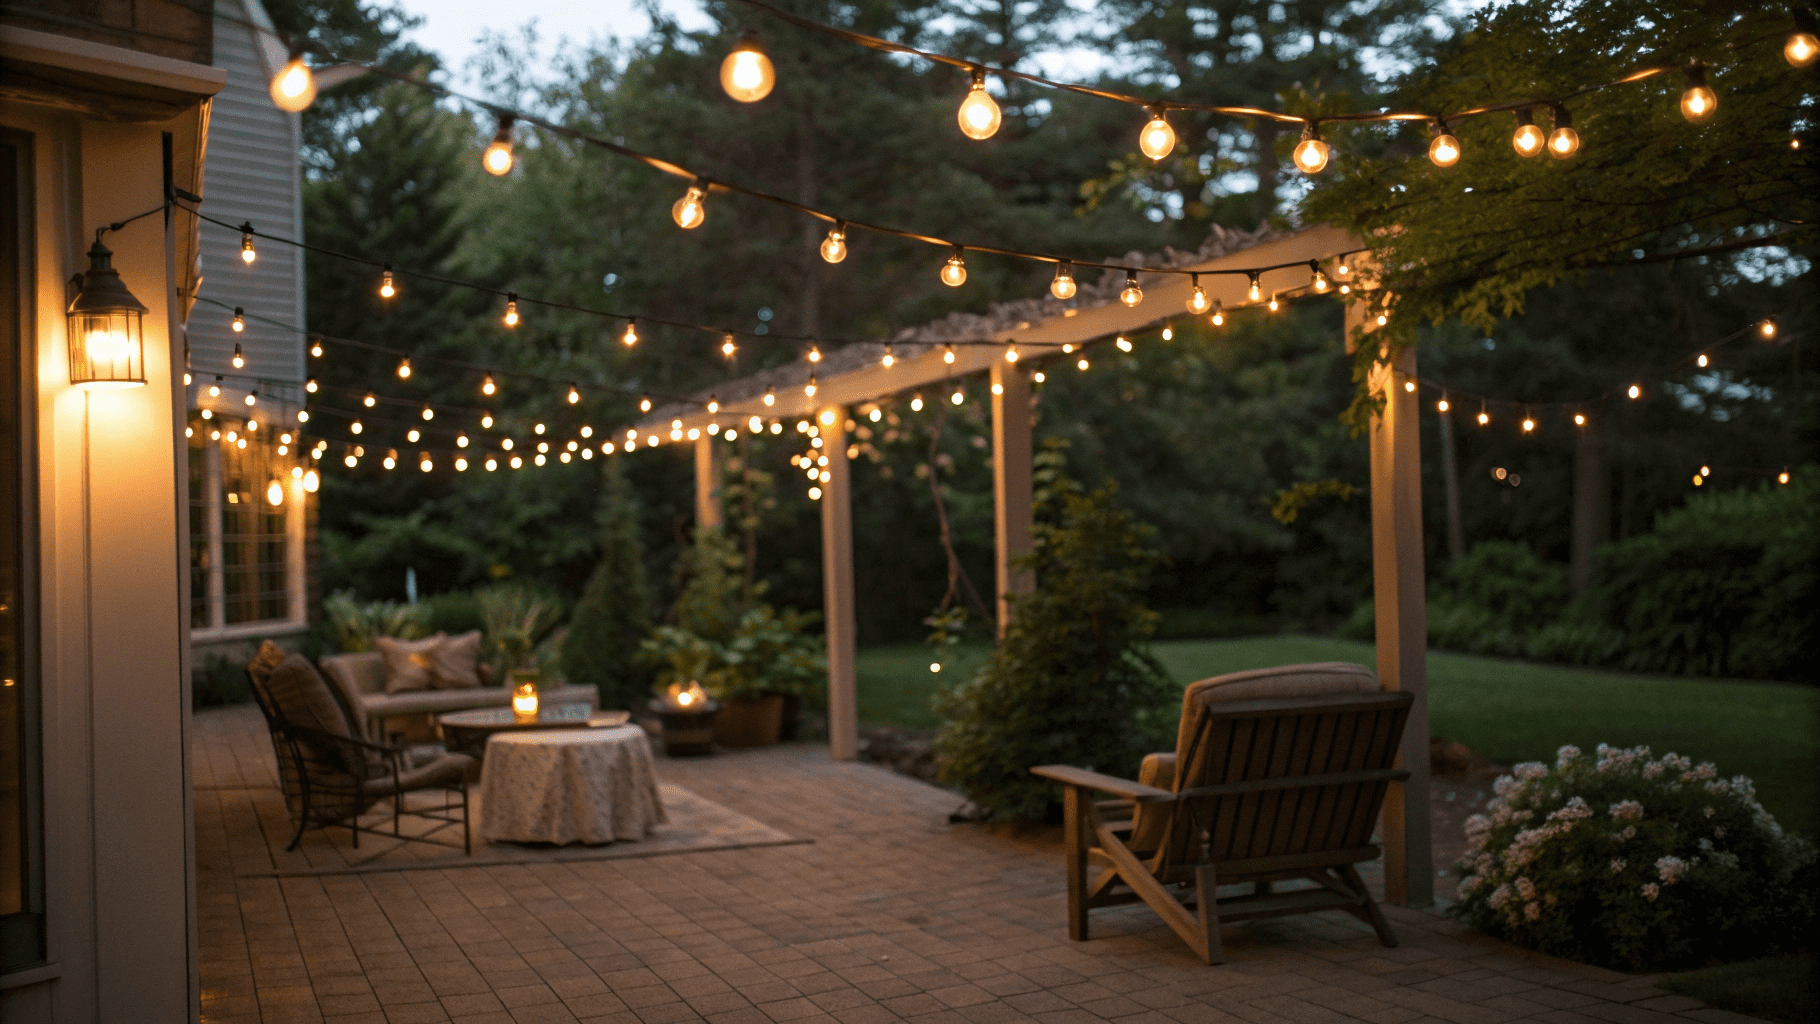
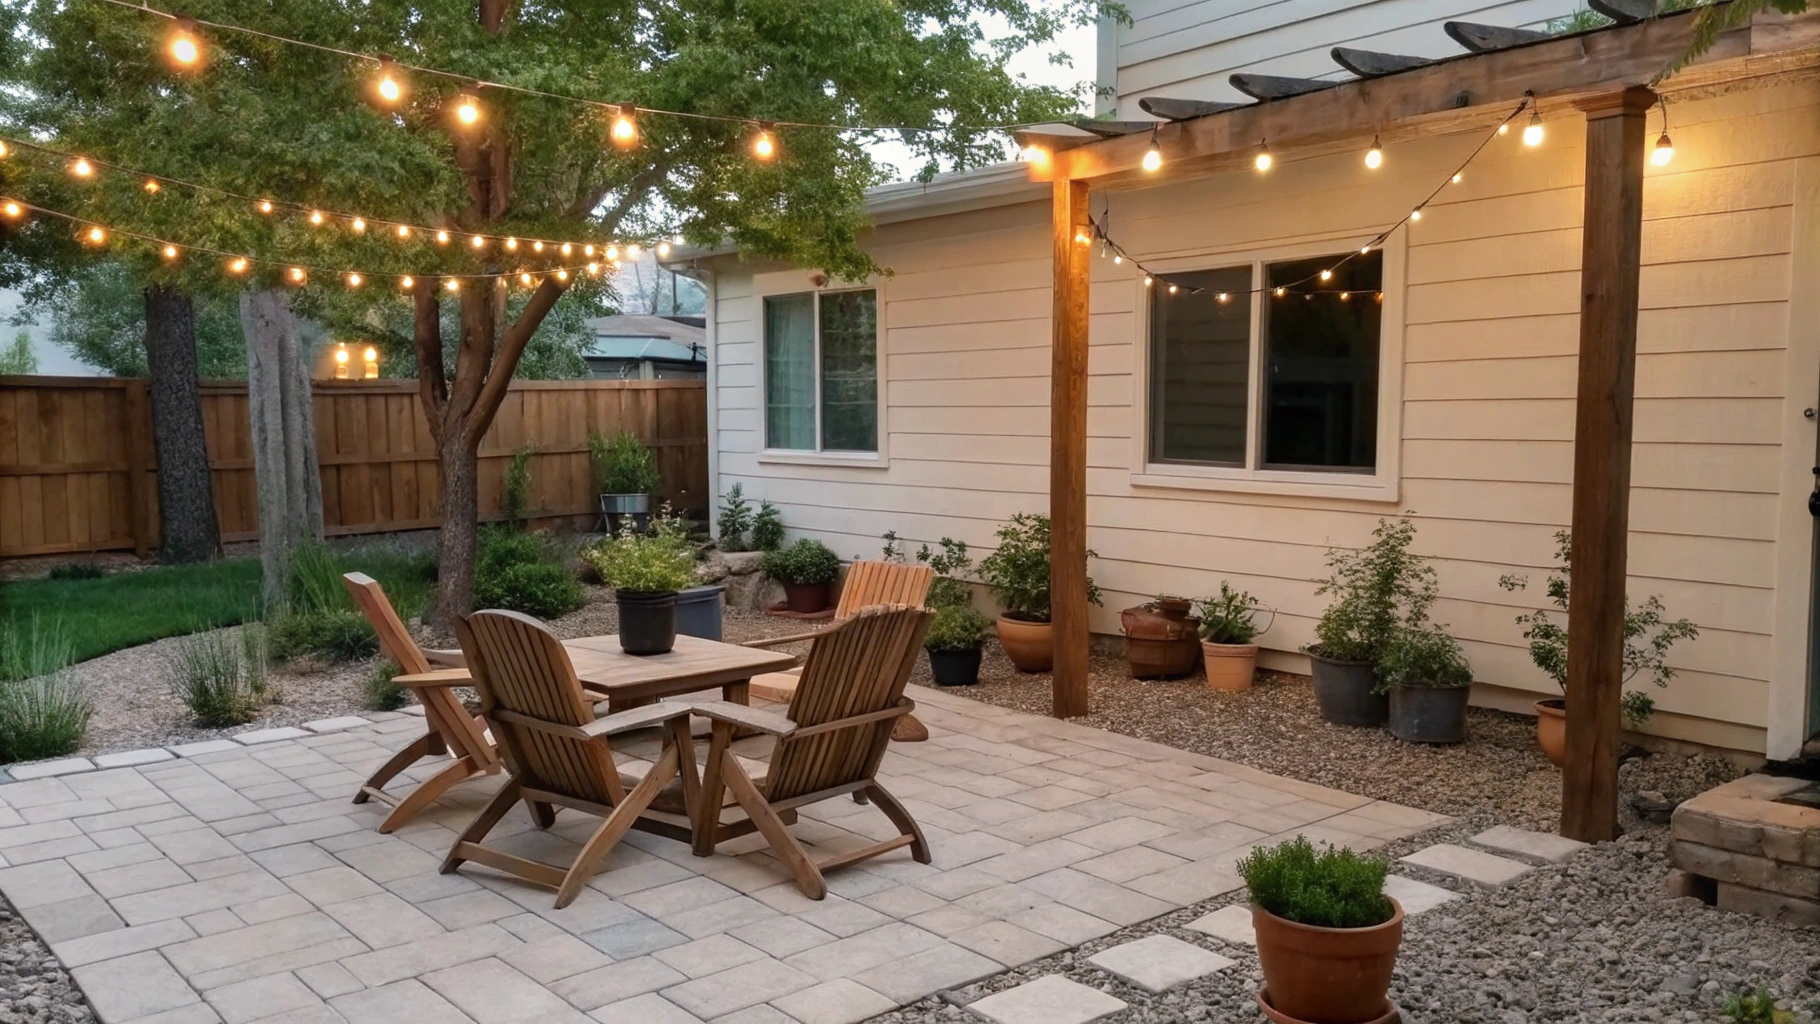
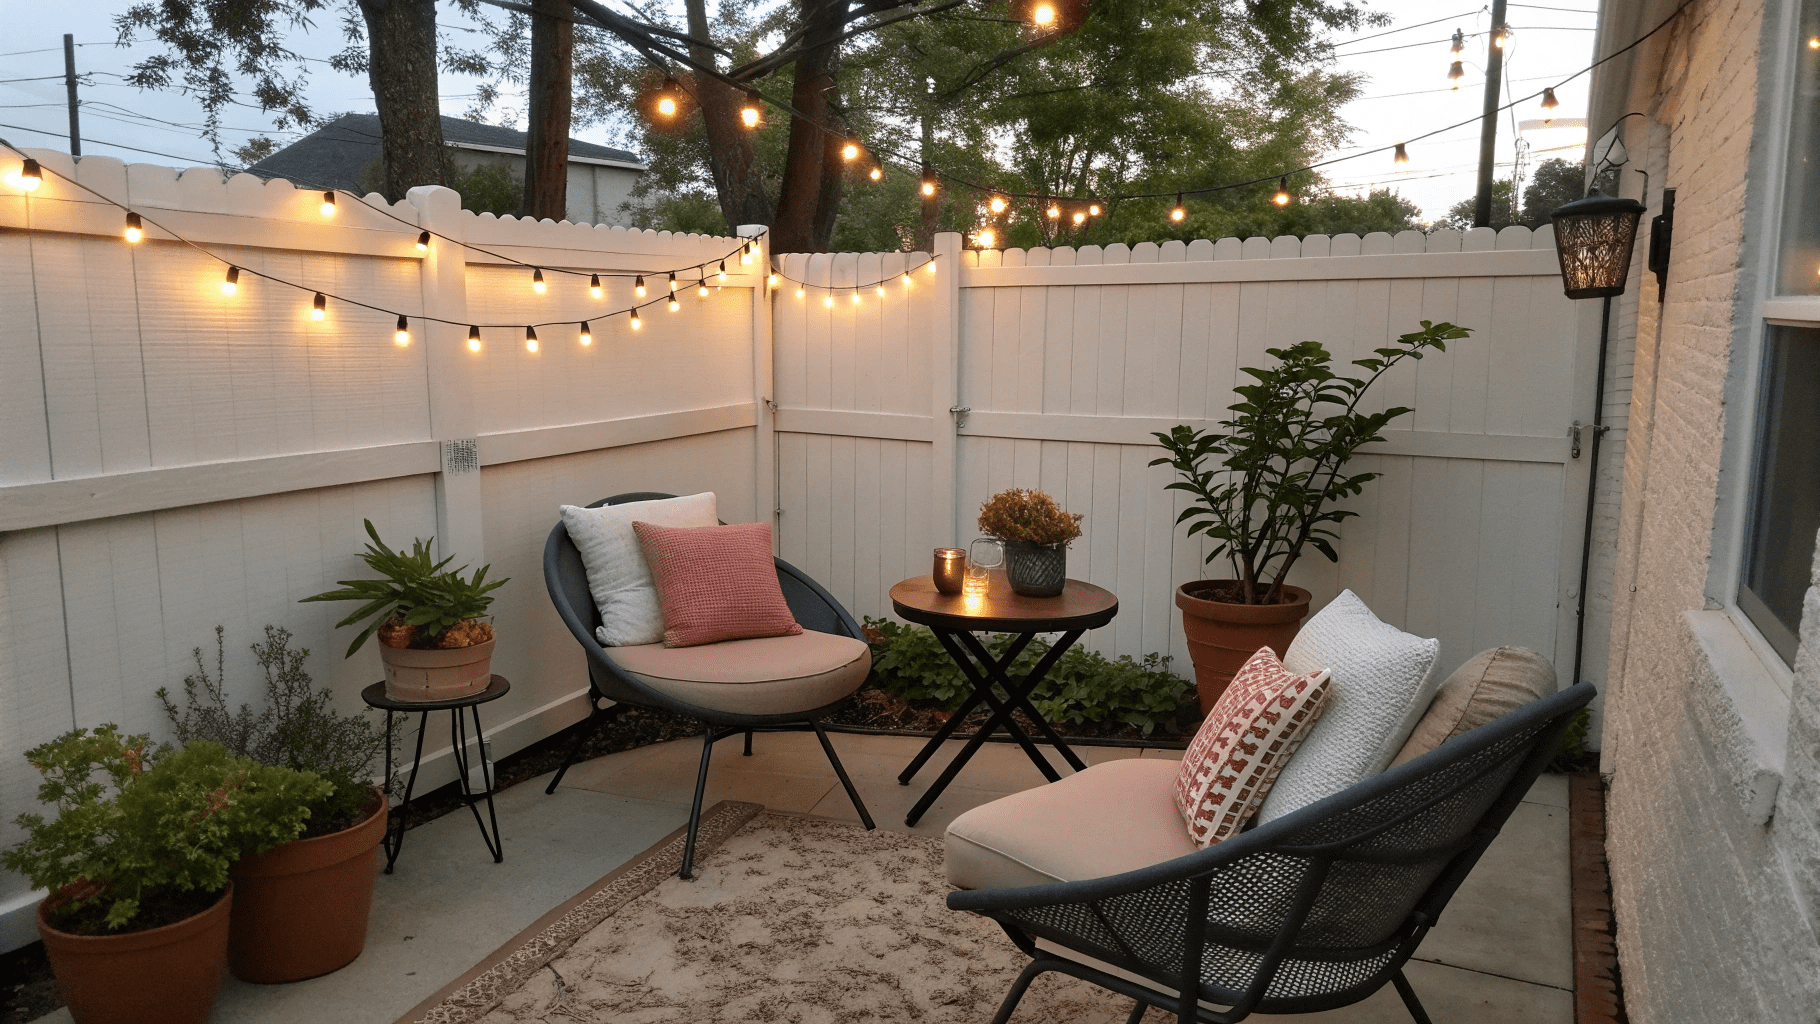
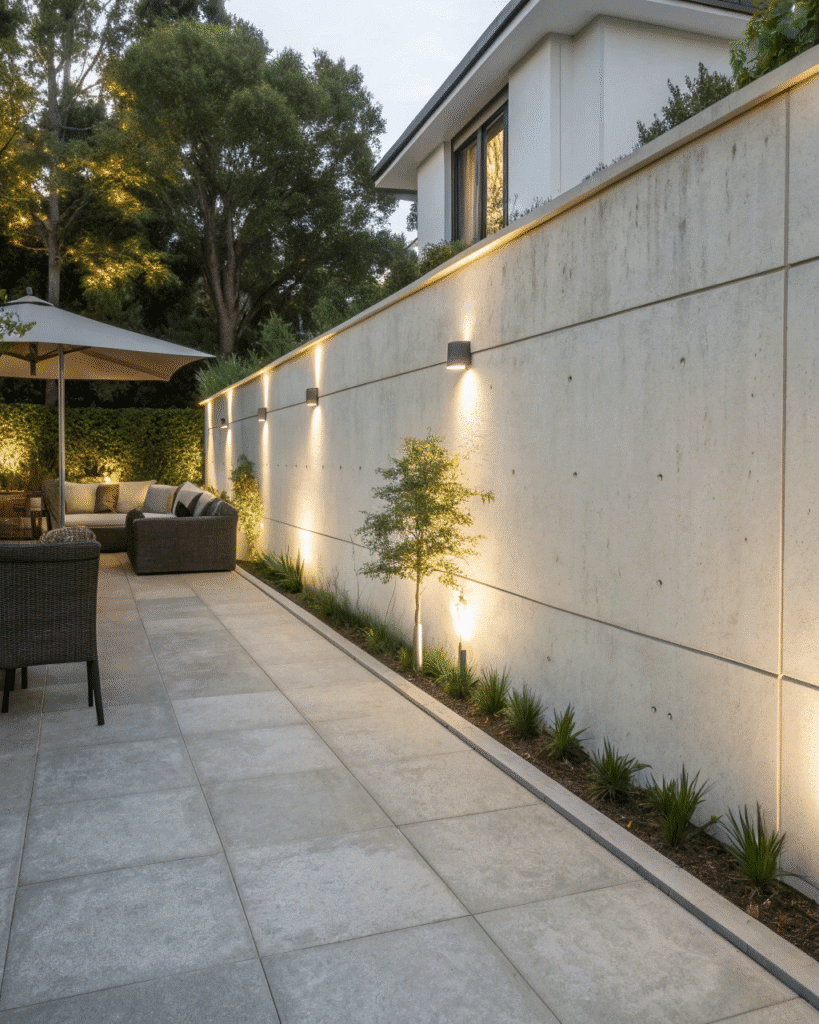
10. Lighted Knee Wall
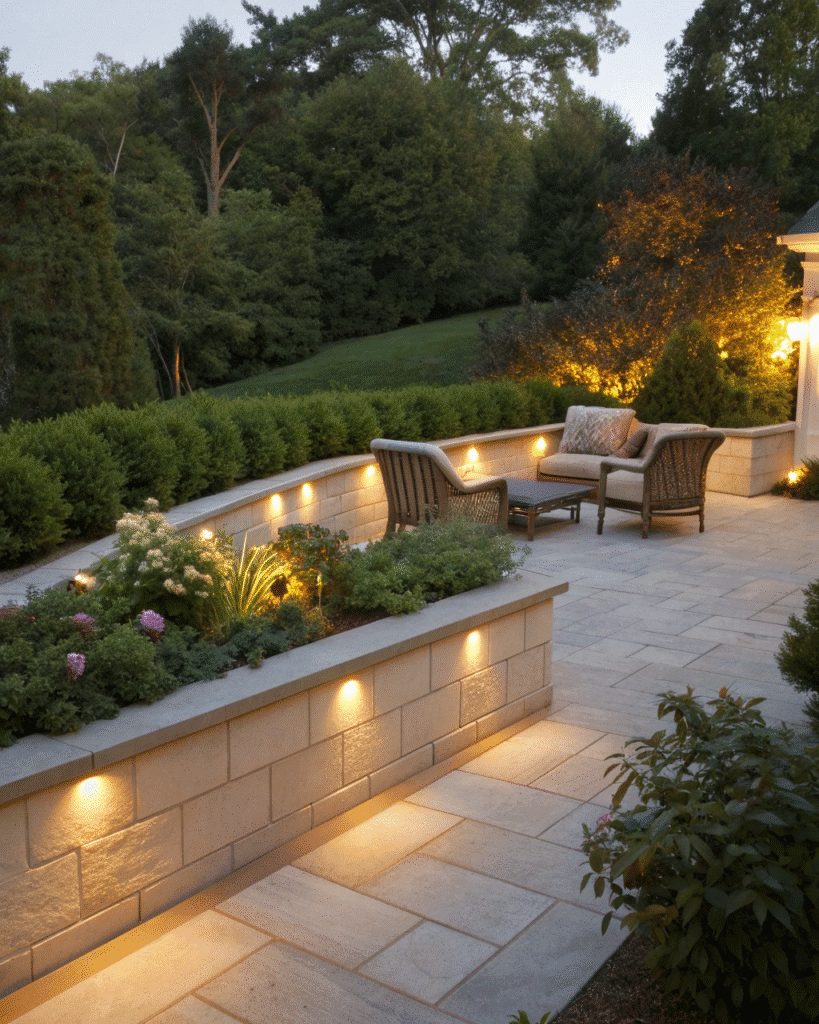
Install soft lighting along the top or base of the wall for evening ambiance.
Pro Tip: Choose warm LED lights for a cozy glow during nighttime gatherings.
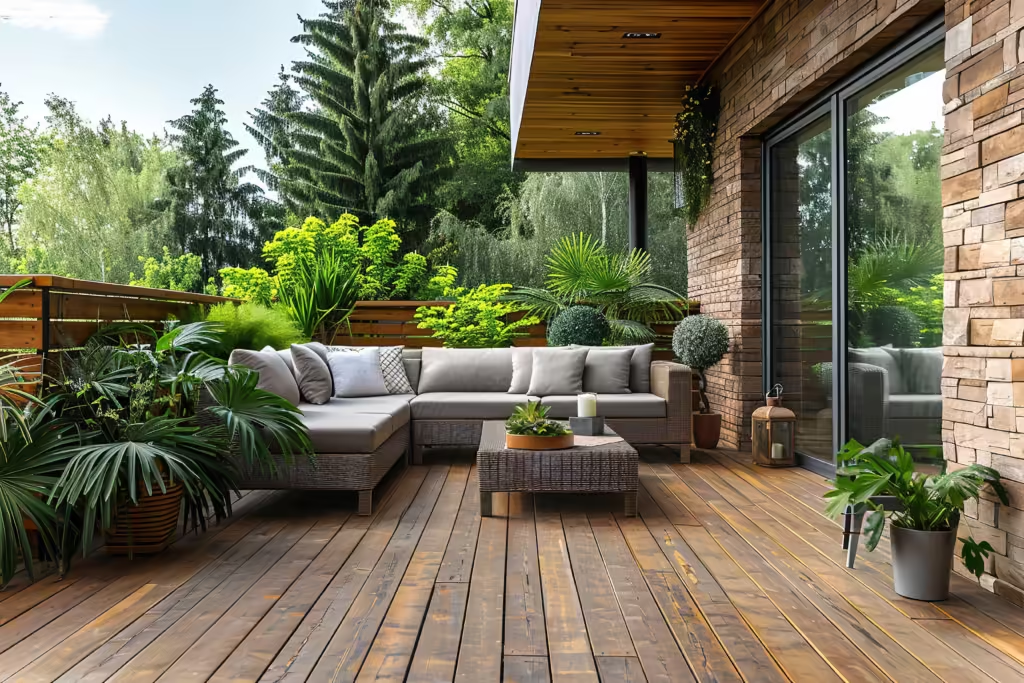
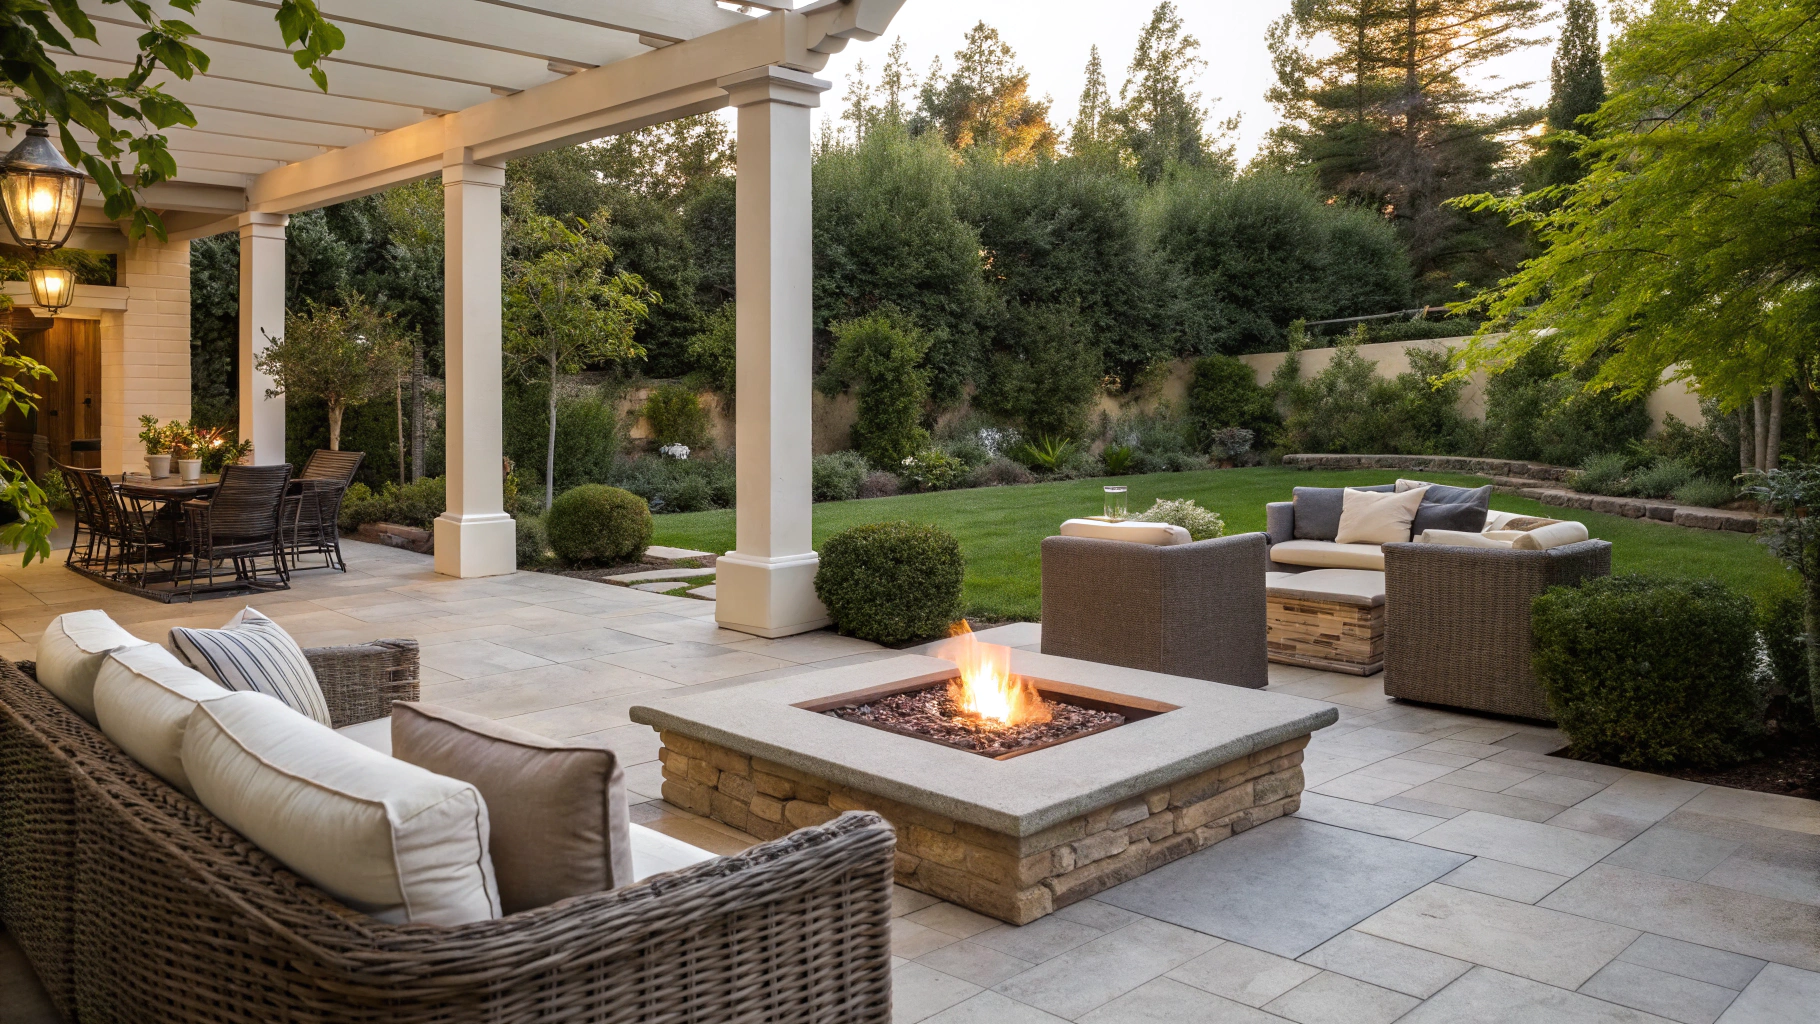
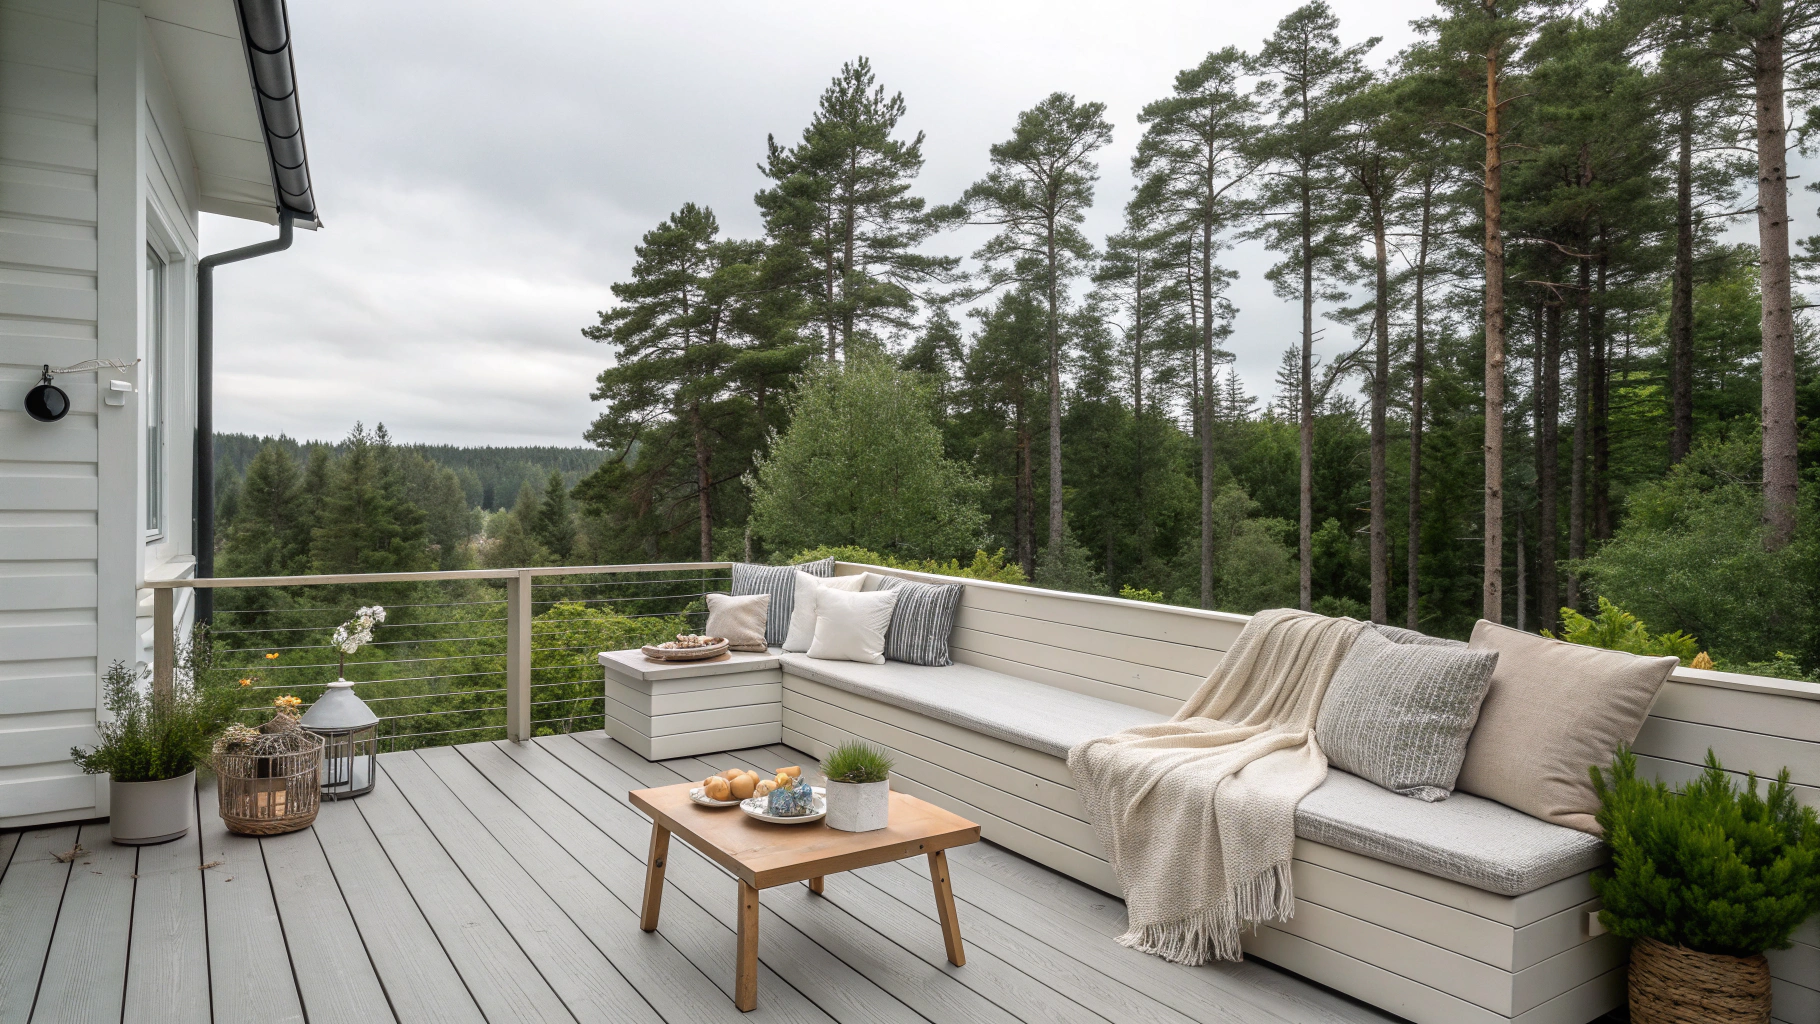
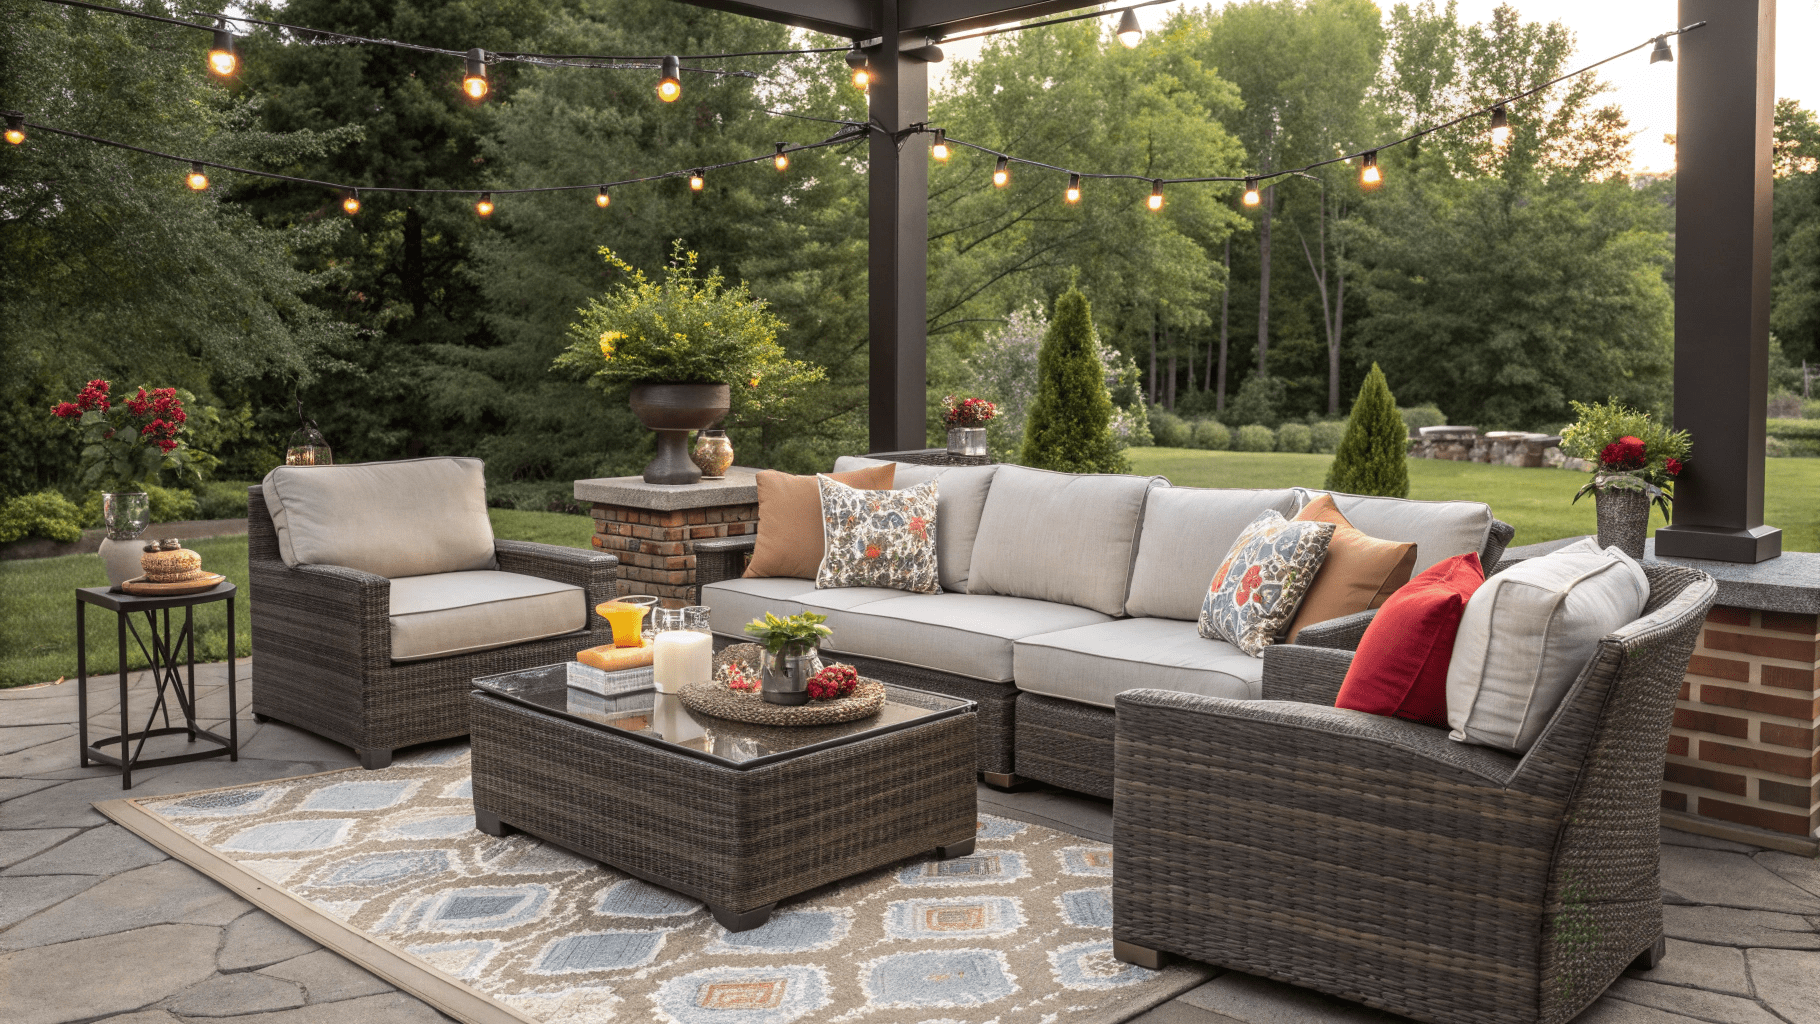
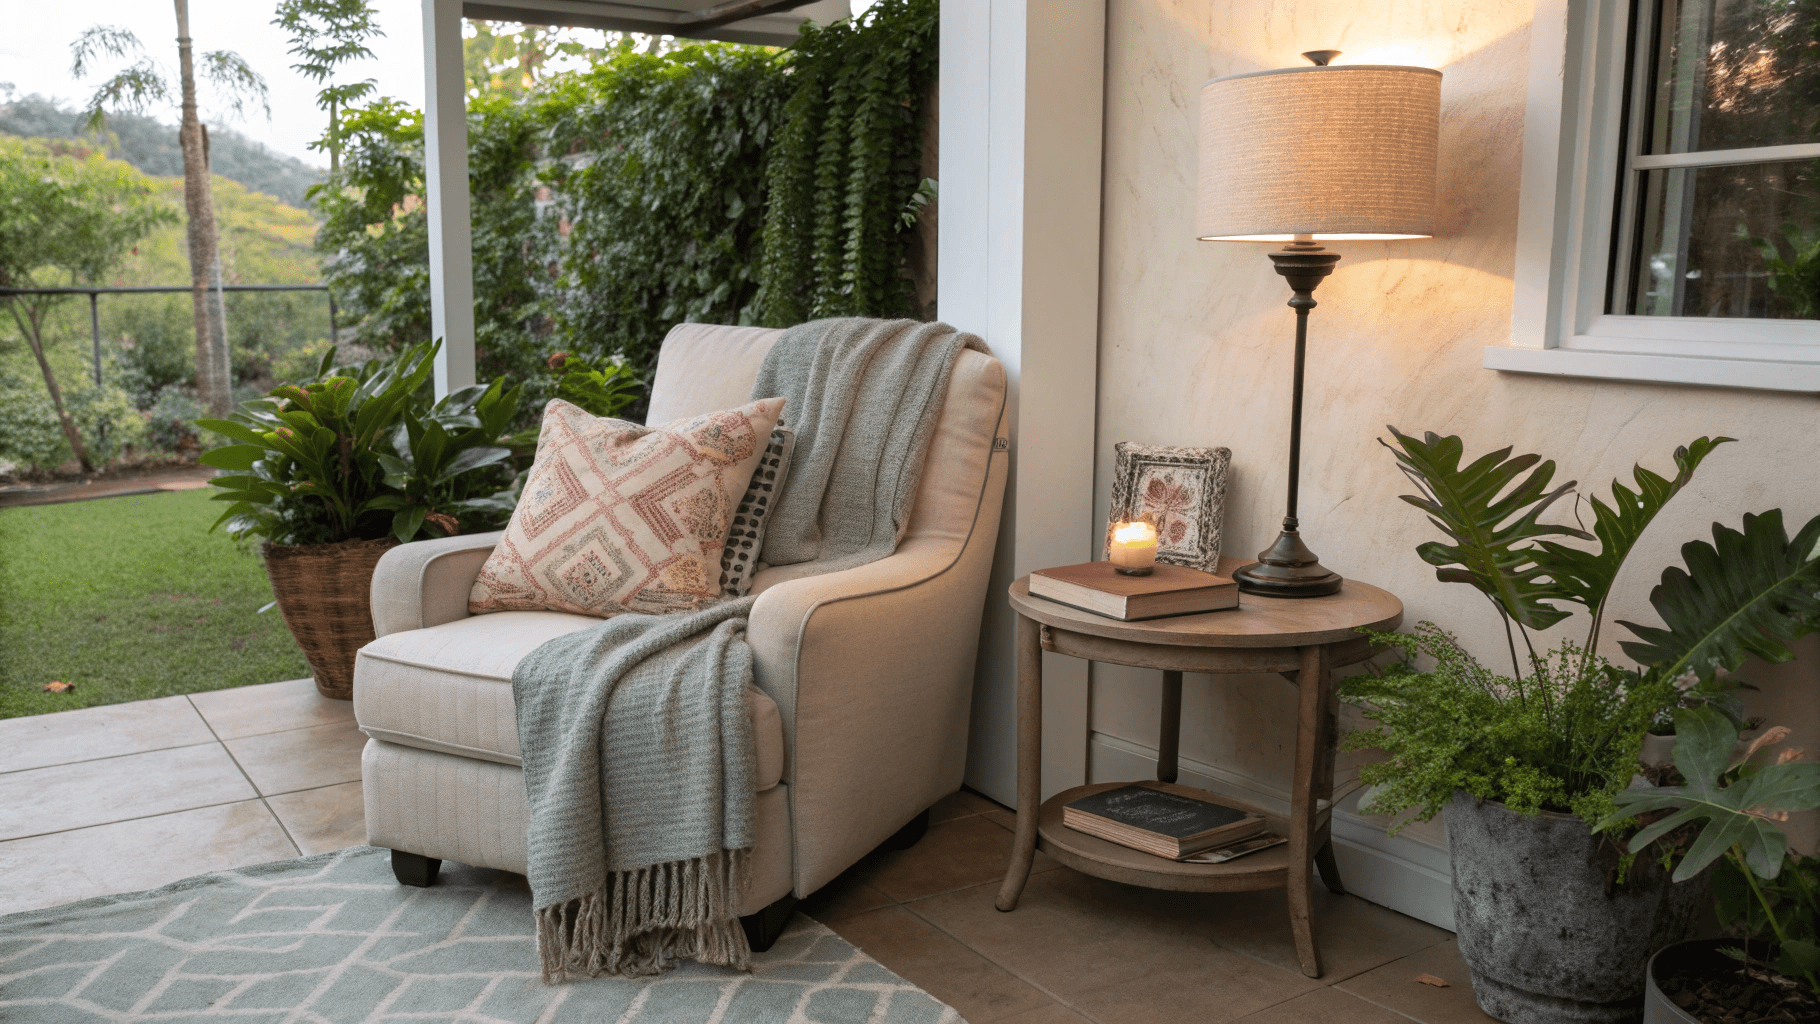
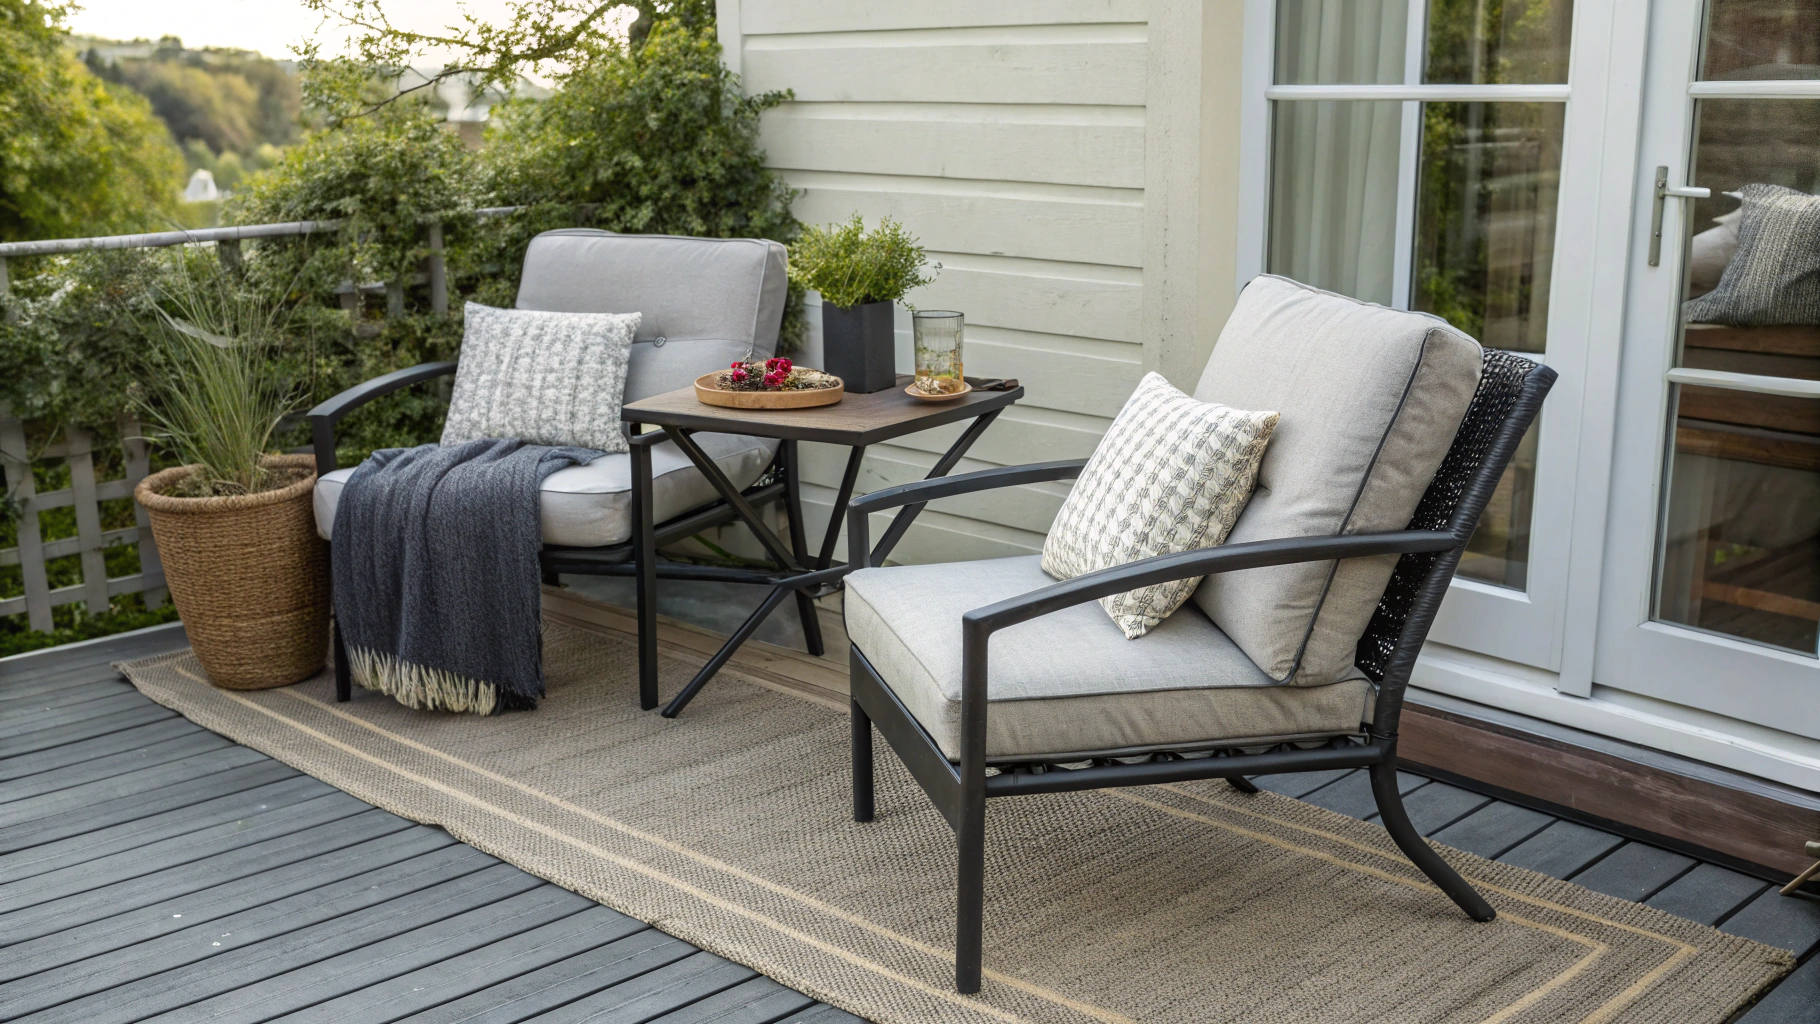
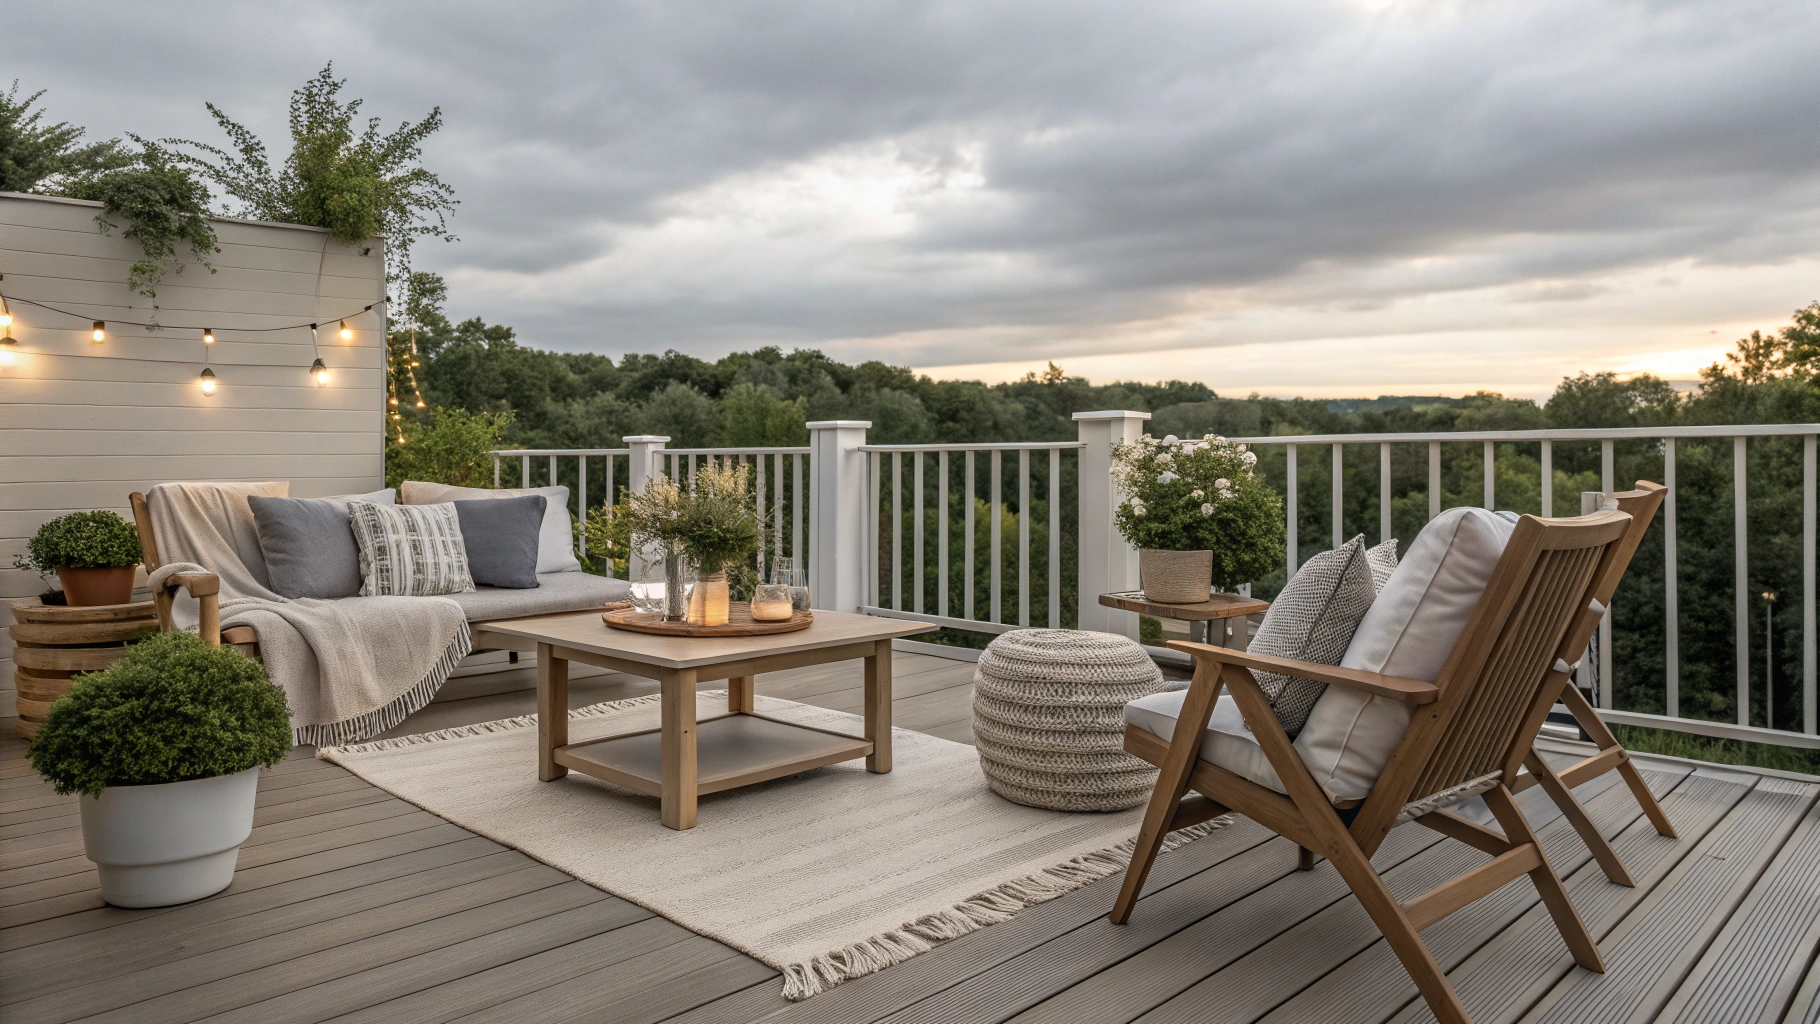
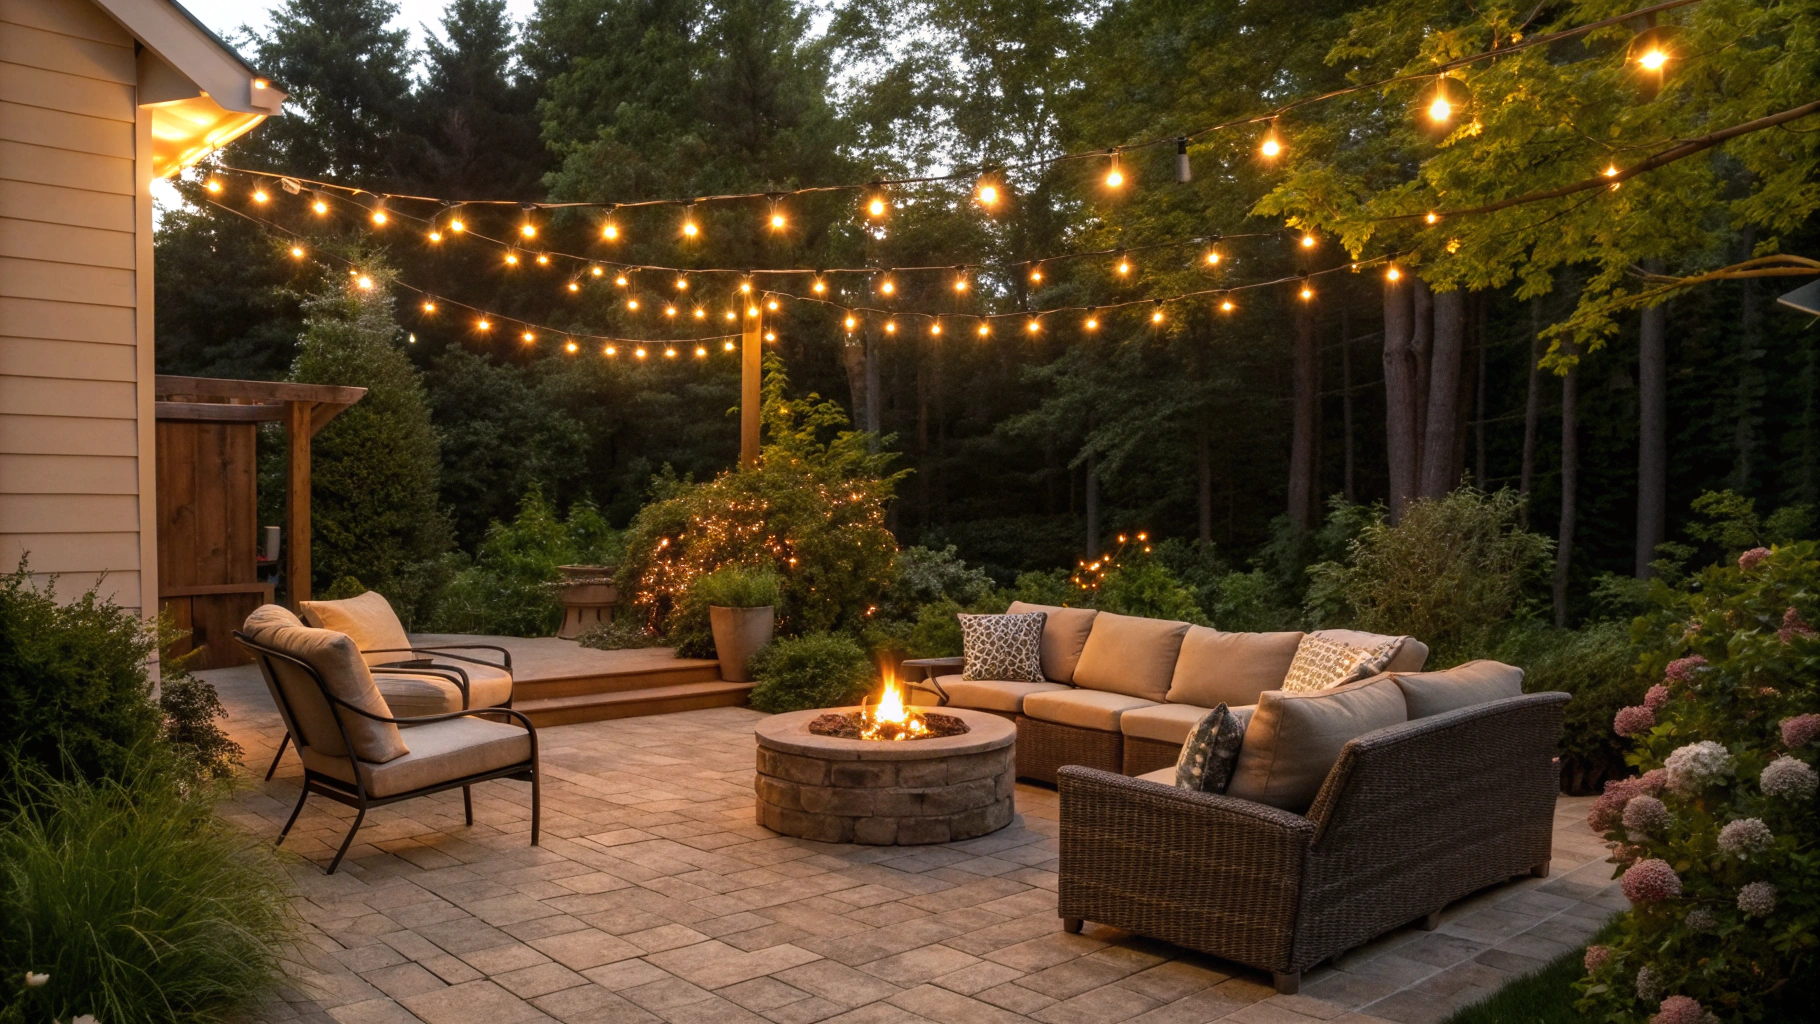
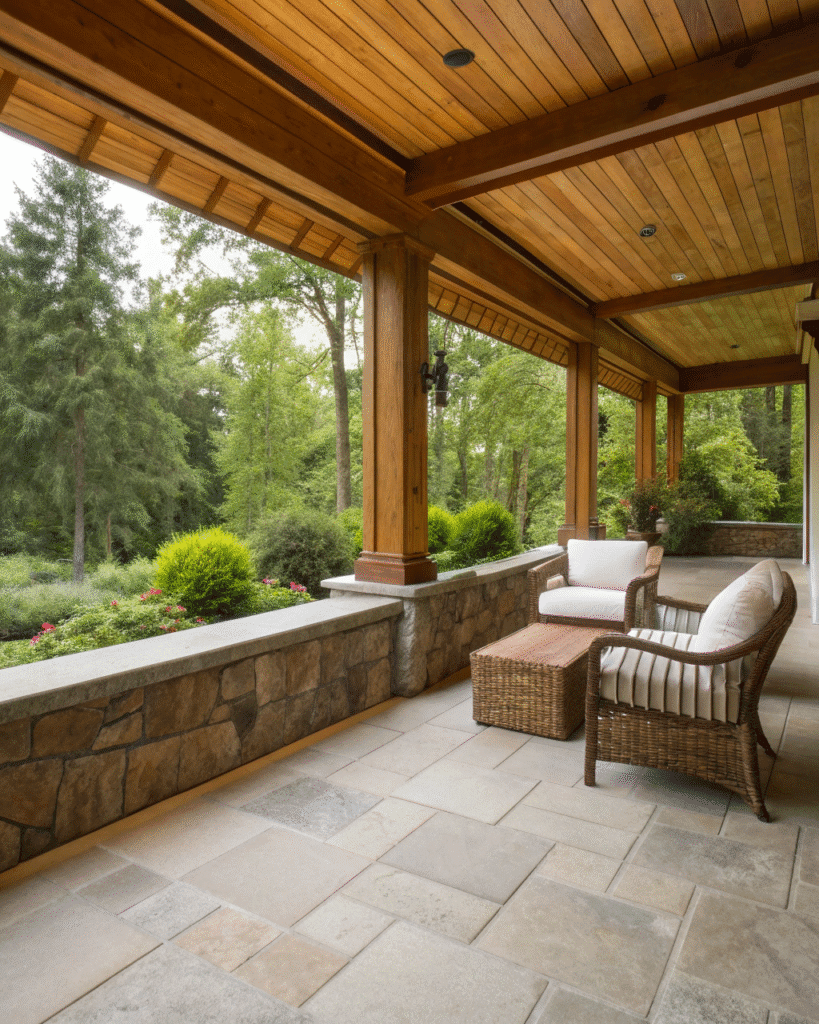
11. Dual-Purpose Seating Wall
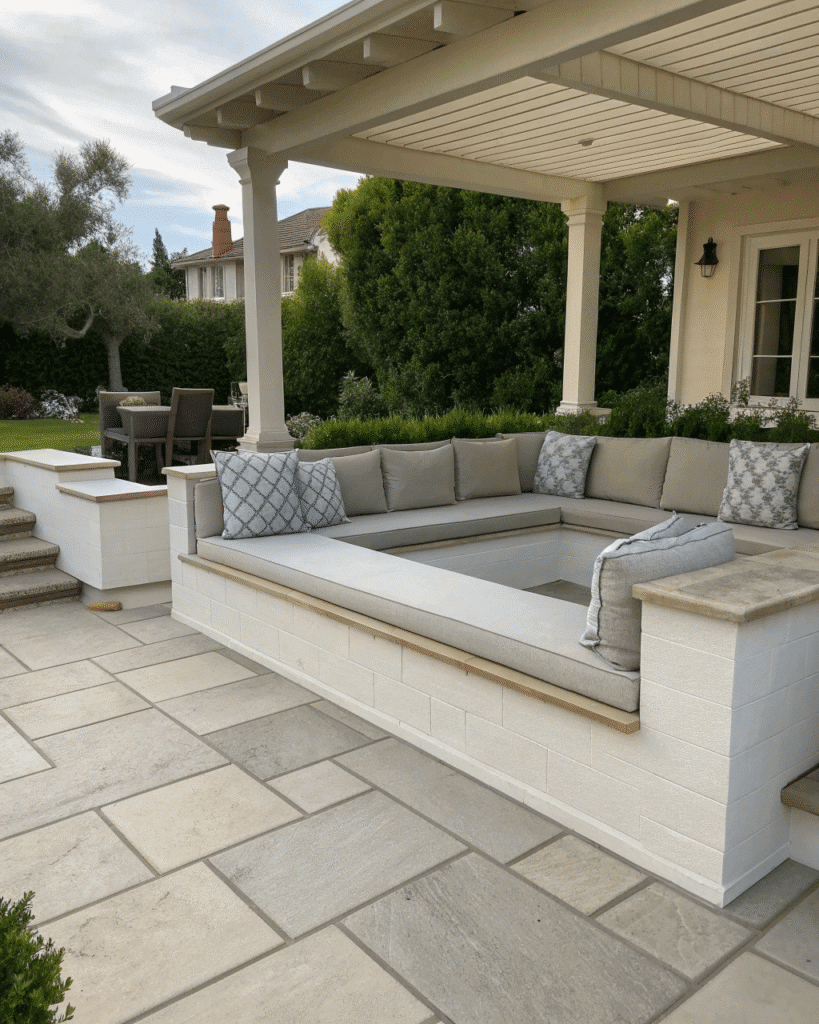
Design your knee wall to double as built-in seating for guests.
Pro Tip: Add outdoor cushions or upholstered pads for comfort and style.
Final Thoughts
A patio knee wall is more than just a boundary. It adds character, structure, and functionality to your space.
With the right materials and thoughtful design, you can create a stylish feature that enhances both comfort and visual appeal.

- 12 Small Guest Room Ideas People Love - March 13, 2026
- 18 Thoughtful Guest Room Ideas Your Friends and Family Will Appreciate - March 13, 2026
- 16 Easy Ways to Make Your Guest Bedroom Feel More Inviting - March 13, 2026